VIDEO TUTORIAL
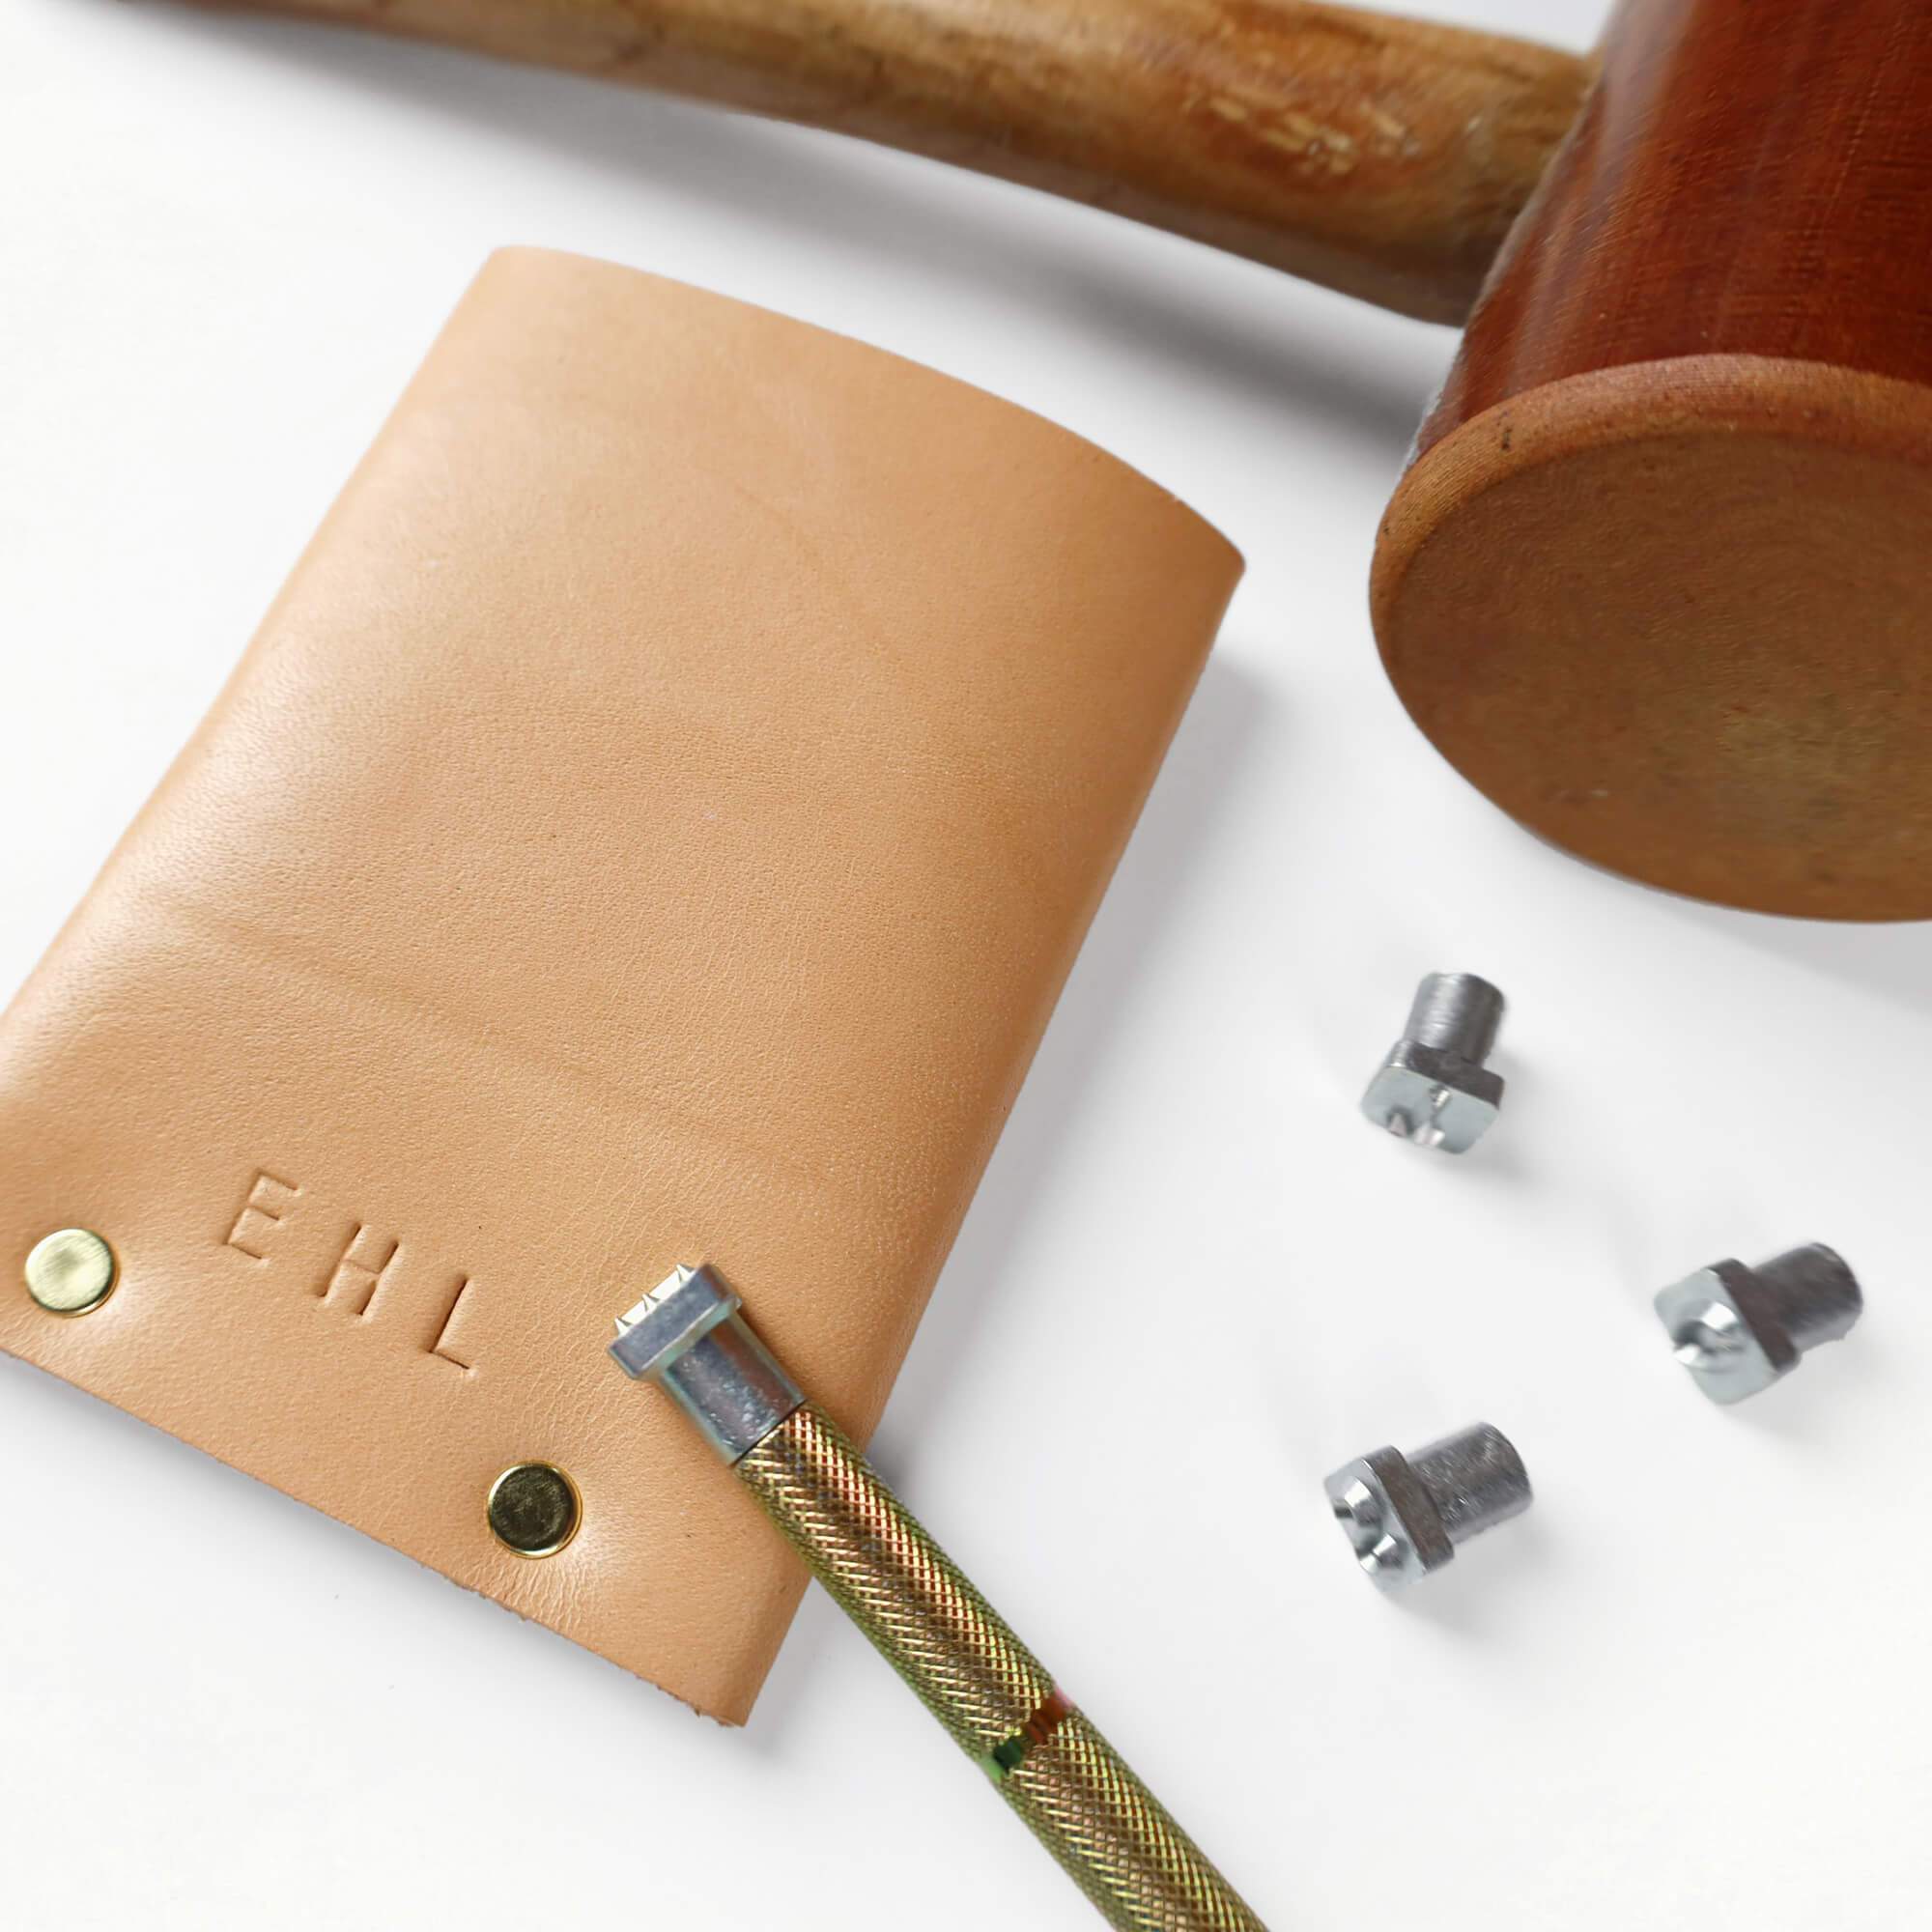
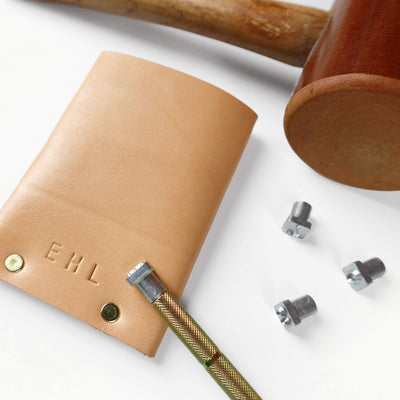
In this video, Ellie will teach you how to condition, stamp, and construct your wallet!


$75.00 $50.00 (-33%)
BEGINNER  MAKE TIME: 30 min

Beginner projects will introduce you to the basics of bag making. You'll learn to sew heavy-duty fabric, punch holes in fabric and leather, set metal rivets, and sew your first zipper!

Confident Beginner projects involve managing more pieces of fabric and leather. They'll teach you to add interior and exterior pockets and install new types of hardware, like snaps.

Intermediate projects involve a more in-depth making process. They'll teach you to work with a wider variety of tools and hardware techniques, like setting extra-strength tubular rivets.

Advanced projects are for experienced stitchers ready to invest a significant amount of time and energy into becoming a bag maker. Complex construction and seriously professionals results.
In this video, Ellie will teach you how to condition, stamp, and construct your wallet!
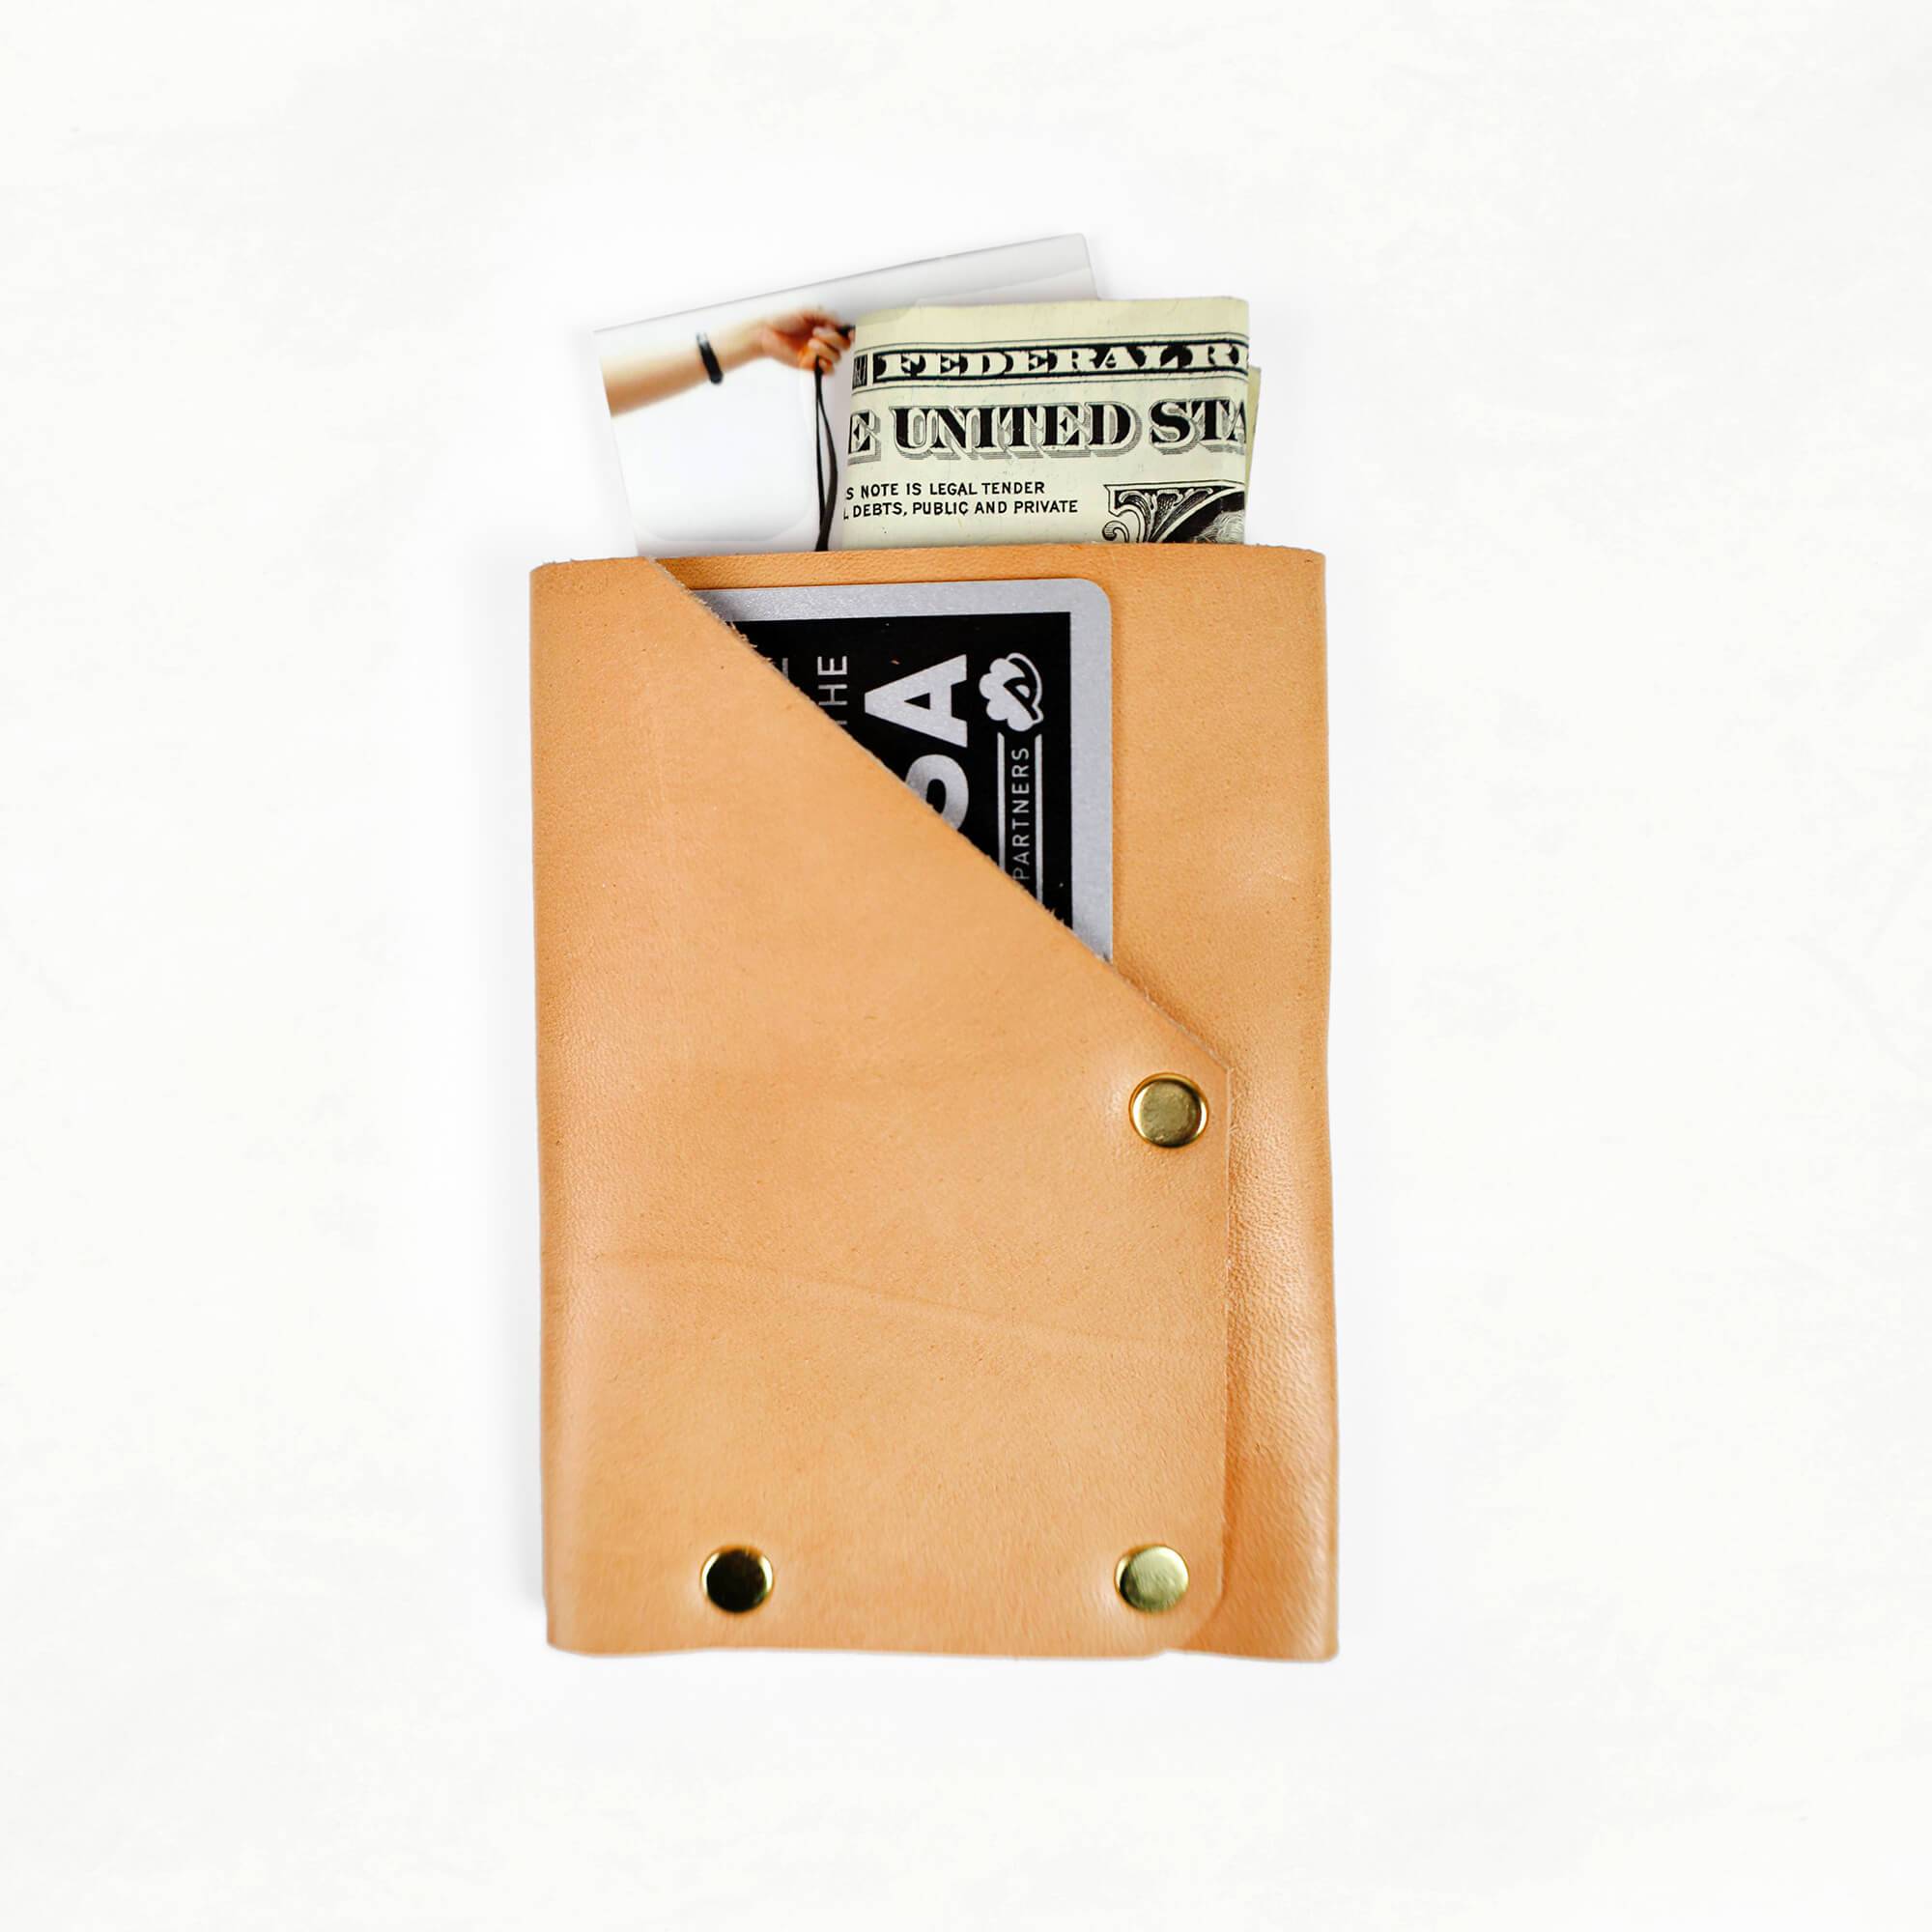
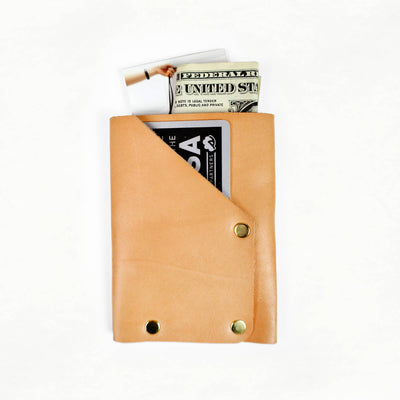
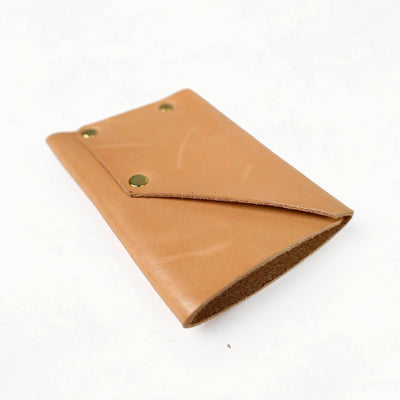
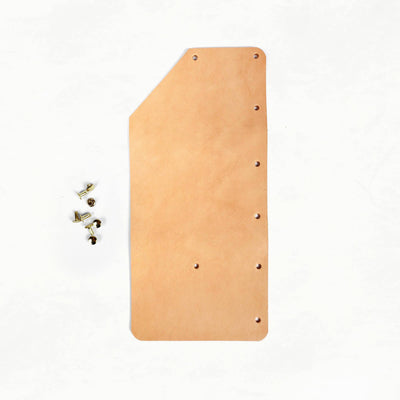
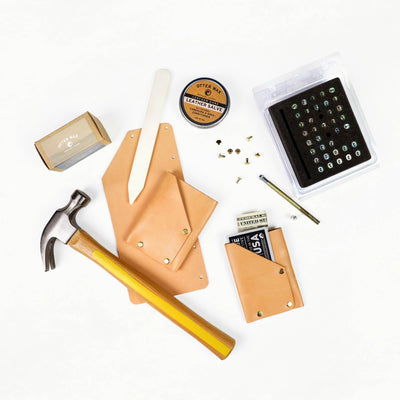
This kit includes all of the leather and hardware needed to make your wallet.
NOTE:In order to complete this project, you will also need a metal dot anvil (which can be added to your kit above), a hammer, and a hard surface. Optionally, we recommend using a bone folder to crease your leather and conditioning with leather salve for water-resistance.
To protect your card holder, we recommend conditioning it before you make with leather salve.
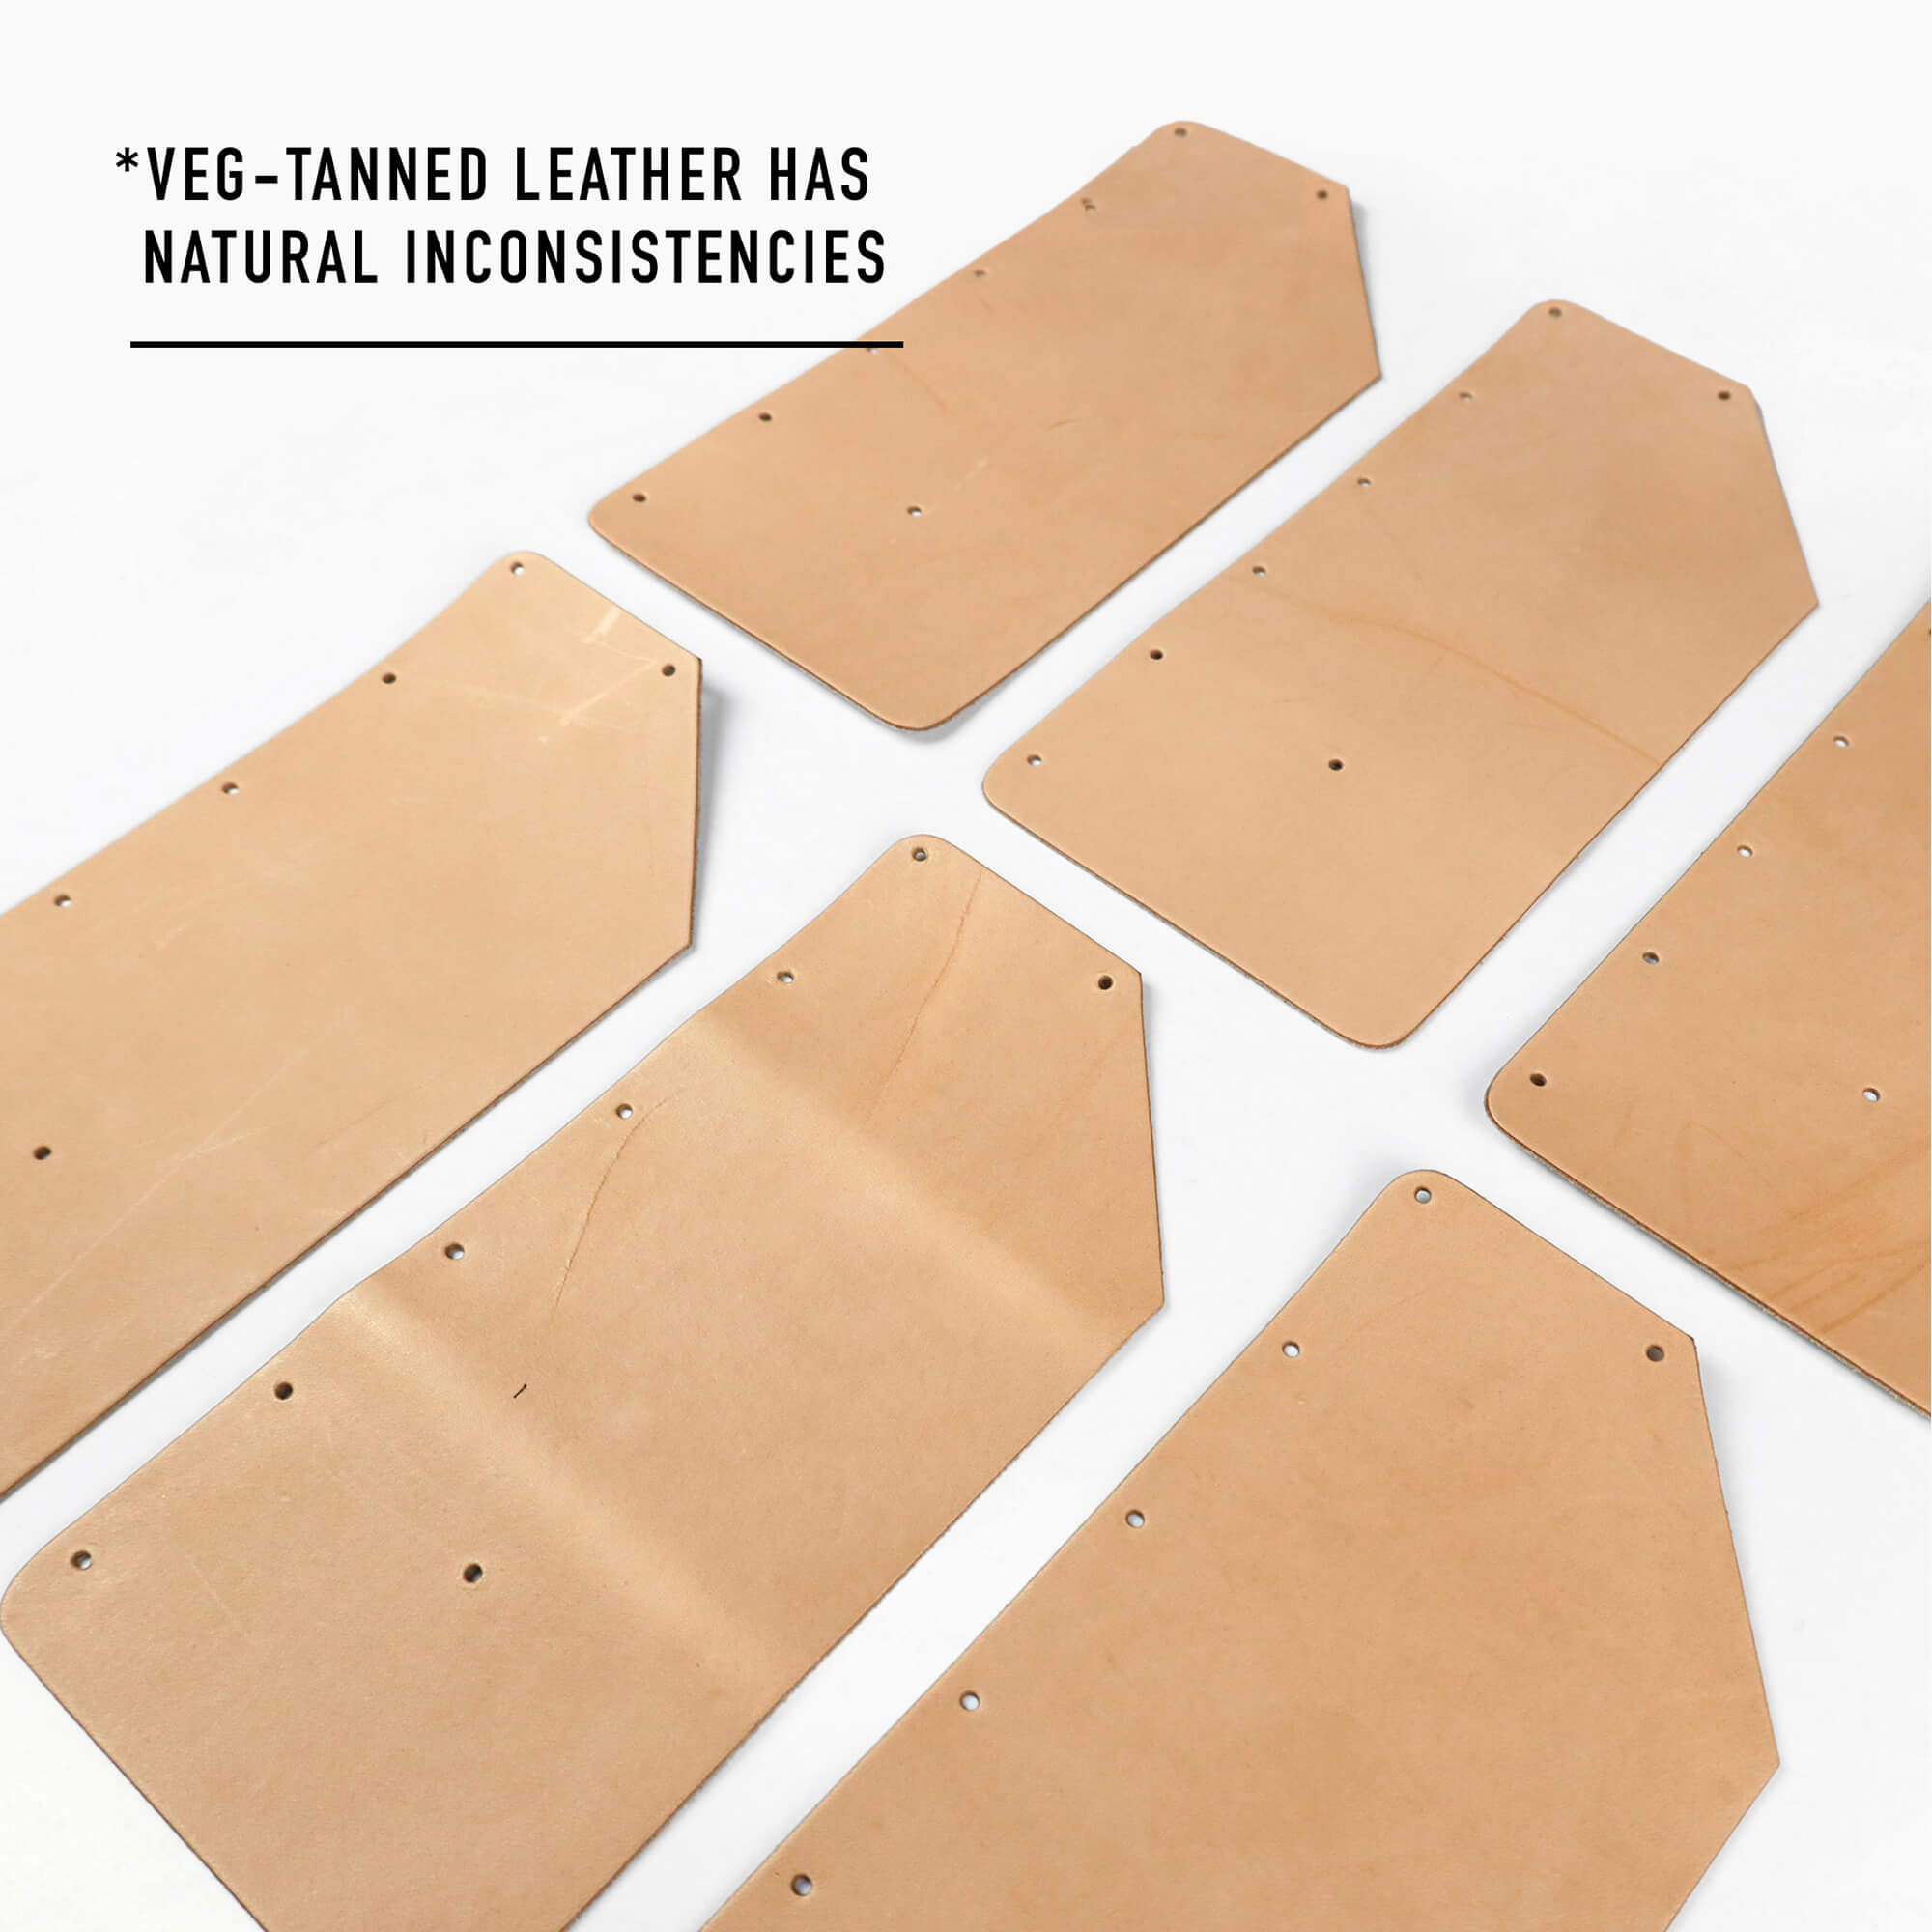


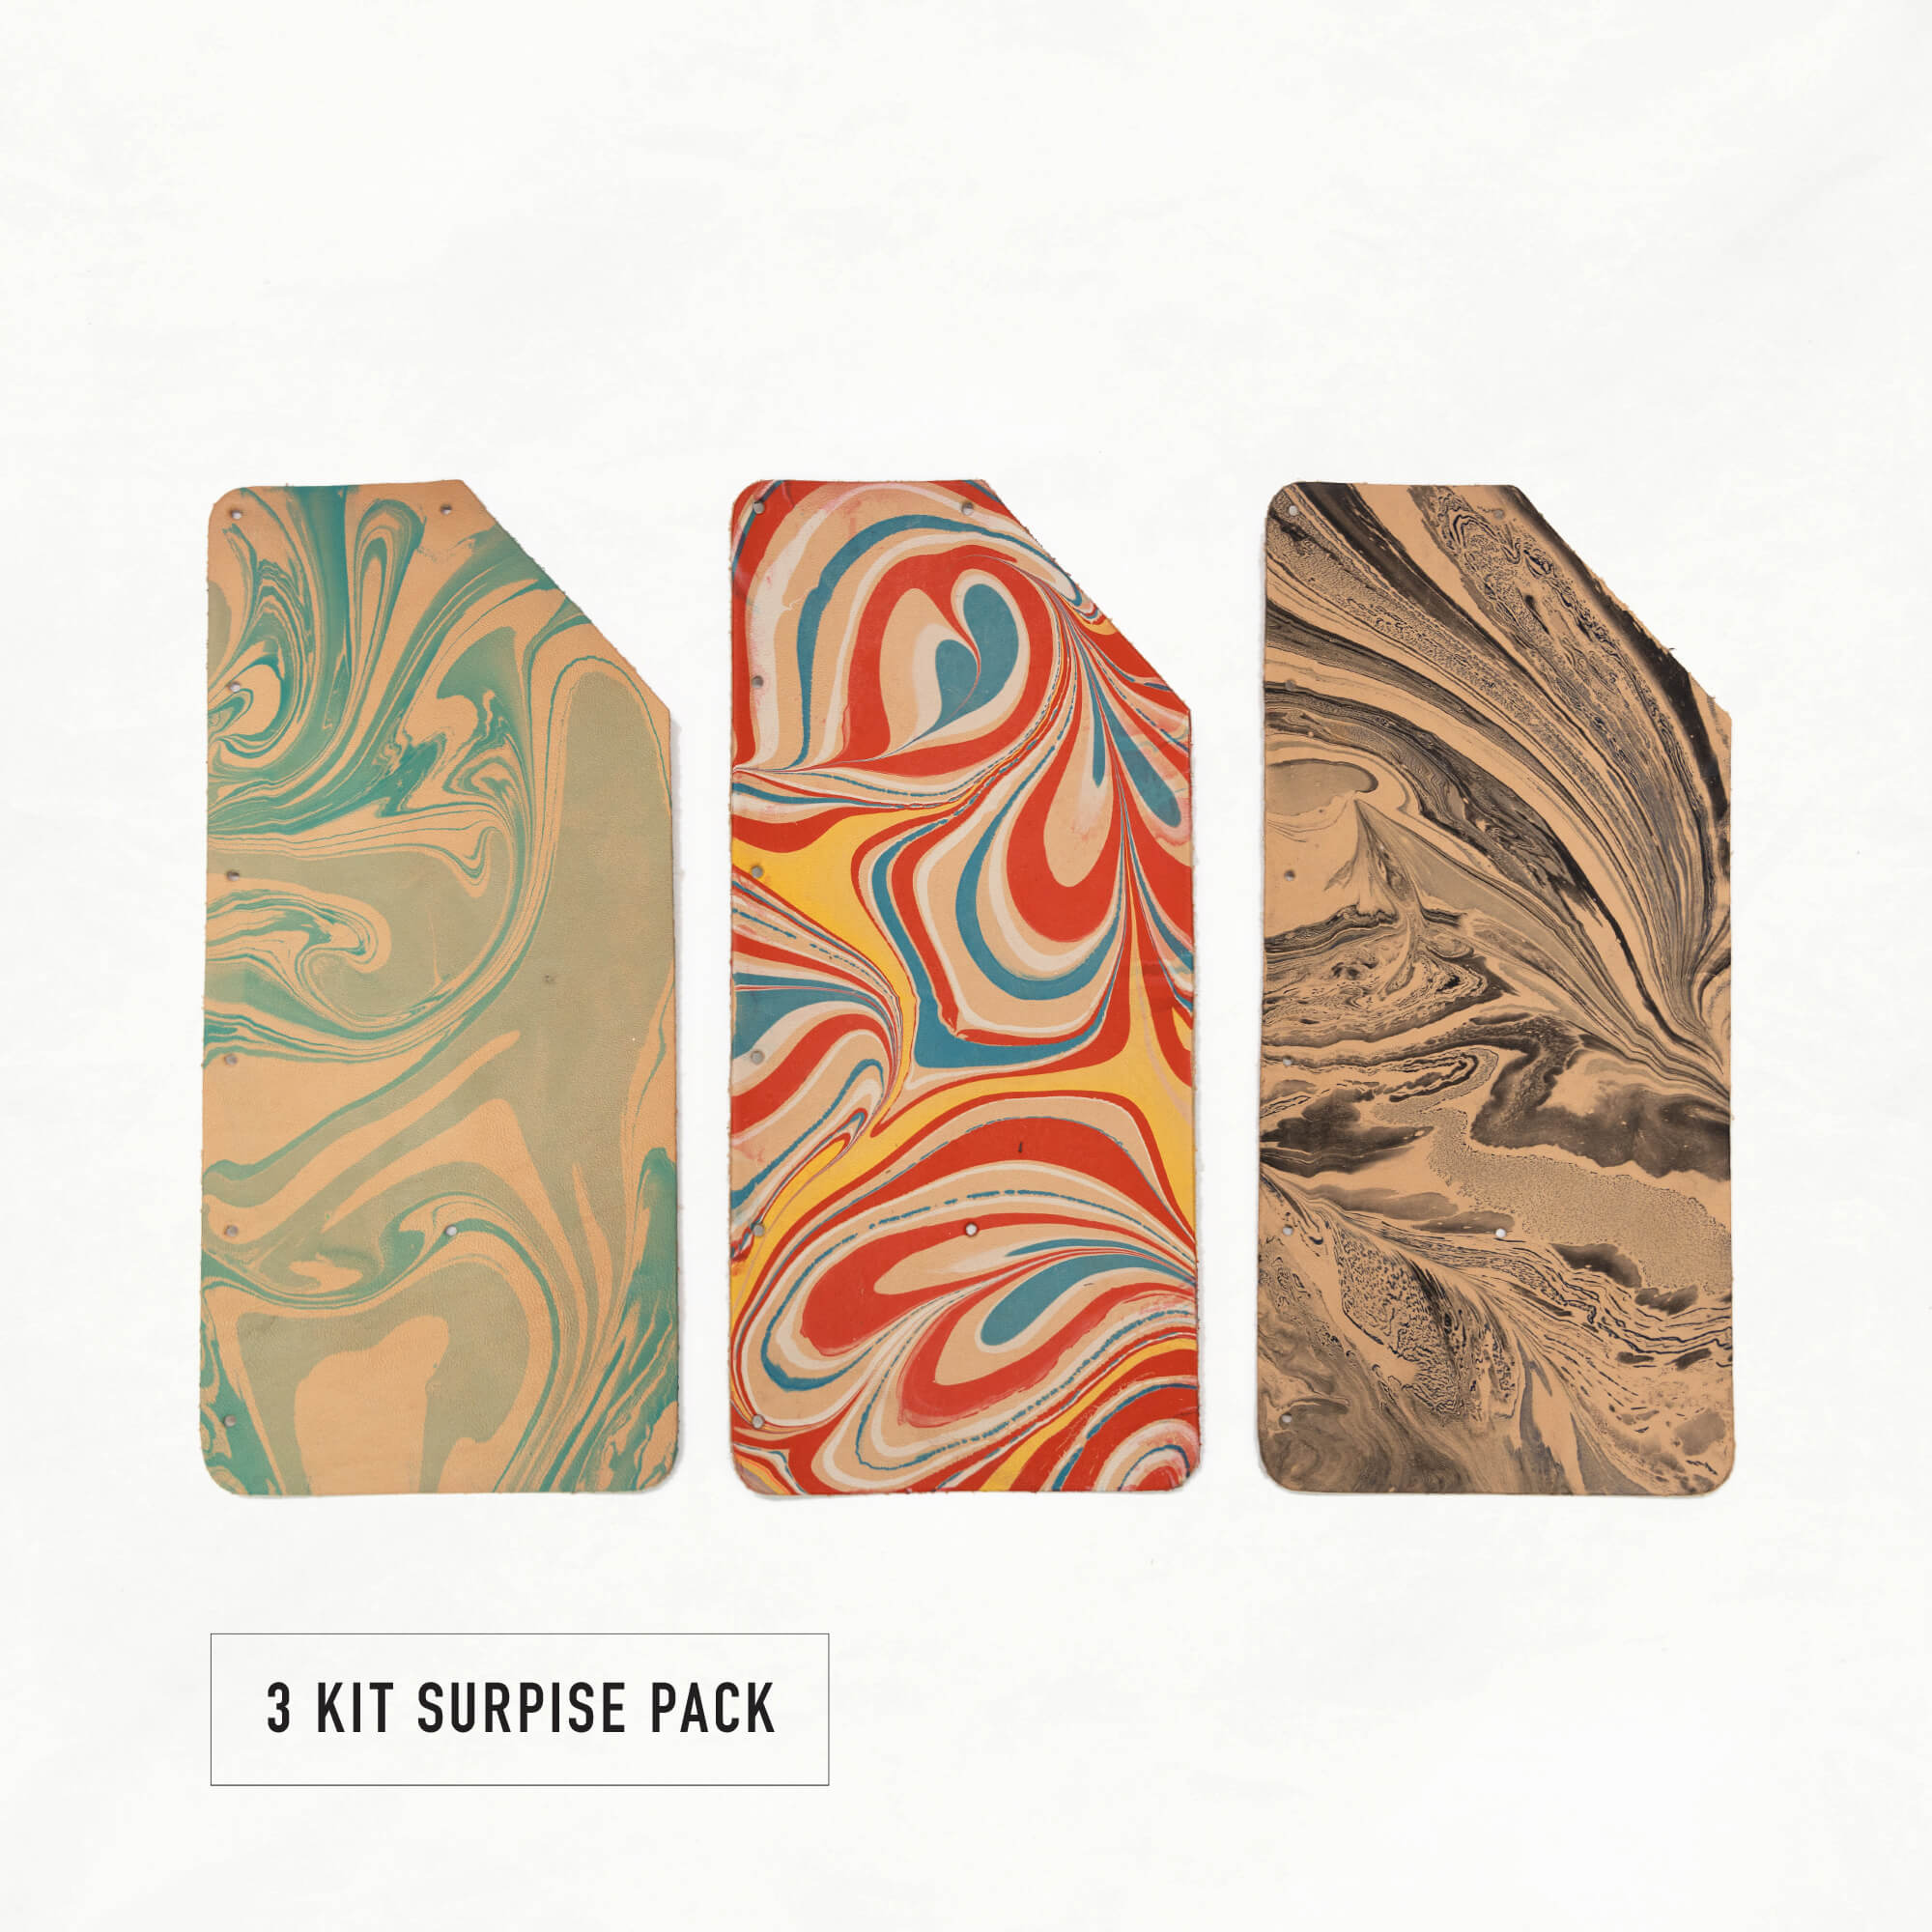
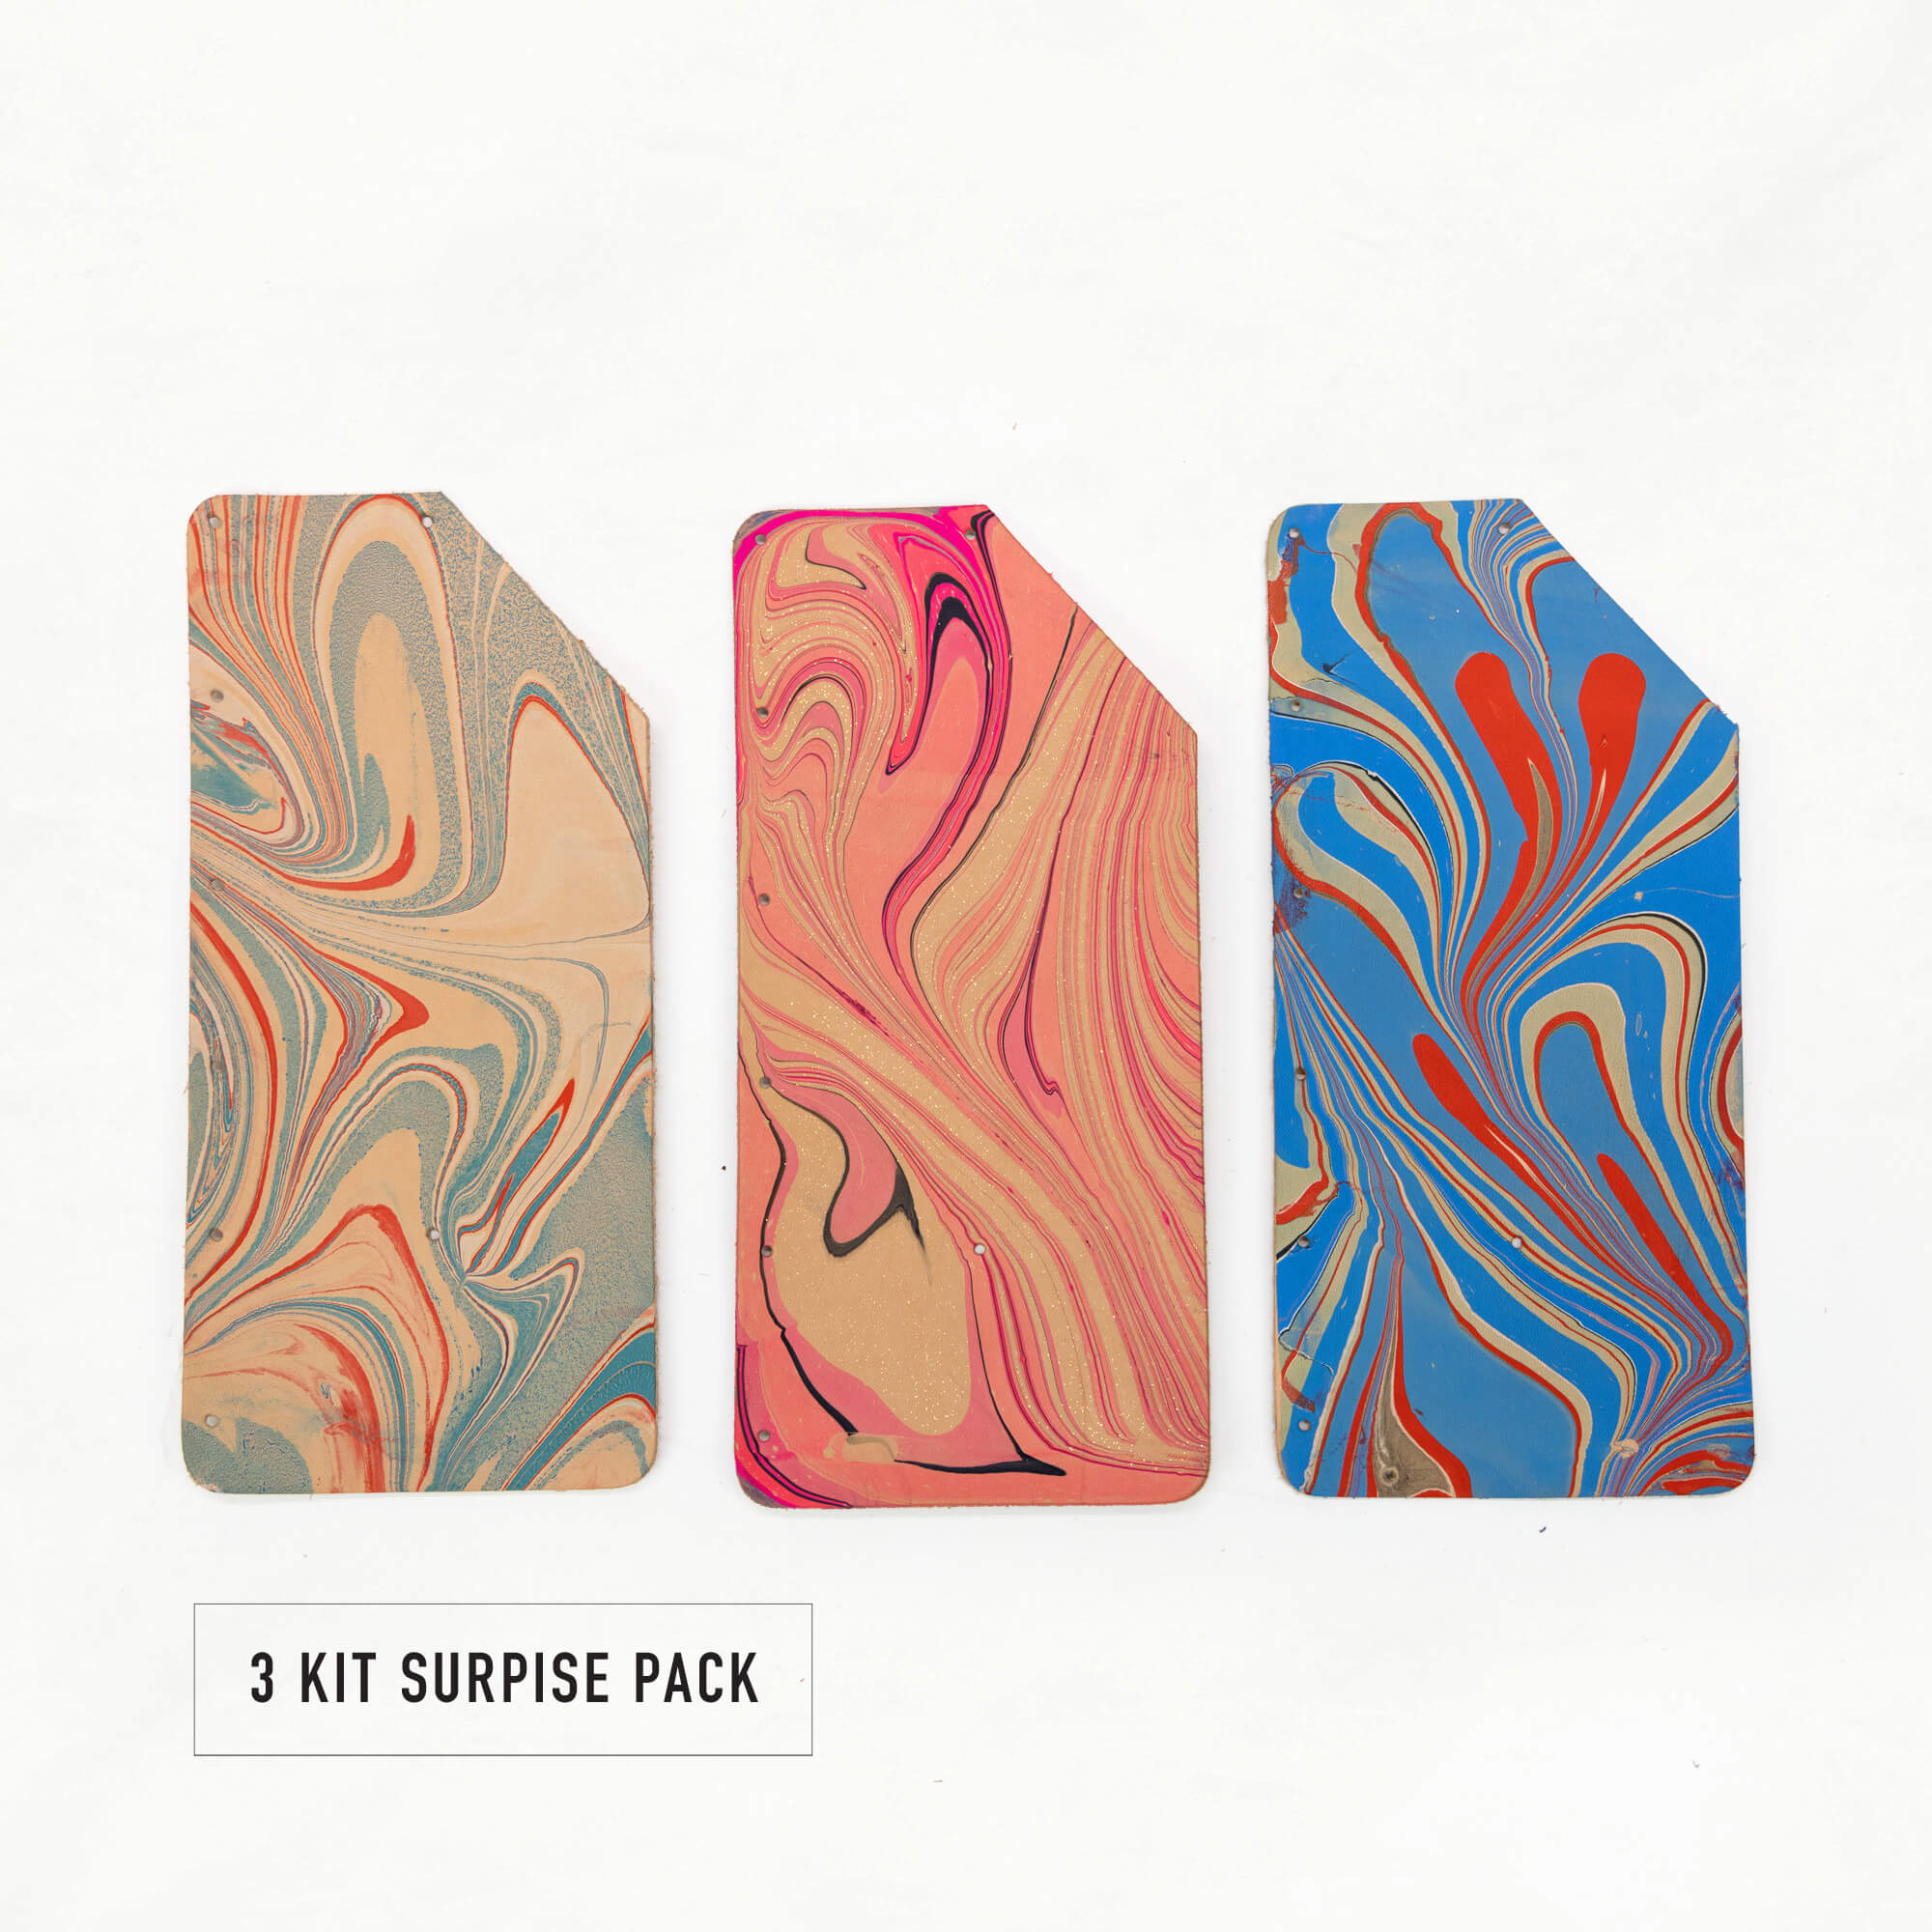
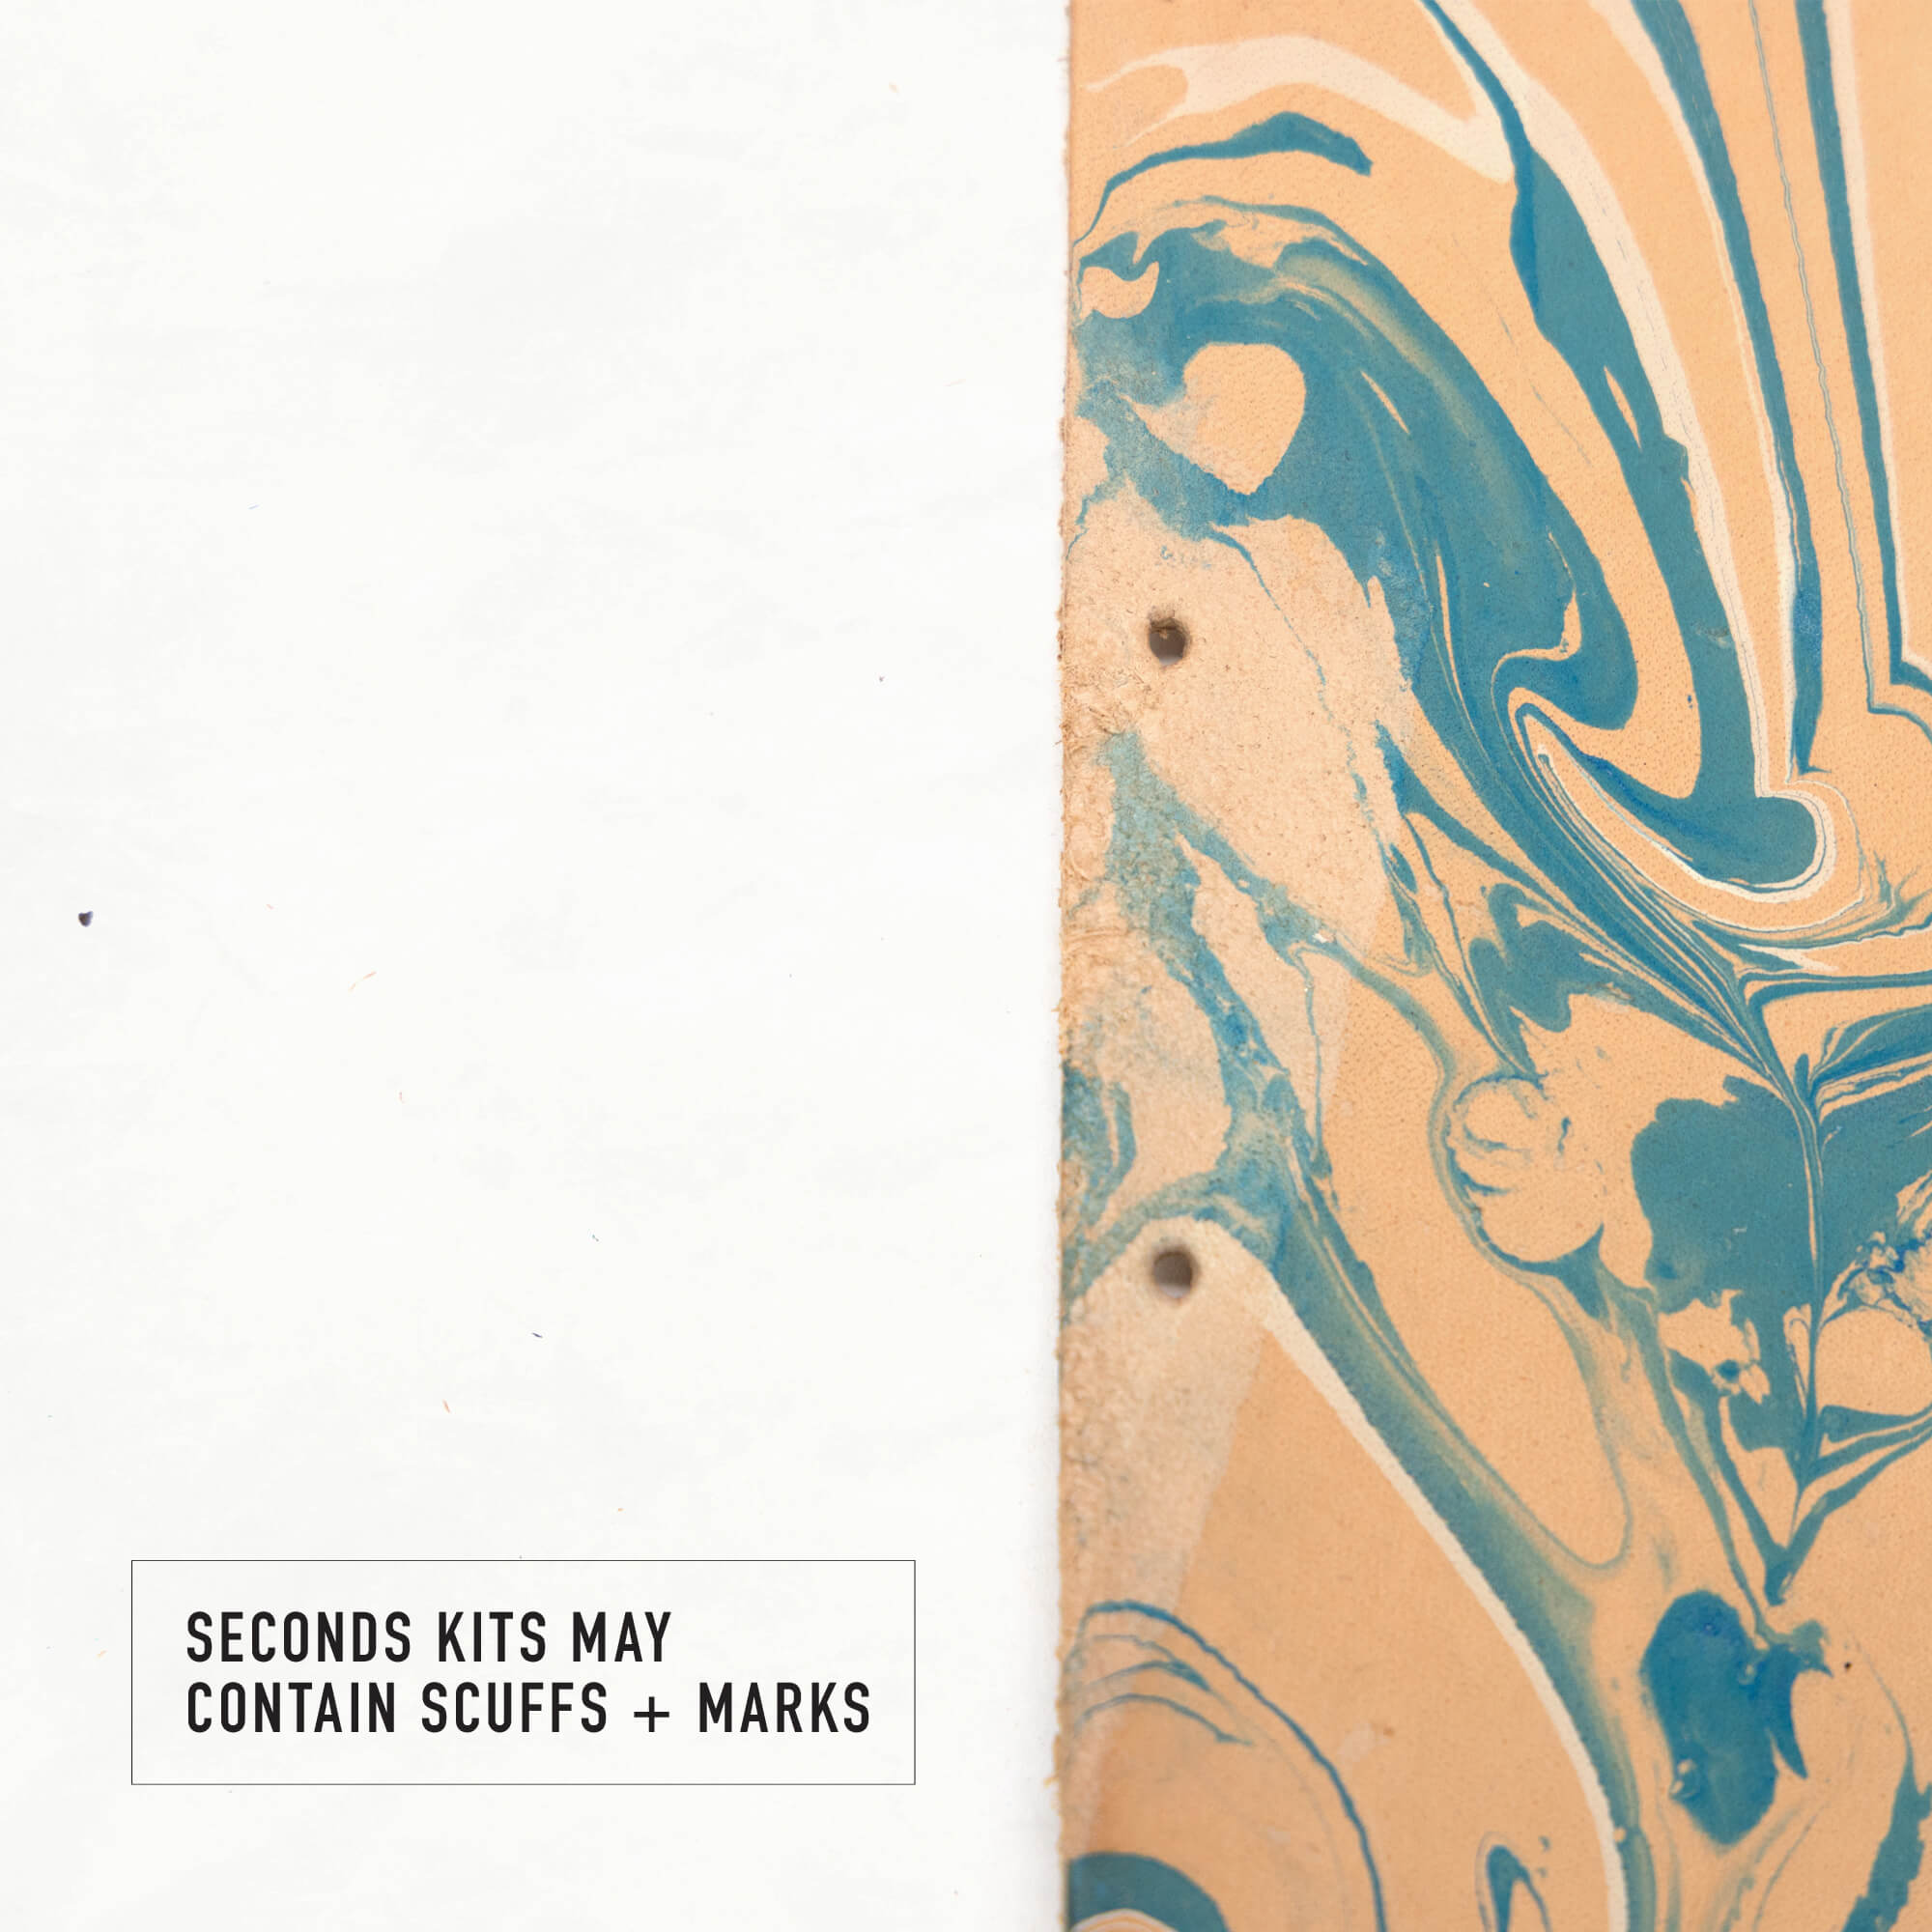
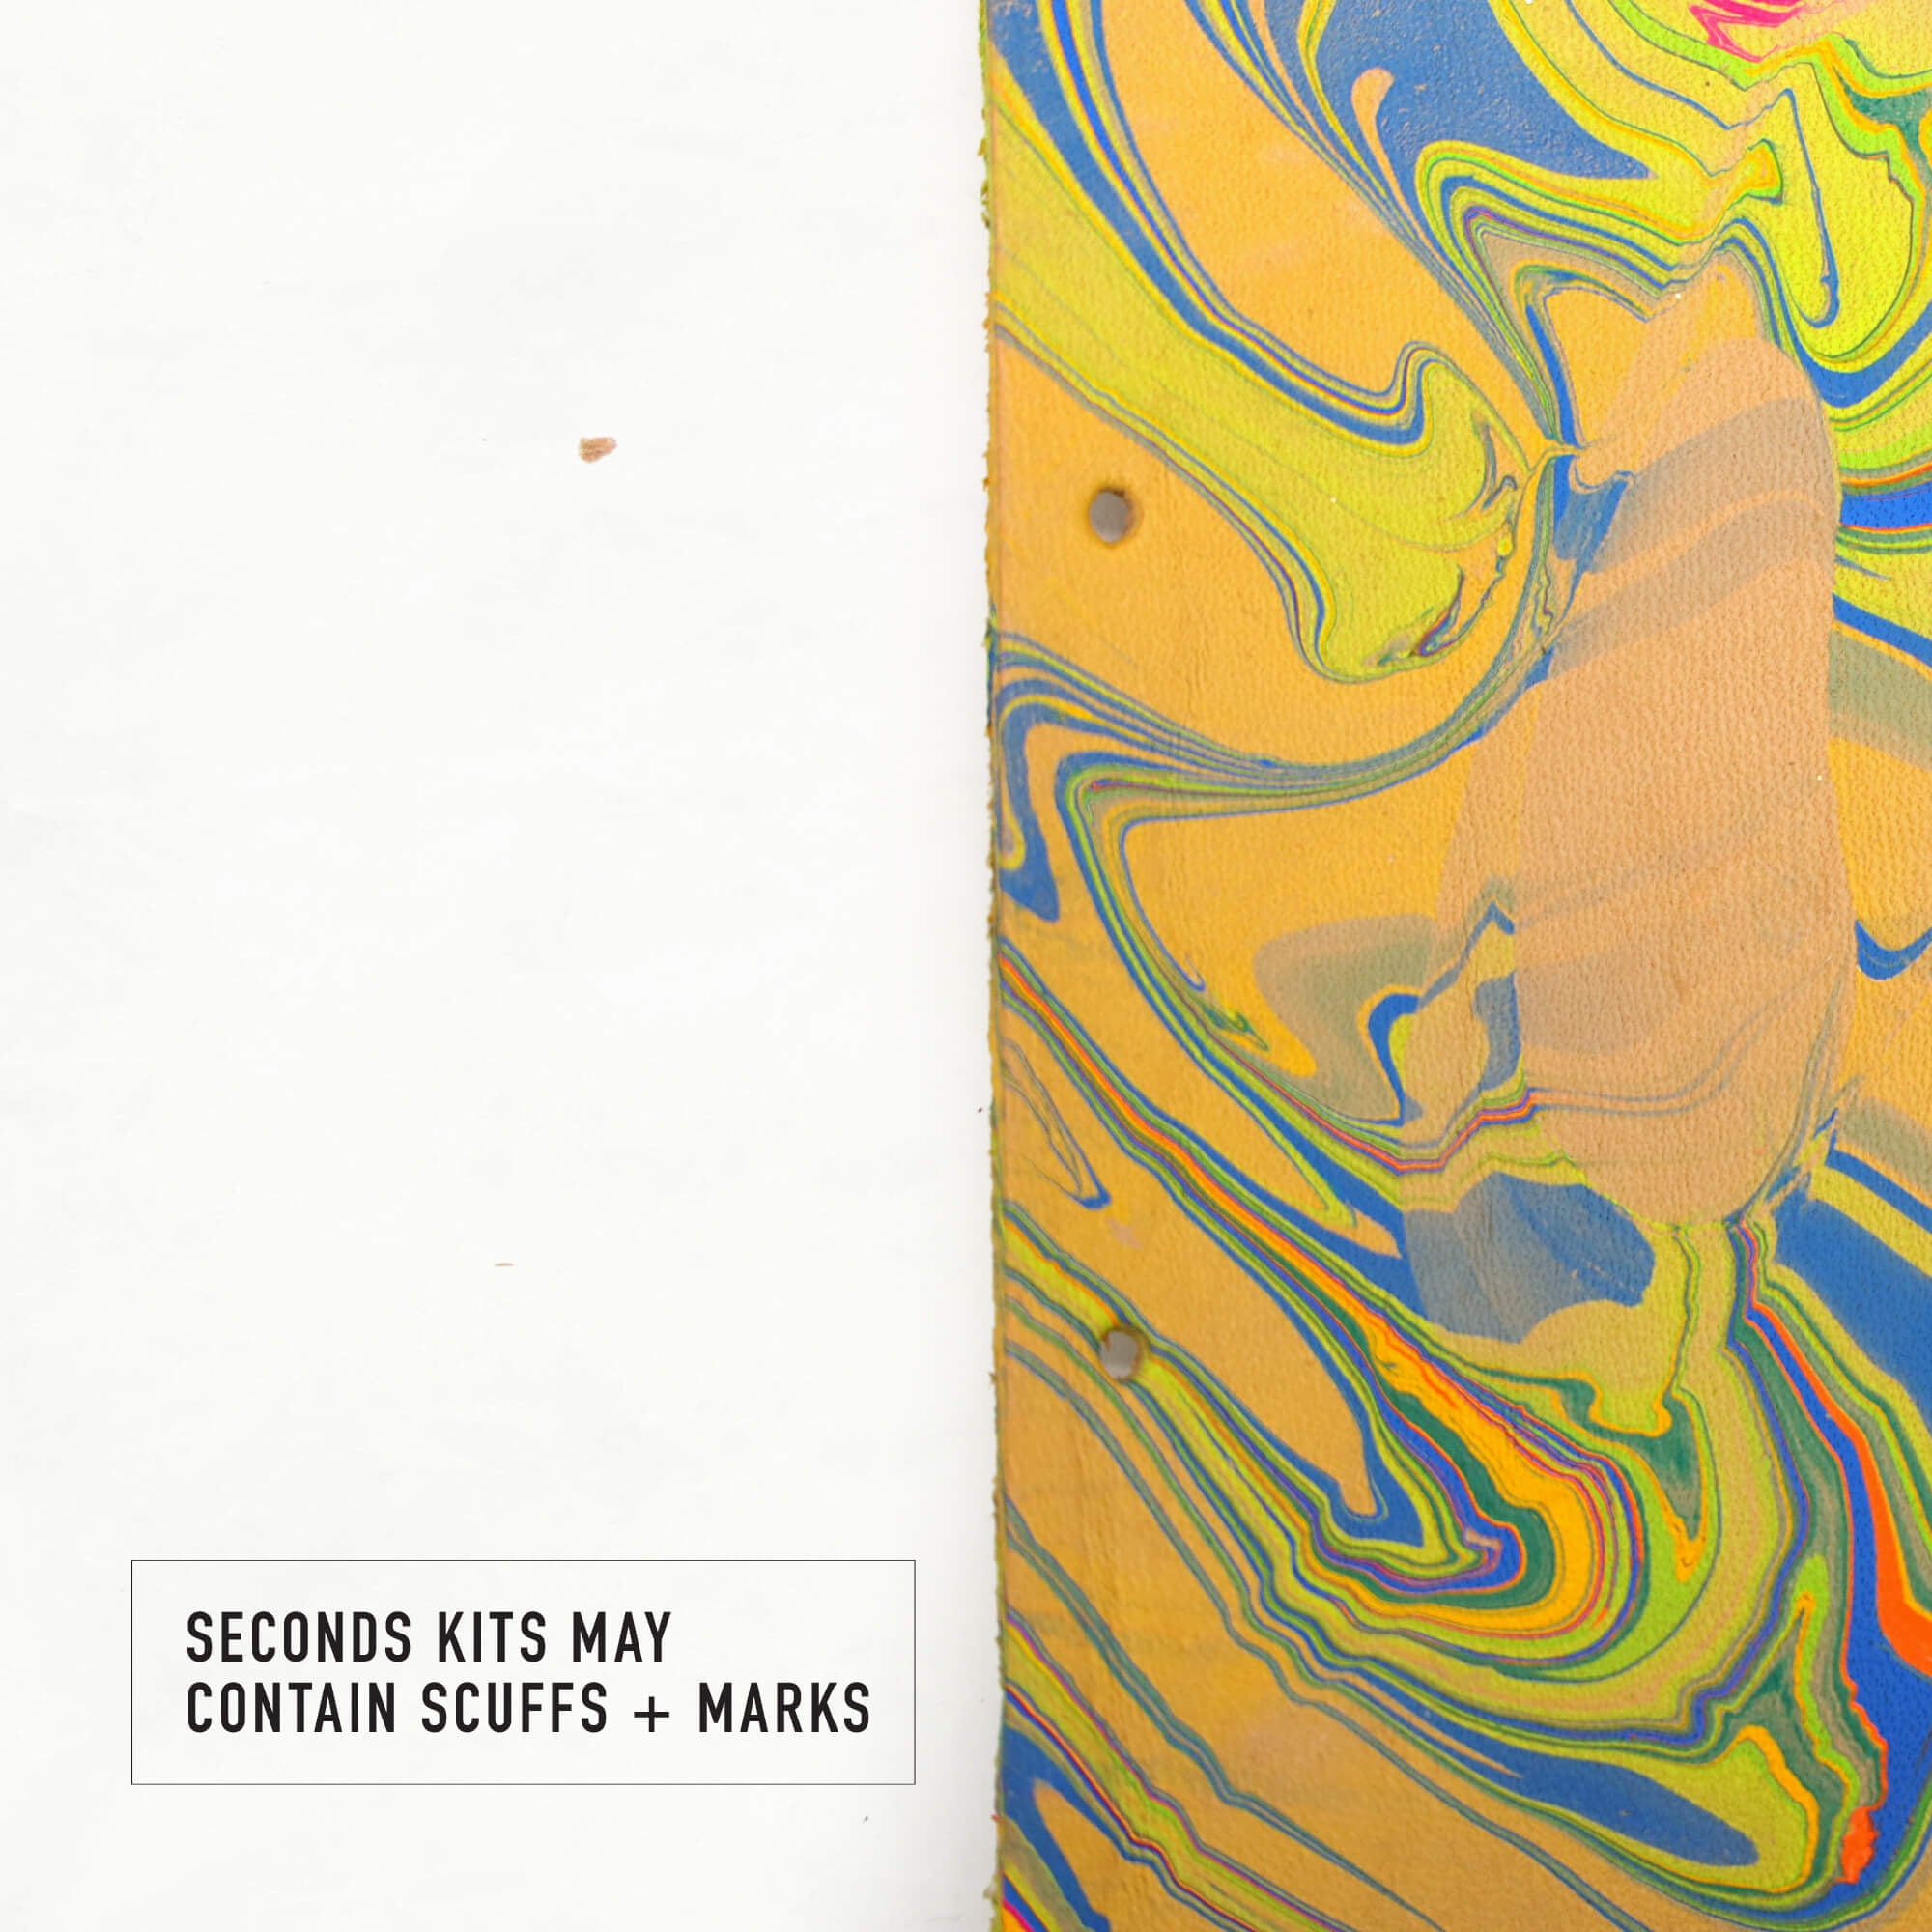
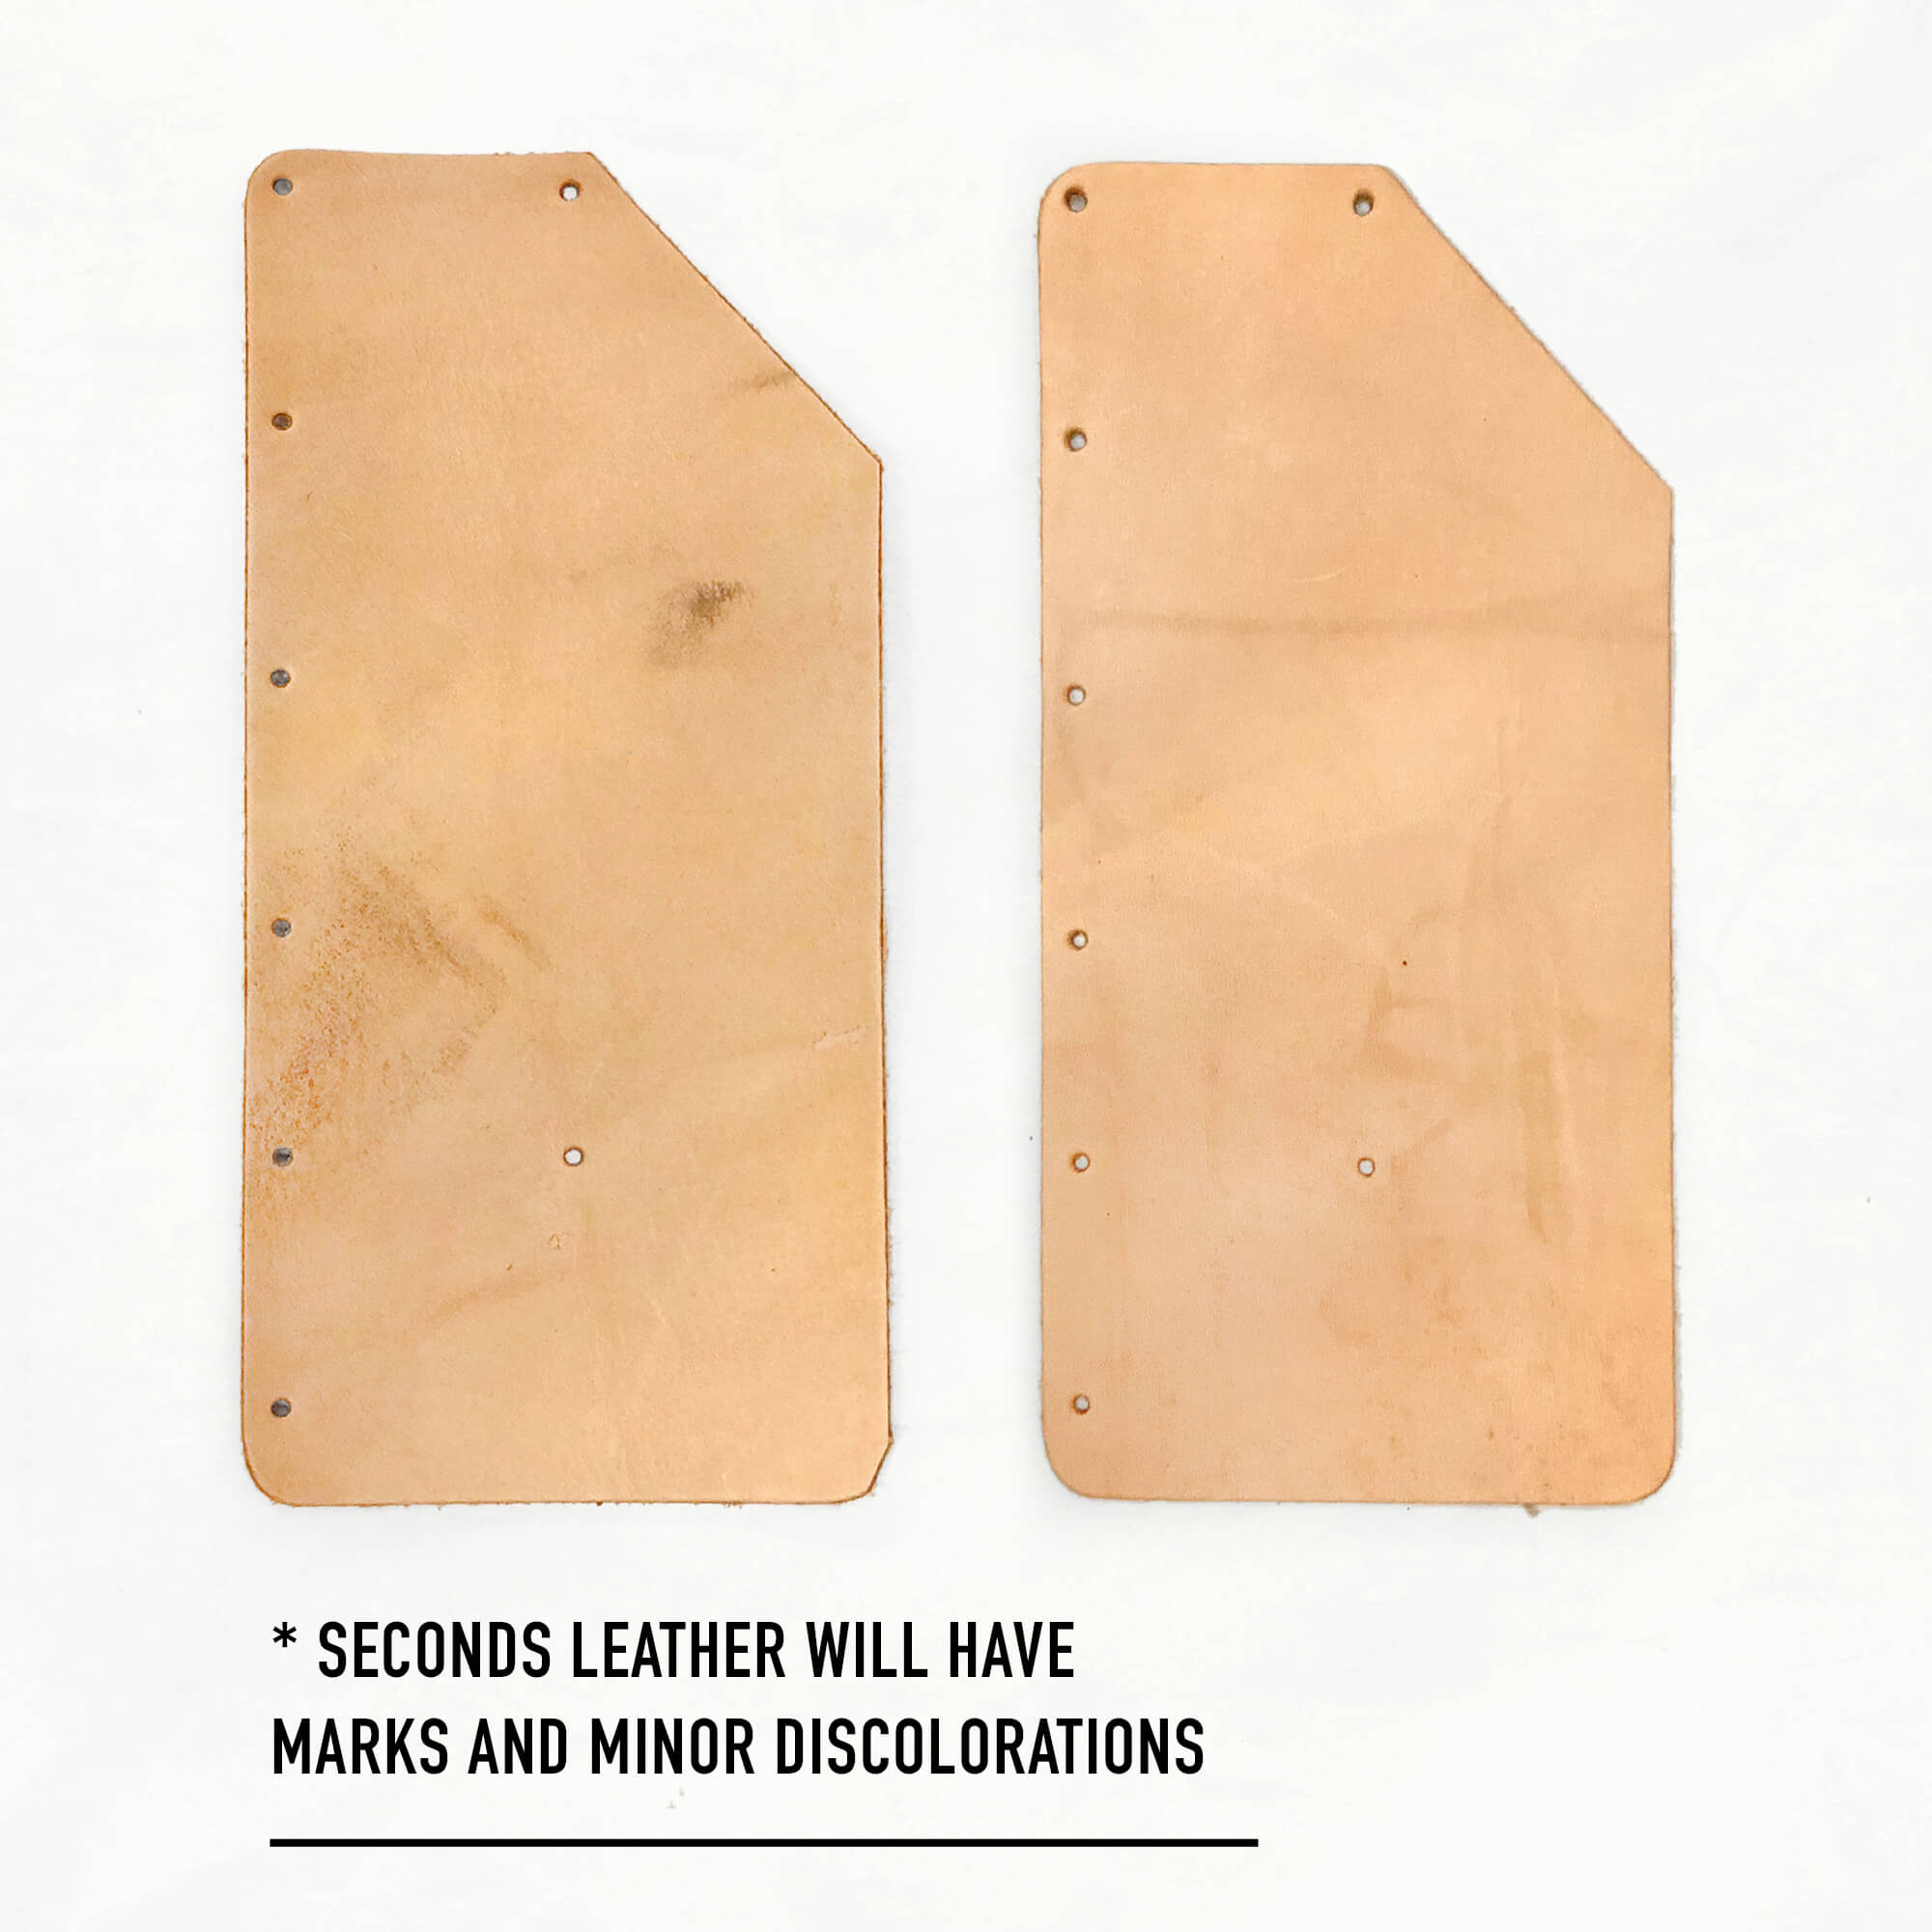
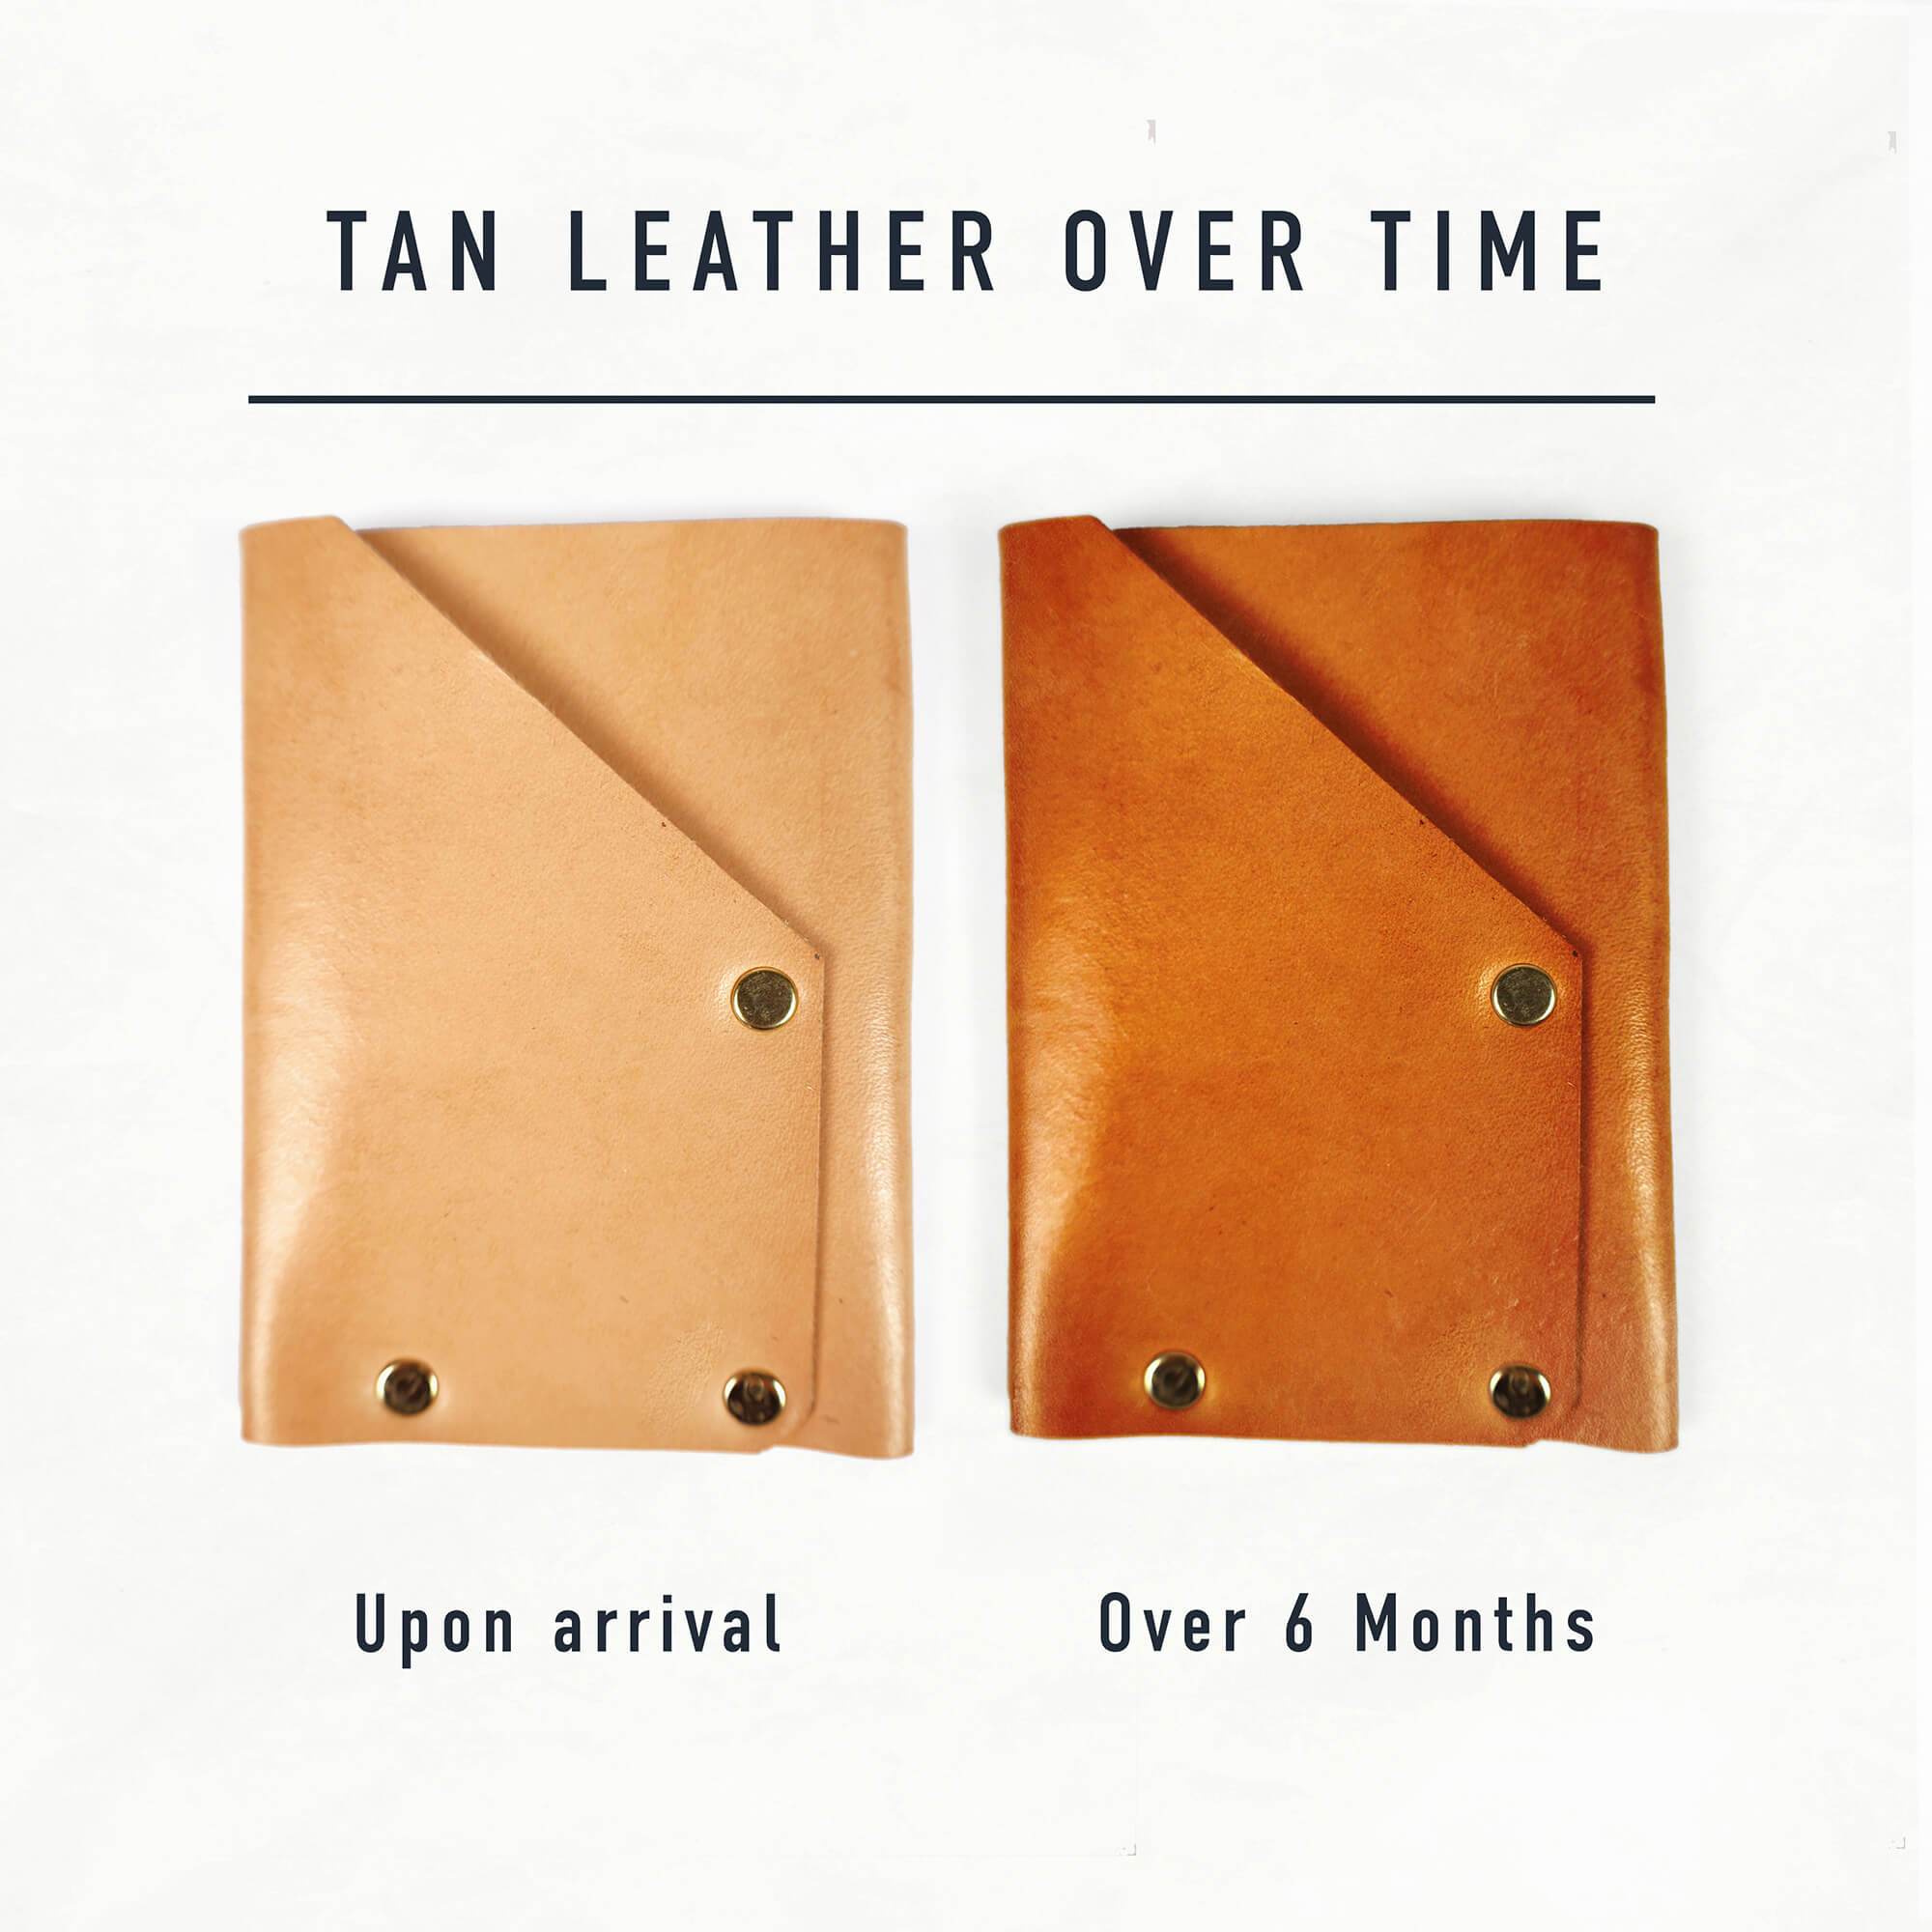
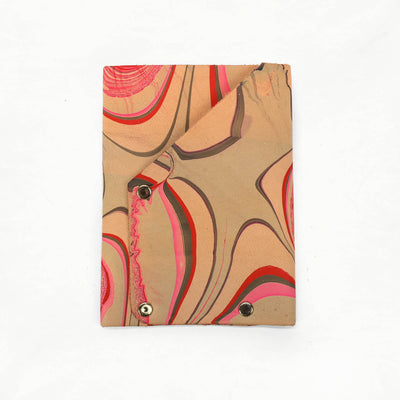
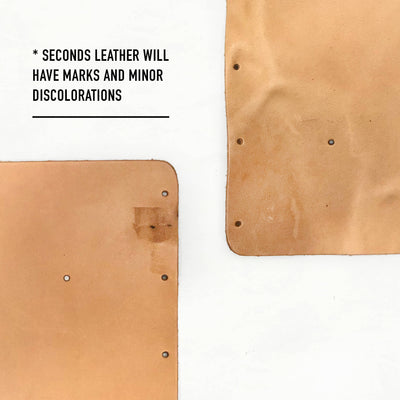
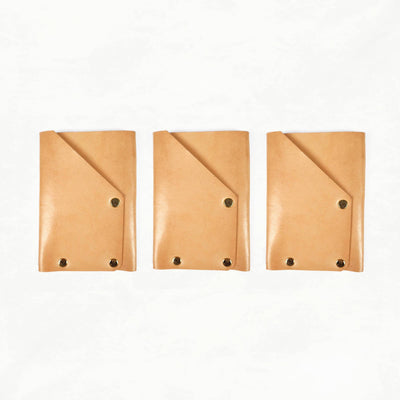
This wallet is made of vegetable-tanned leather and is very durable. Some natural variation of color and texture is expected. The leather is a light tan color when new and will darken in color over time. The texture will also soften with use, developing a beautiful, worn-in patina.
Because veg-tanned leather is not water-resistant, we highly recommend conditioning and protecting your wallet with leather salve, which can be applied with a horsehair brush and buffed with a flannel cloth. (Option to add to your kit above.) To learn more about leather care, visit our blog.
In this video, Ellie will teach you how to condition, stamp, and construct your wallet!
This kit includes all of the leather and hardware needed to make your wallet.
NOTE:In order to complete this project, you will also need a metal dot anvil (which can be added to your kit above), a hammer, and a hard surface. Optionally, we recommend using a bone folder to crease your leather and conditioning with leather salve for water-resistance.
To protect your card holder, we recommend conditioning it before you make with leather salve.
This wallet is made of vegetable-tanned leather and is very durable. Some natural variation of color and texture is expected. The leather is a light tan color when new and will darken in color over time. The texture will also soften with use, developing a beautiful, worn-in patina.
Because veg-tanned leather is not water-resistant, we highly recommend conditioning and protecting your wallet with leather salve, which can be applied with a horsehair brush and buffed with a flannel cloth. (Option to add to your kit above.) To learn more about leather care, visit our blog.
![]() Waxed canvas is the original water-resistant fabric. It's a densely-woven cotton fabric that
has been saturated with wax, giving it an extra layer of protection. Waxed canvas shows scuffs, marks
and creases that blend into a weathered patina with age.
Waxed canvas is the original water-resistant fabric. It's a densely-woven cotton fabric that
has been saturated with wax, giving it an extra layer of protection. Waxed canvas shows scuffs, marks
and creases that blend into a weathered patina with age.
![]() Our leather is sourced locally at Oregon Leather, as well as from a tannery in
Pennsylvania, and hand-selected for its quality. Our hides are cut into straps with a
hydraulic press to ensure precision and consistency. NOTE: Our tan leather might feel stiff at
first, but it will soften and darken to a lovely caramel brown with use.
Our leather is sourced locally at Oregon Leather, as well as from a tannery in
Pennsylvania, and hand-selected for its quality. Our hides are cut into straps with a
hydraulic press to ensure precision and consistency. NOTE: Our tan leather might feel stiff at
first, but it will soften and darken to a lovely caramel brown with use.
![]() Hardware can take a bag from looking homemade to truly professional—and it's not hard to
do! With a few basic tools, you'll be able to set rivets, snaps, magnetic closures and more. All of
our hardware is real metal and strong enough to hold up to years of wear and tear.
Hardware can take a bag from looking homemade to truly professional—and it's not hard to
do! With a few basic tools, you'll be able to set rivets, snaps, magnetic closures and more. All of
our hardware is real metal and strong enough to hold up to years of wear and tear.