Gather up all the scraps from your waxed canvas yardage—we’ve got a project to put them to use! This handy lunch sack is just a tad bit bigger than the traditional brown paper bag, features a wipeable, water-resistant waxed canvas body, an envelope fold base, and plenty of opportunities to get creative.

The bag can be sized up or down depending on how big your scrap pieces are. If you’re short on scraps, try adding a bottom seam to the bag to make use of smaller pieces.
Supplies List
- Waxed canvas (12" x 30")
- All-purpose thread
- Nonstick needle (Size 100)
- Quilting ruler
- Edgestitch presser foot
- Craft clips
- Rotary cutter with cutting mat
Optional, for personalizing:
Finished Dimensions: 7" W x 12" H x 4" D
How to Sew a Waxed Canvas Lunch Sack
Prepare + Sew the Hems

On the wrong side of both short ends of waxed canvas, draw fold-to lines that are 1” and 1½” down from the raw edge. Create a ½" double-turn hem by folding the raw edge to meet the first fold-to line and folding again to meet the second fold-to line.
Finger press the hems or use a steel fabric roller to flatten. Repeat on the other short end of the waxed canvas piece. Pin or clip the hems in place. Edgestitch the hems down with a 1/8" seam allowance.

Tips » If you have a sew-in "I MADE THIS" label, tuck it into the hem! » An edgestitch presser foot will help make a straight stitch parallel to the edge of the hem’s fold.
Prepare the Envelope Fold Base
Note » If you’ve made a Portsmith Tote before, you’re already familiar with this technique!

- Align the top edges of the bag, right sides together, and pin the top portion of the side seams in place. Finger press the two layers of fabric flat, creating a fold on the bottom of the bag.
- Measure 4” up from this bottom folded edge and make two small marks on either side edge. Clip the side seams just above these 4” marks.
- Reach inside the bottom portion of the lunch sack and invert the bottom fold, bringing it to meet the 4” marks you created, right sides together (see diagram). Press to flatten.
- Bring the top edge of the envelope fold to meet the bottom edge, pivoting at the center. The folds should be aligned at the bottom of the bag (see photo). Clip the side edges in place.
Tip » For some extra help, check out our ▶️ How to Sew an Envelope Fold Boxed Corner video tutorial.
Sew the Side Seams

Sew the side seams together with ½" seam allowance. Make sure to backstitch to reinforce the seam, especially at the top of the bag.
To finish the side seams, use a zigzag stitch on the widest setting, with the stitch length set between 1–2. Sew along the raw edge of each side seam. The outermost point of the zigzag stitch should fall just barely beyond the edge of the fabric, wrapping around the raw edge as you stitch.


Turn the bag right side out and push the bottom corners of the bag out. If needed, poke out the corners with your fingers to create nice sharp points. When done properly, the side seam should be in the center of the triangle. This will create the boxed corner at the bottom of the bag.


Tip » For some extra help, check out our ▶️ How to Turn an Envelope Fold Base video tutorial.
Personalize It!

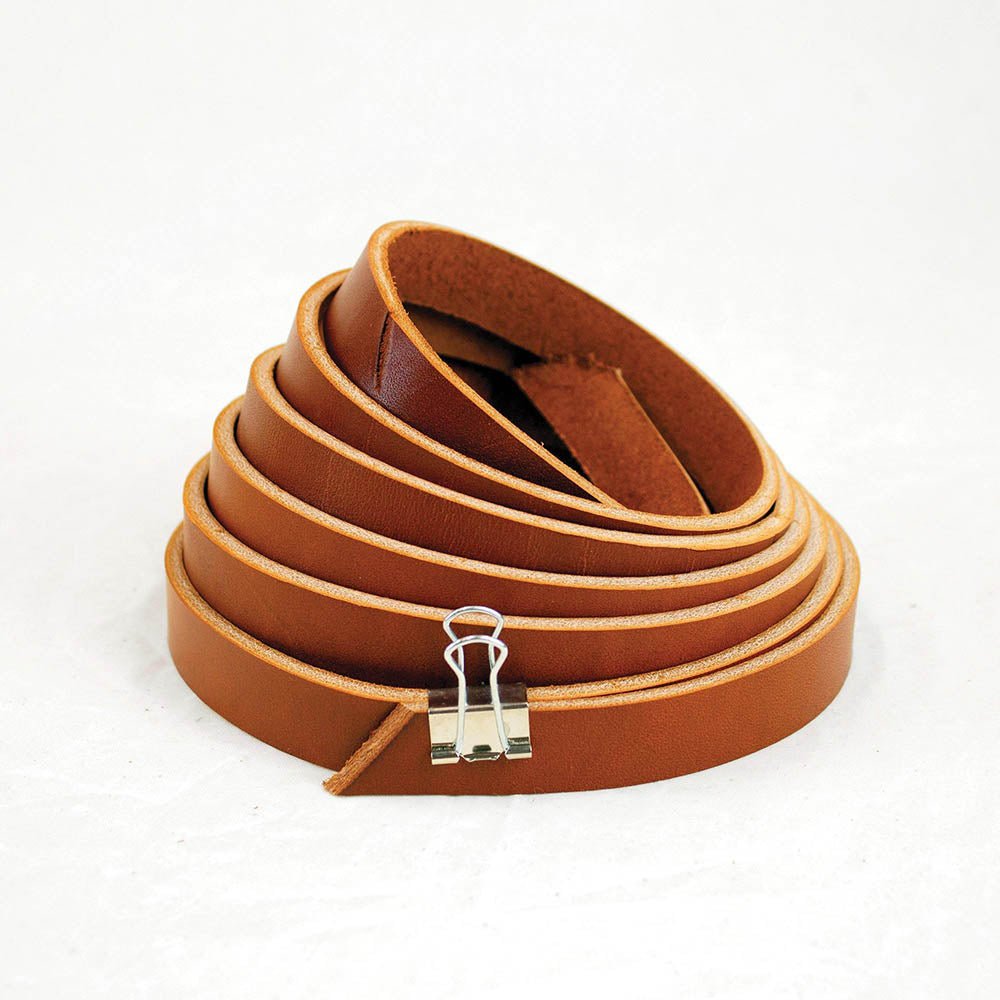
That’s it! Now you have a waxed canvas lunch sack! From this basic pattern, there are endless options for customization, including adding an outside pocket for love notes, attaching leather straps with rivets, adding a snap closure, personalizing leather details with letter stamps, or even using more scraps to make a reusable utensil sheath. Have fun making it yours!
Here’s a step by step video: ▶️ Add a Stamped Leather Tab.


Quick Makes


Waxed Canvas
Want to learn about waxed canvas? Check out our Essential Guide to Waxed Canvas, where you’ll get the answers to every question you can imagine about our favorite fabric!

Waxed Canvas


About the Author