New
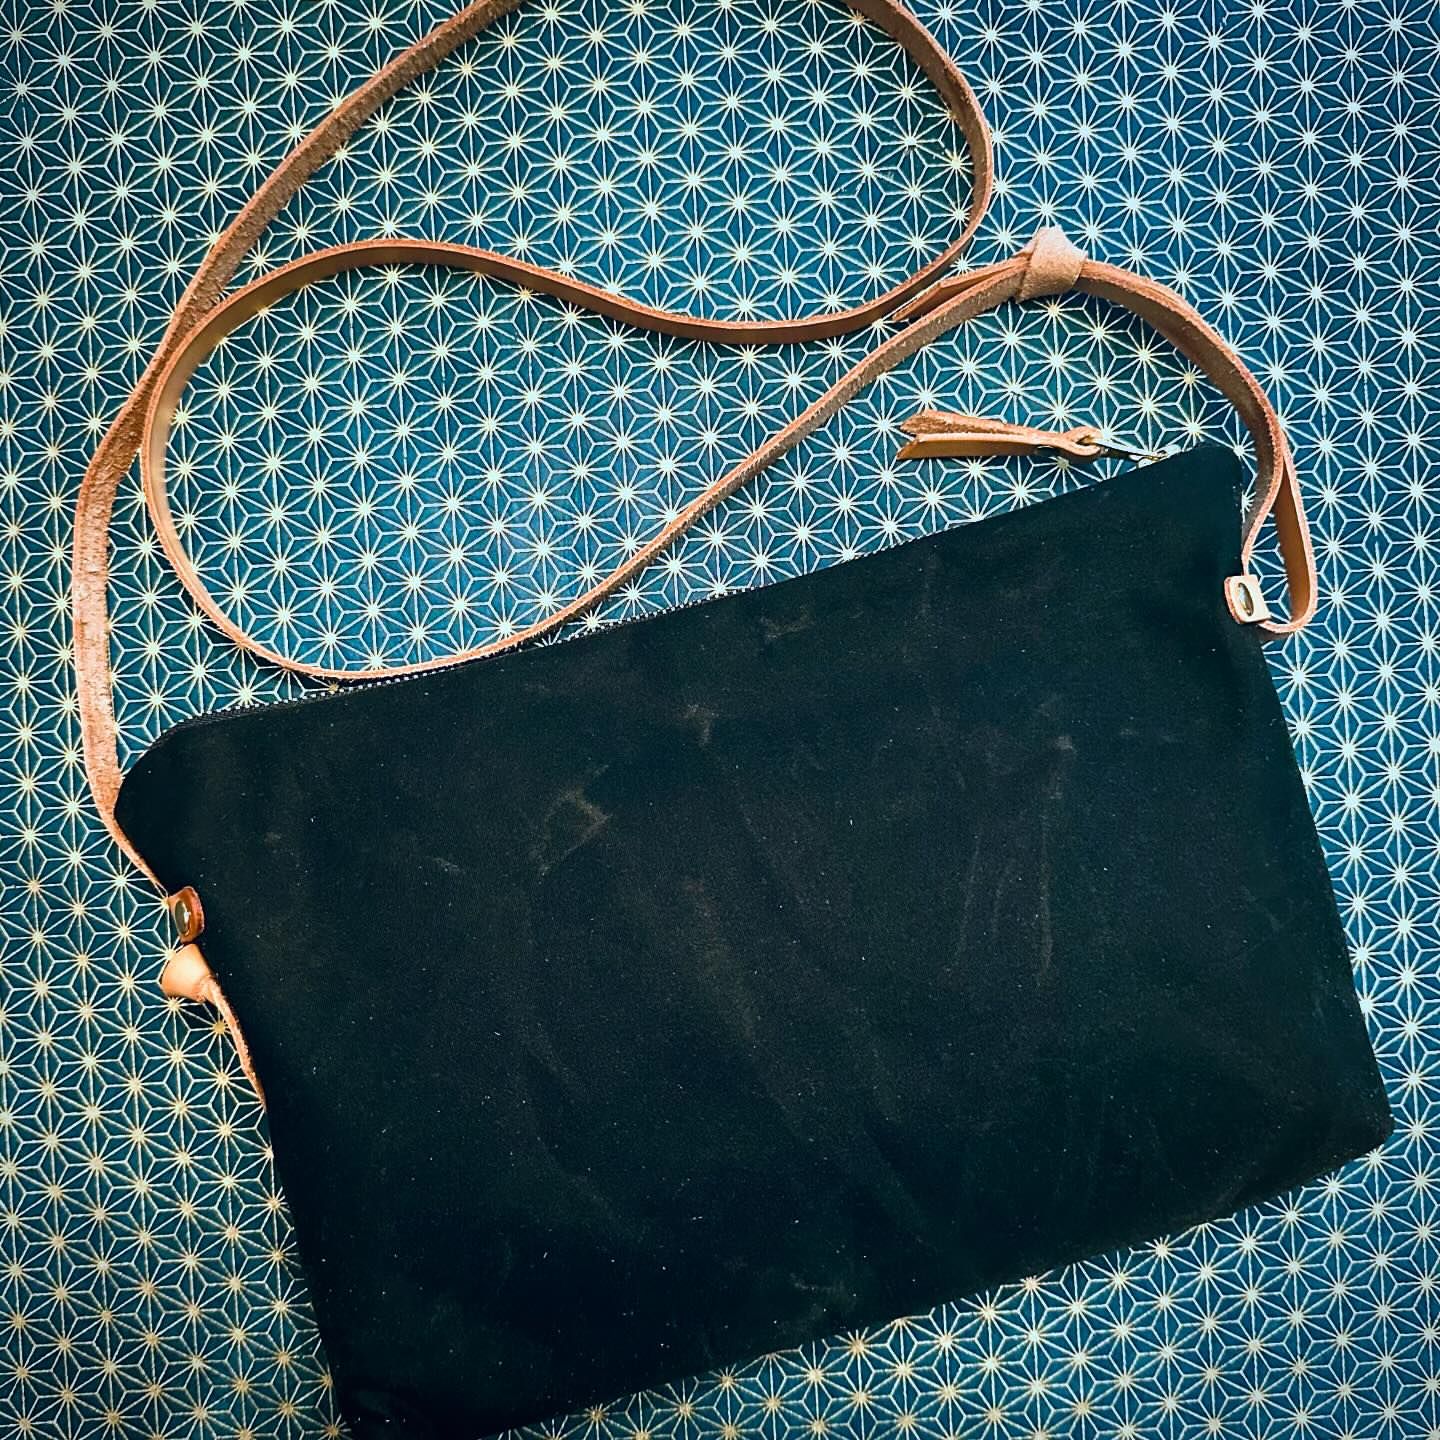
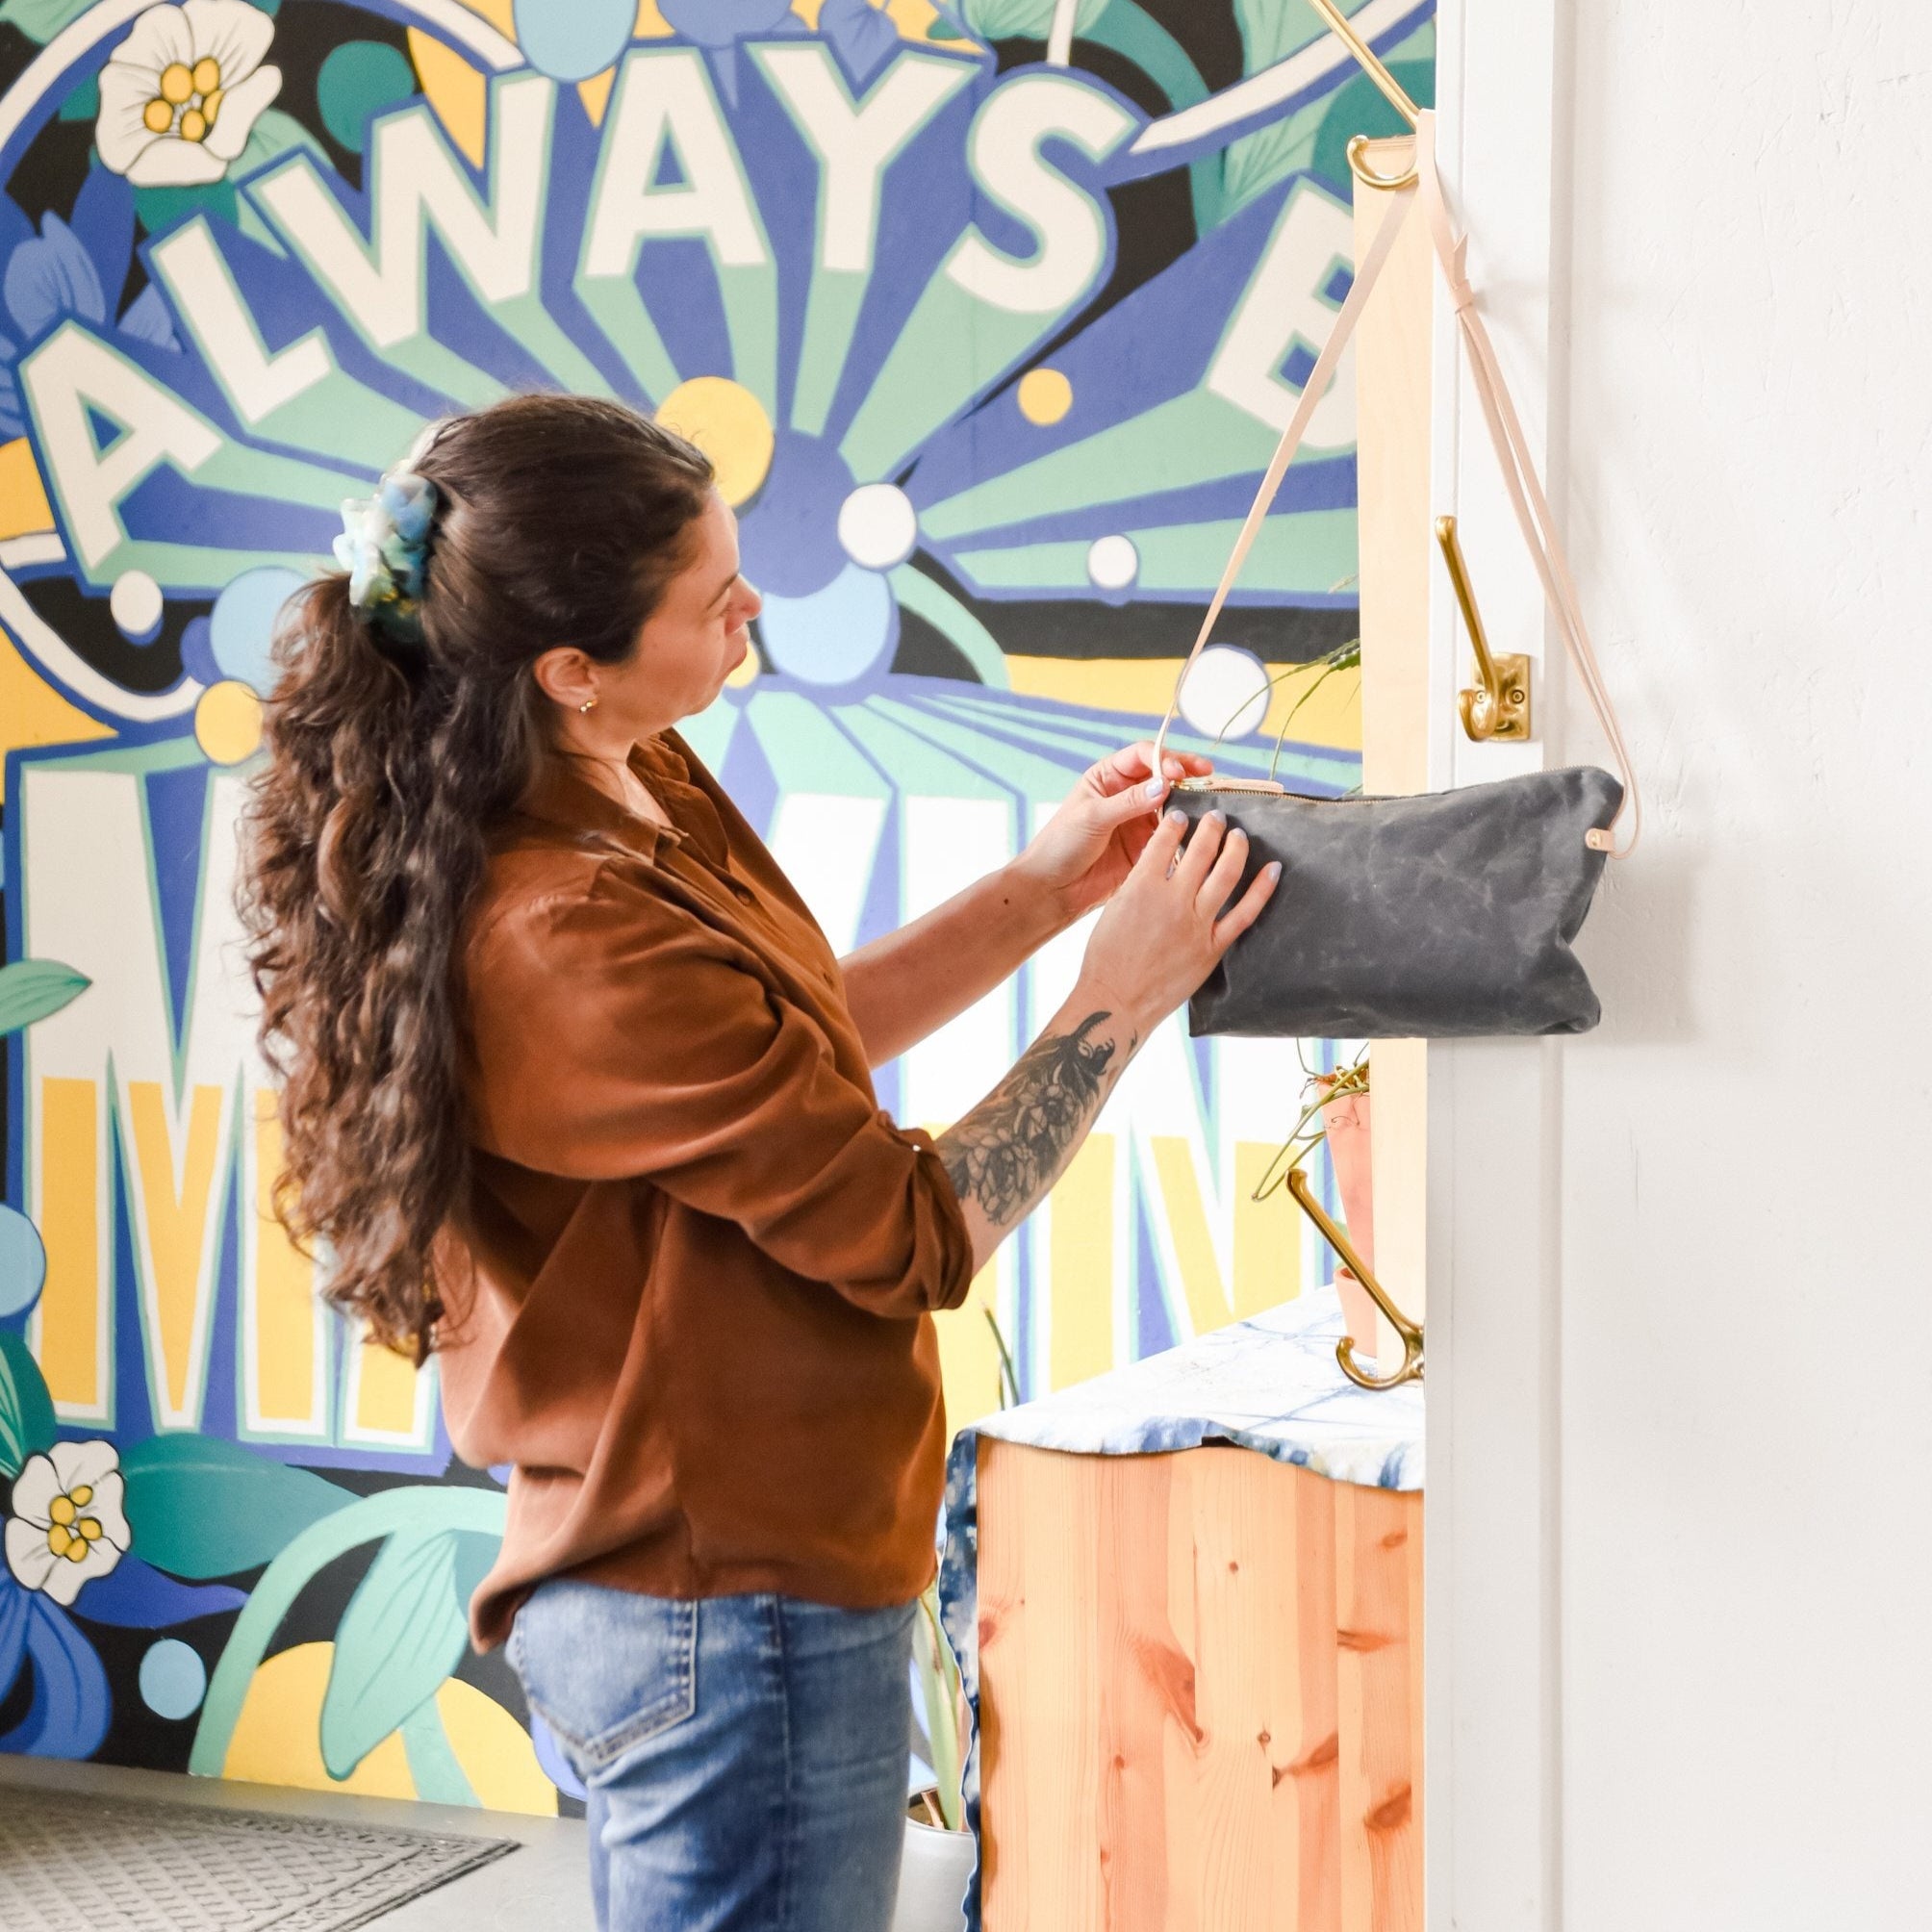
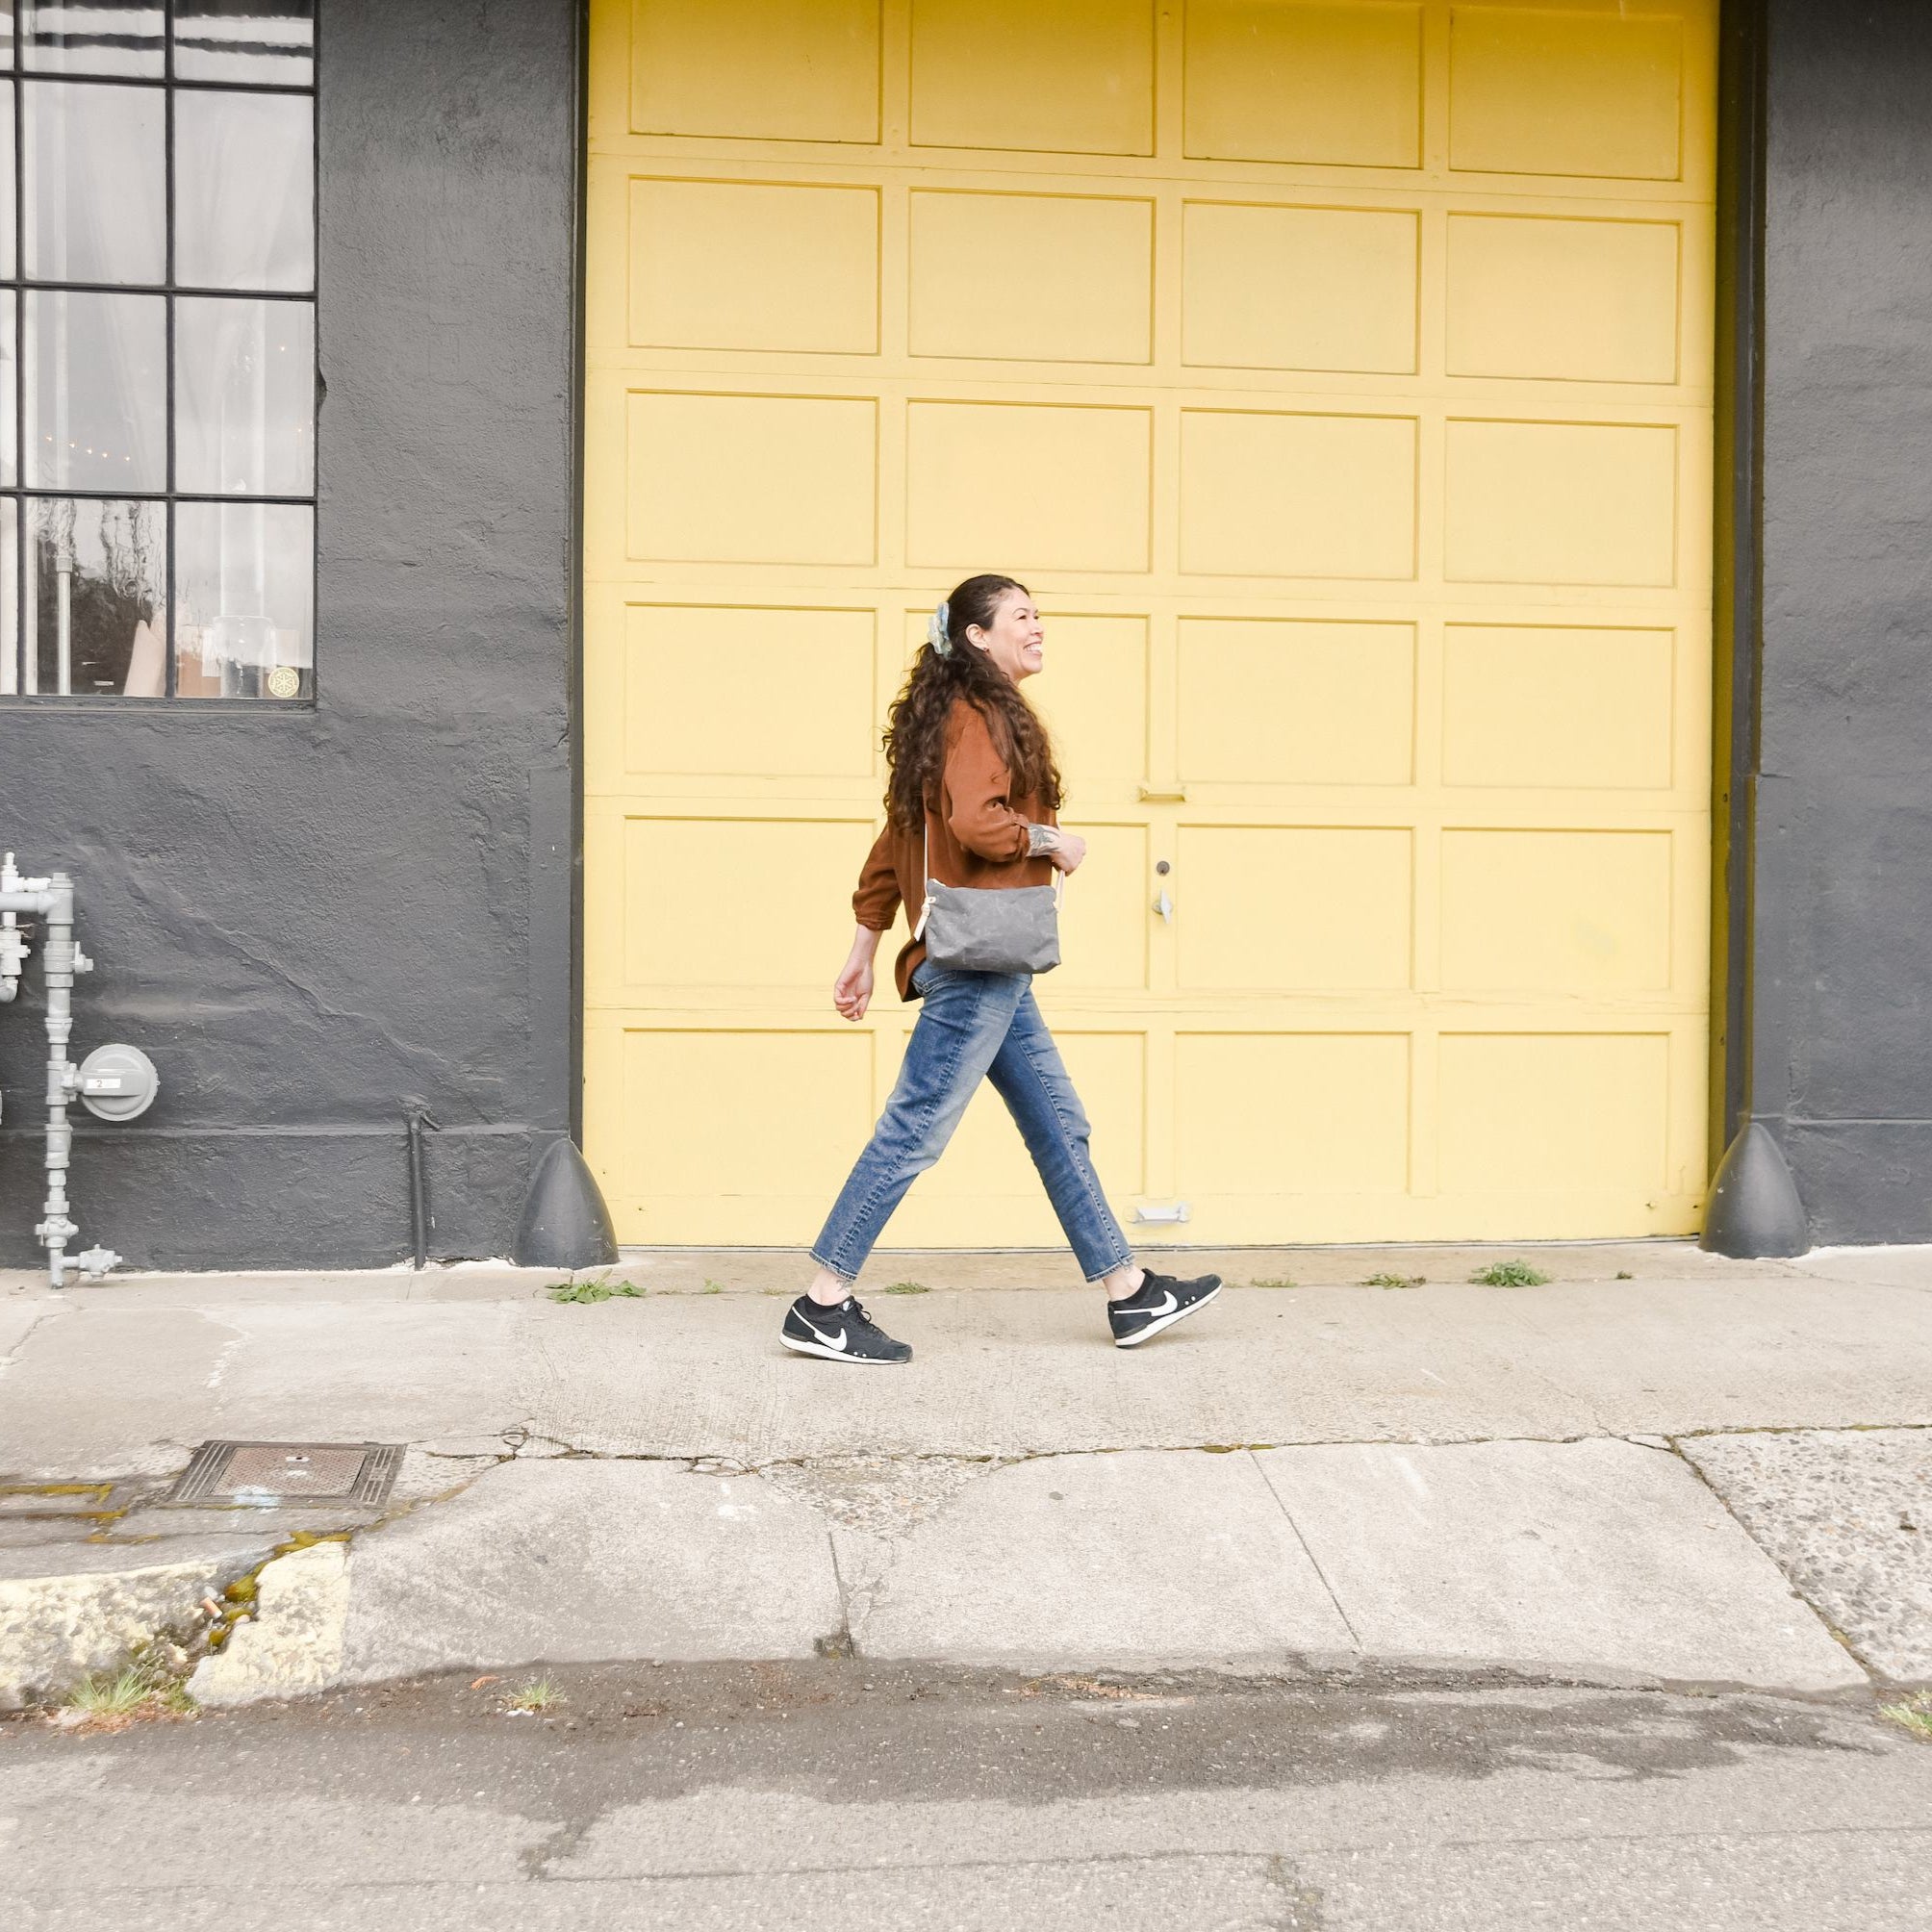
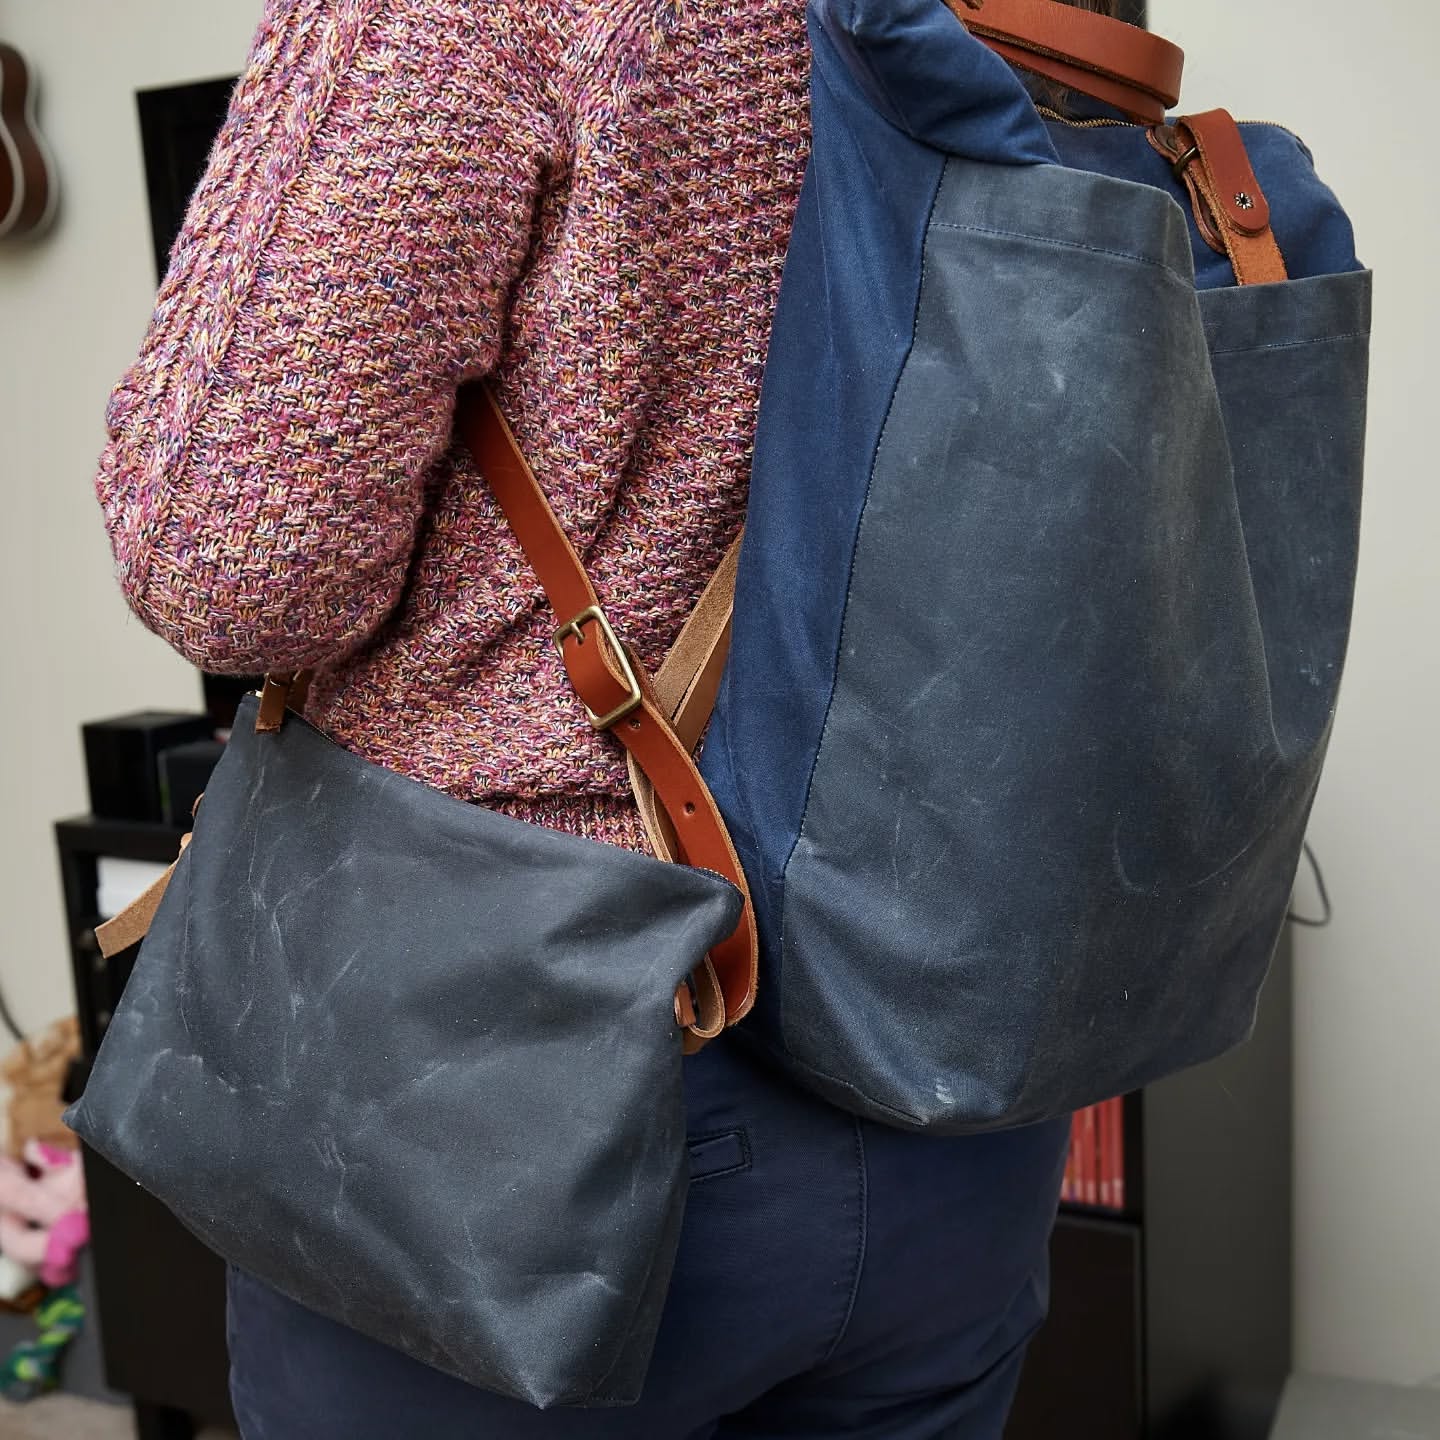
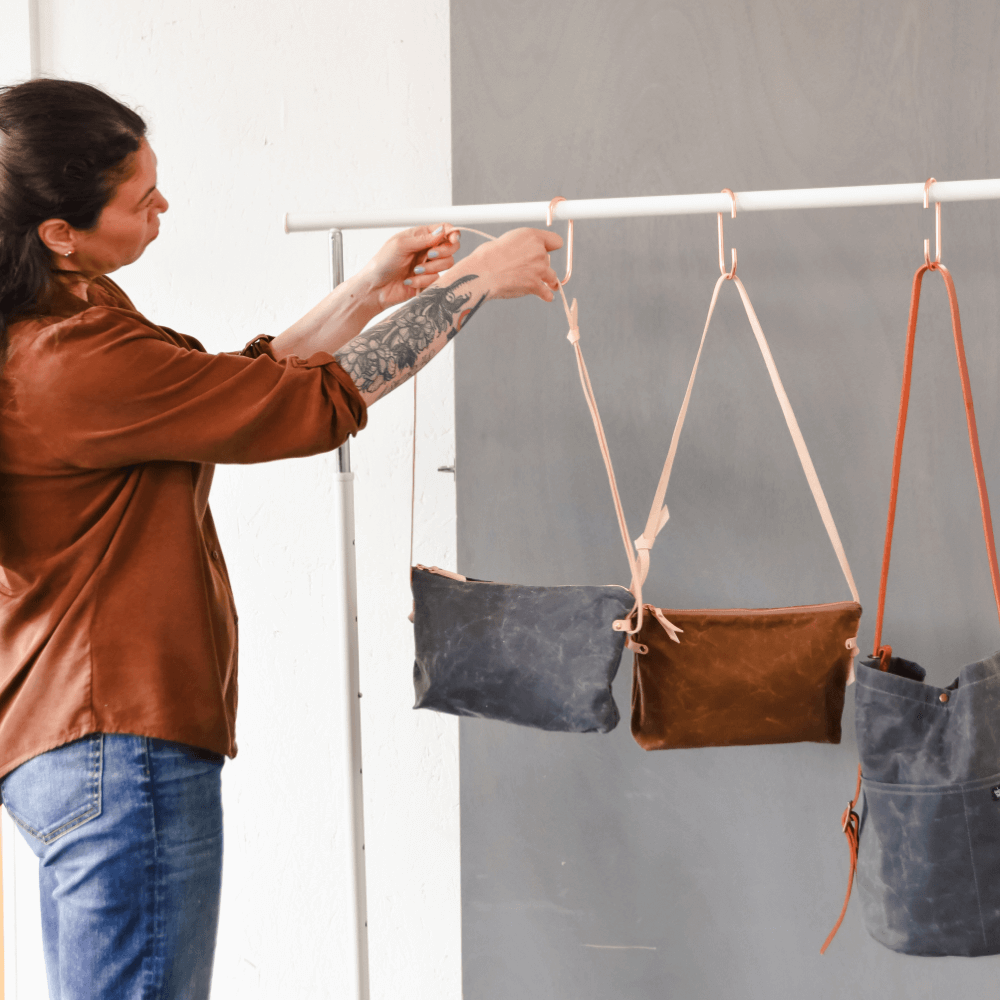
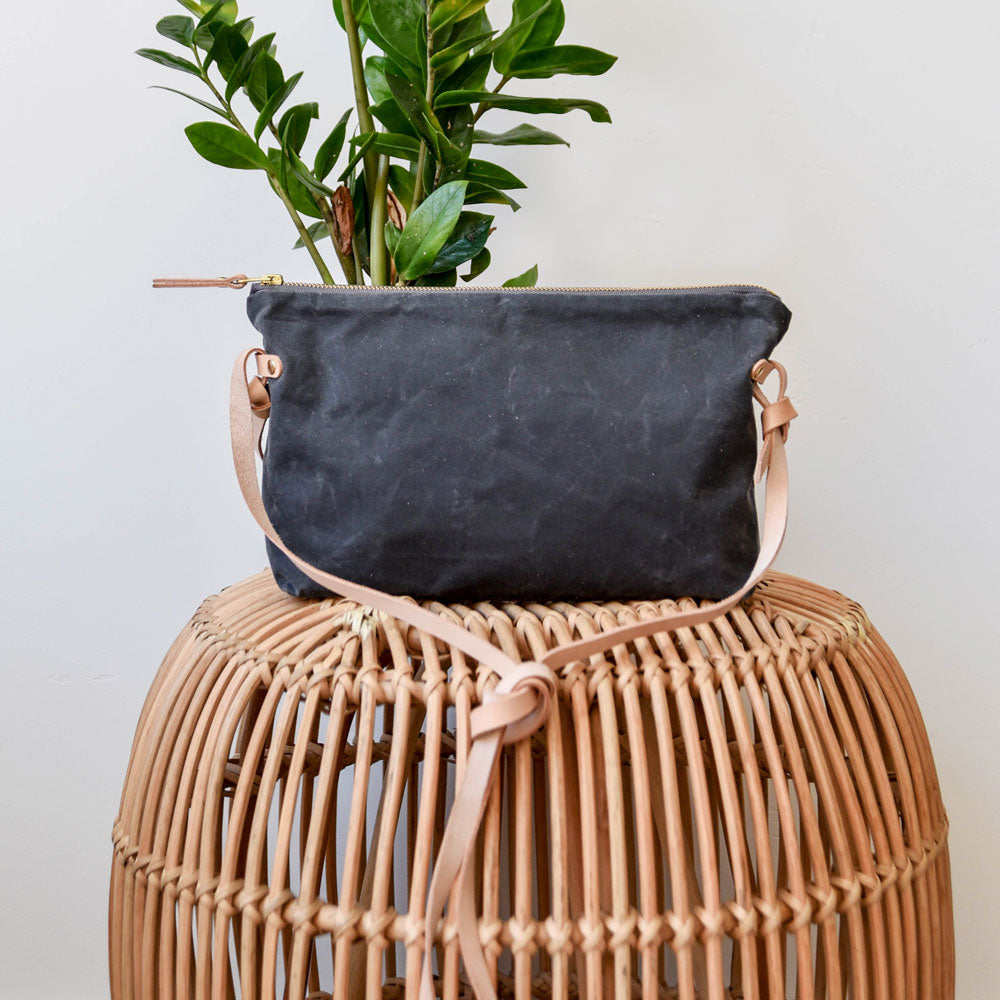
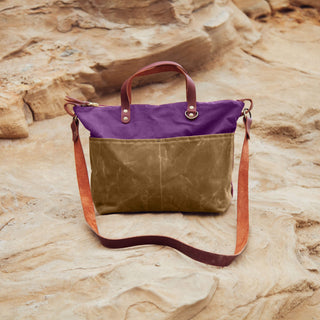
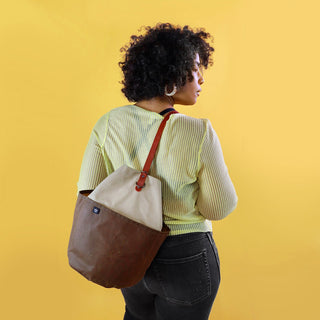
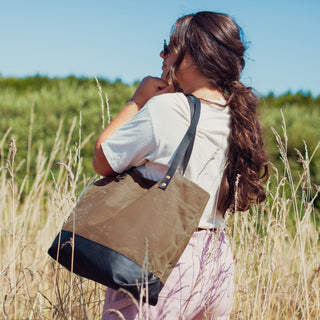
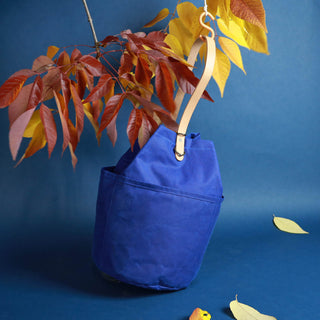
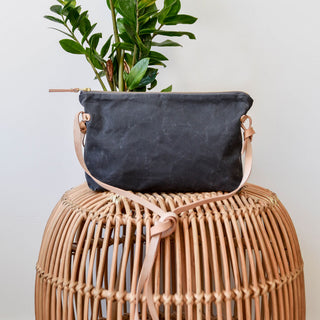
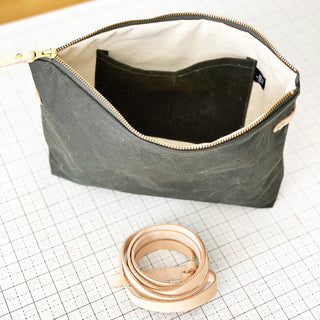
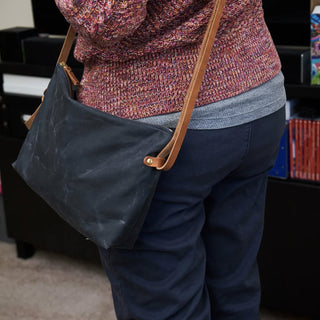
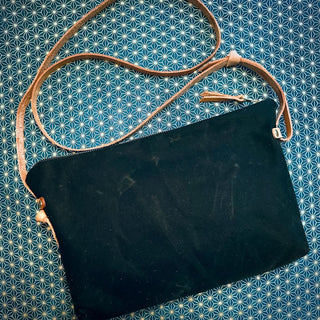
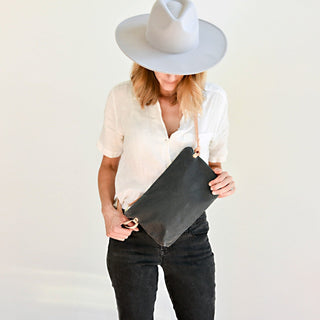
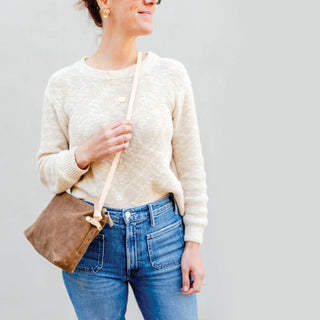
Alberta Crossbody Tote - Pattern


New
Alberta Crossbody Tote - Pattern
Skill Levels
 BEGINNER |
 CONFIDENT BEGINNER |
|
Beginner projects will introduce you to the basics of bag making. You'll learn to sew heavy-duty fabric, punch holes in fabric and leather, set metal rivets, and sew your first zipper! |
Confident Beginner projects involve managing more pieces of fabric and leather. They'll teach you to add interior and exterior pockets and install new types of hardware, like snaps. |
 INTERMEDIATE |
 ADVANCED |
|
Intermediate projects involve a more in-depth making process. They'll teach you to work with a wider variety of tools and hardware techniques, like setting extra-strength tubular rivets. |
Advanced projects are for experienced stitchers ready to invest a significant amount of time and energy into becoming a bag maker. Complex construction and seriously professional results. |
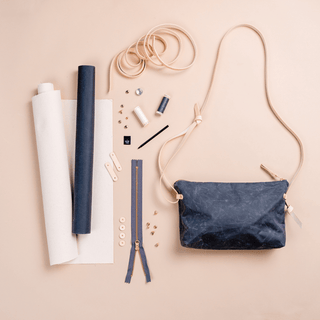
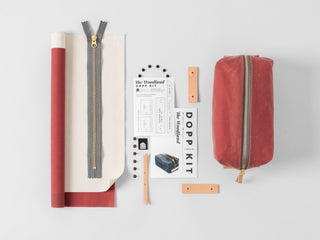
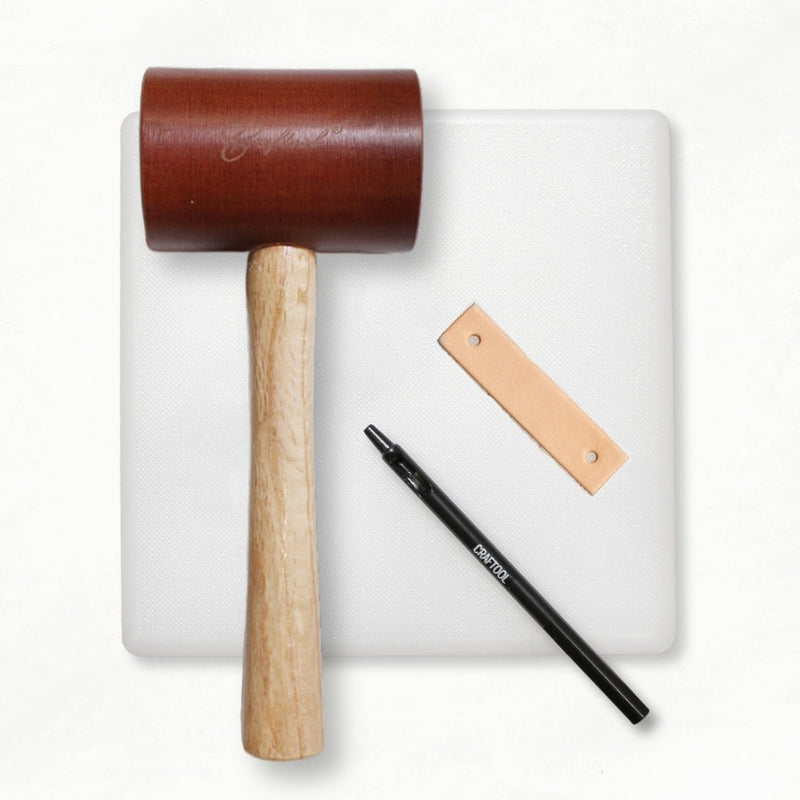
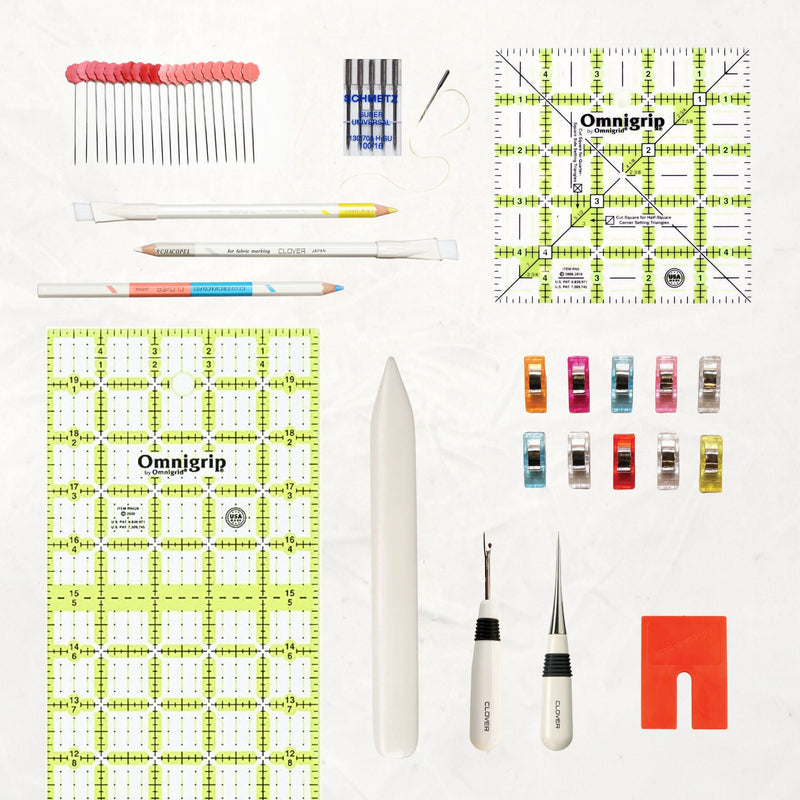
Tools + Supplies List

Alberta Tools + Supplies List
This guide covers all the tools, materials, and supplies needed, whether you're working from a kit or from scratch.
Shipping calculated at checkout.
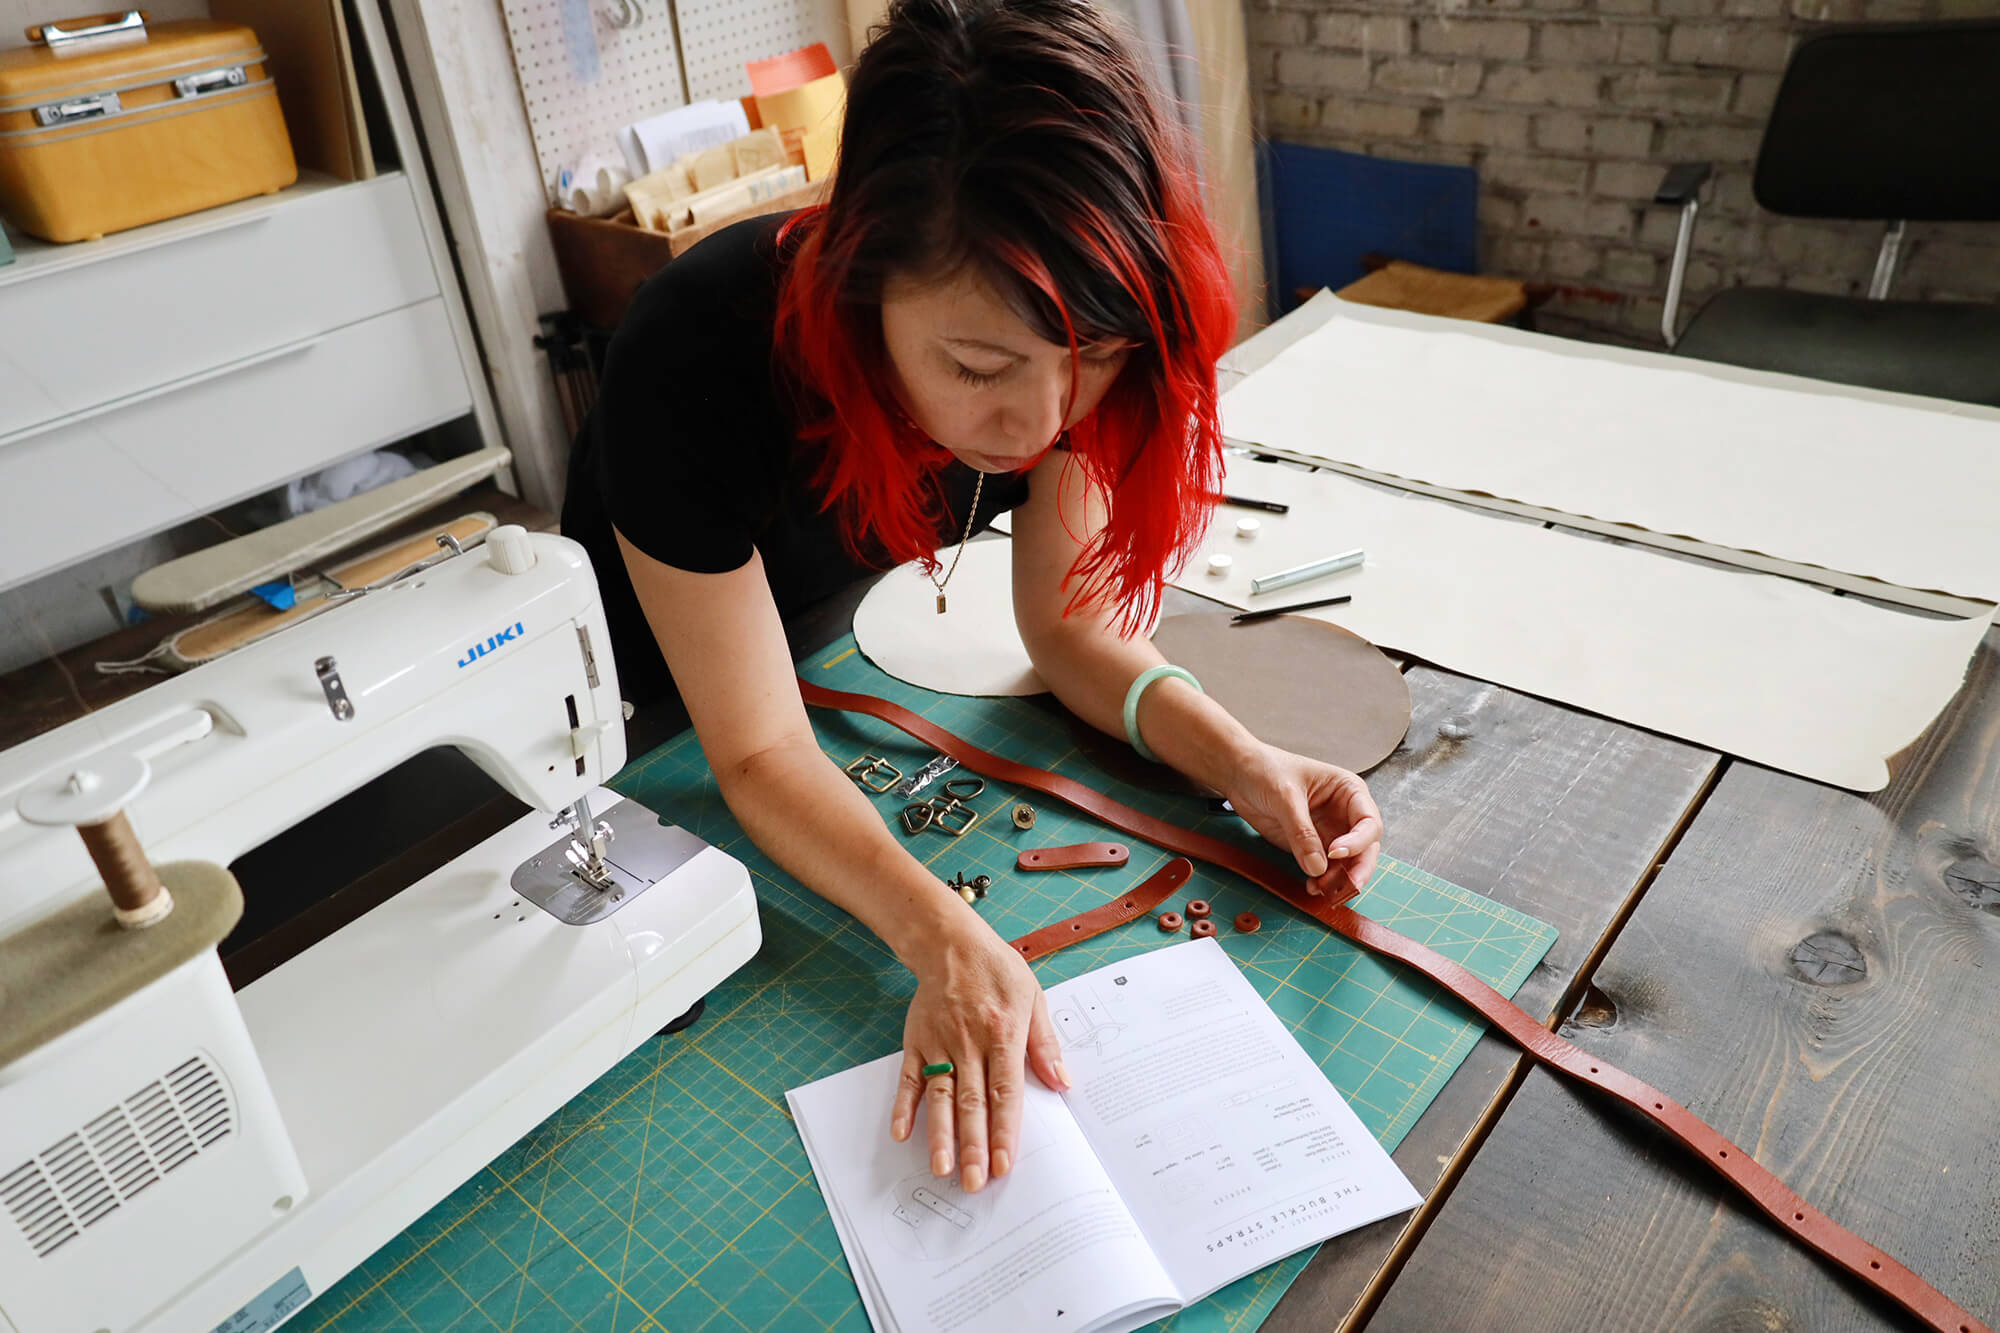
LEARN WITH US
Patterns designed to upskill your bag making.
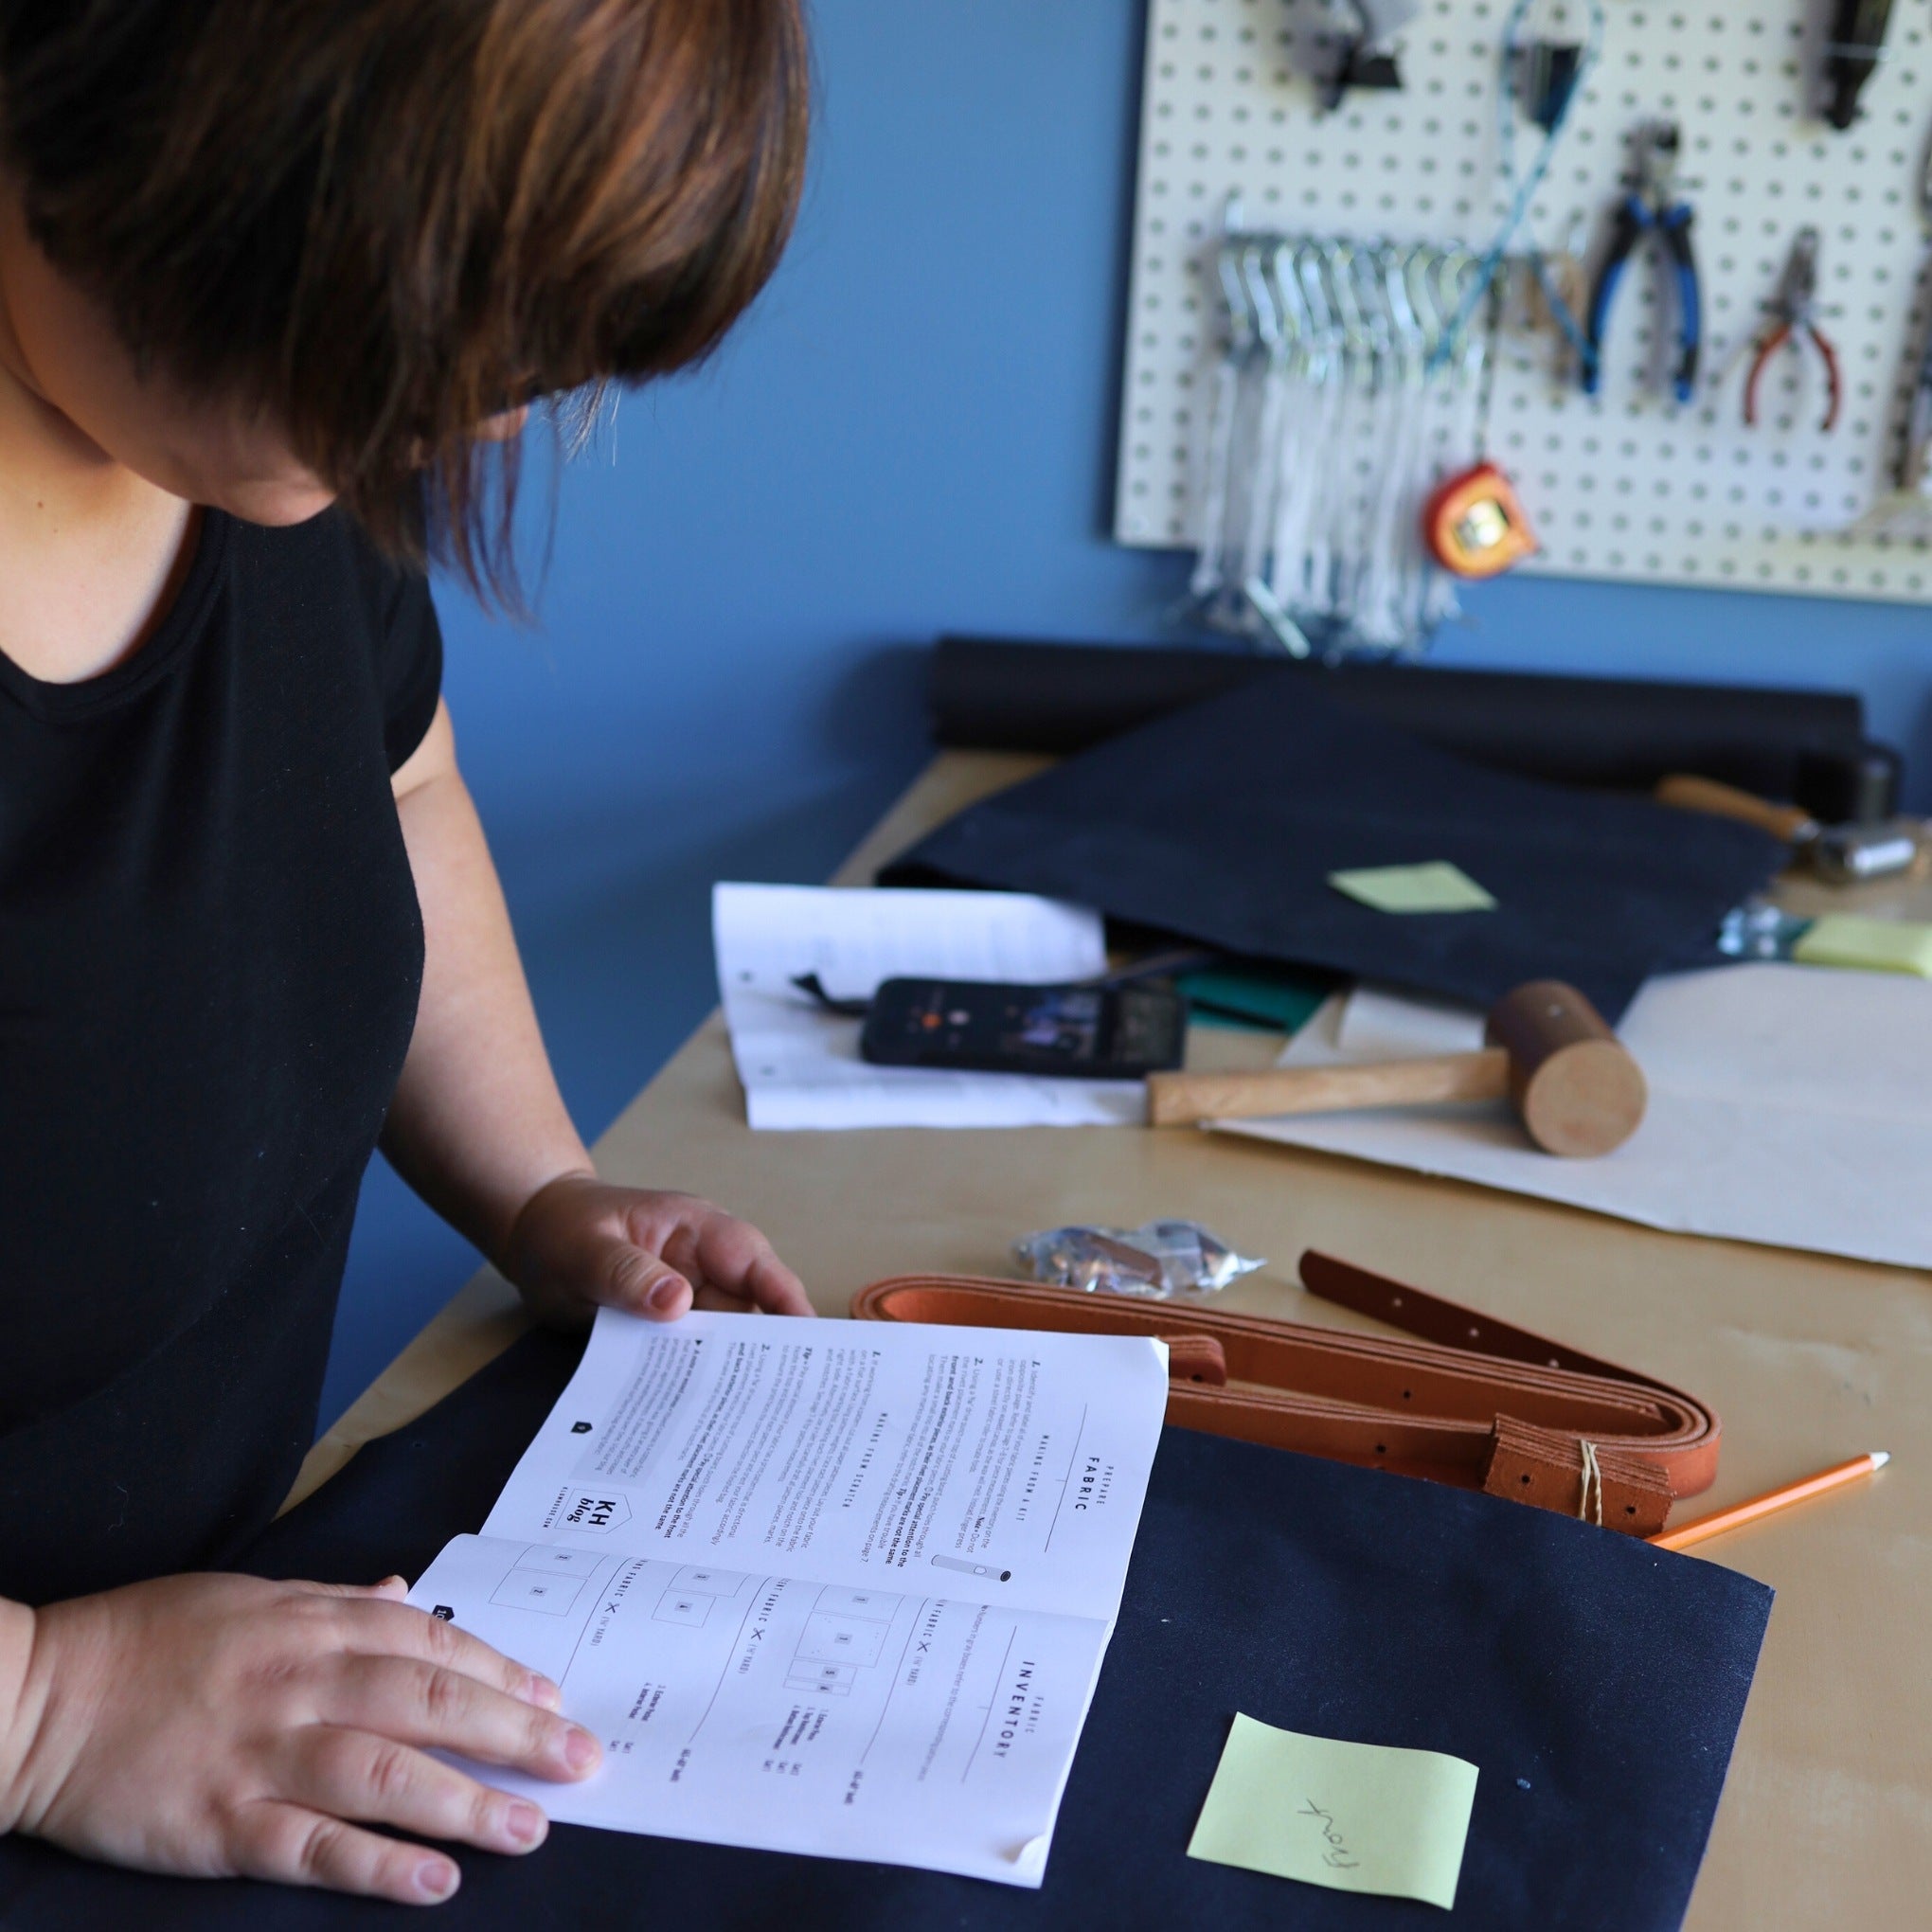
At Klum House, we pride ourselves in creating patterns that are thoughtful, holistic, and easy-to-follow. We want you to feel fully-supported at every step of your making journey.
Clear Instructions
We are teachers, first and foremost, and as such we know that clear language is so important. We are dedicated to crafting simple, easy-to-follow instructions, so you can forge ahead with confidence.

Helpful Tips + Cautions
Your instructions booklet will be peppered with helpful tips, reminders, and caution moments. We know all of the most common mistakes (because we’ve made them!) and point them out so you can avoid them.
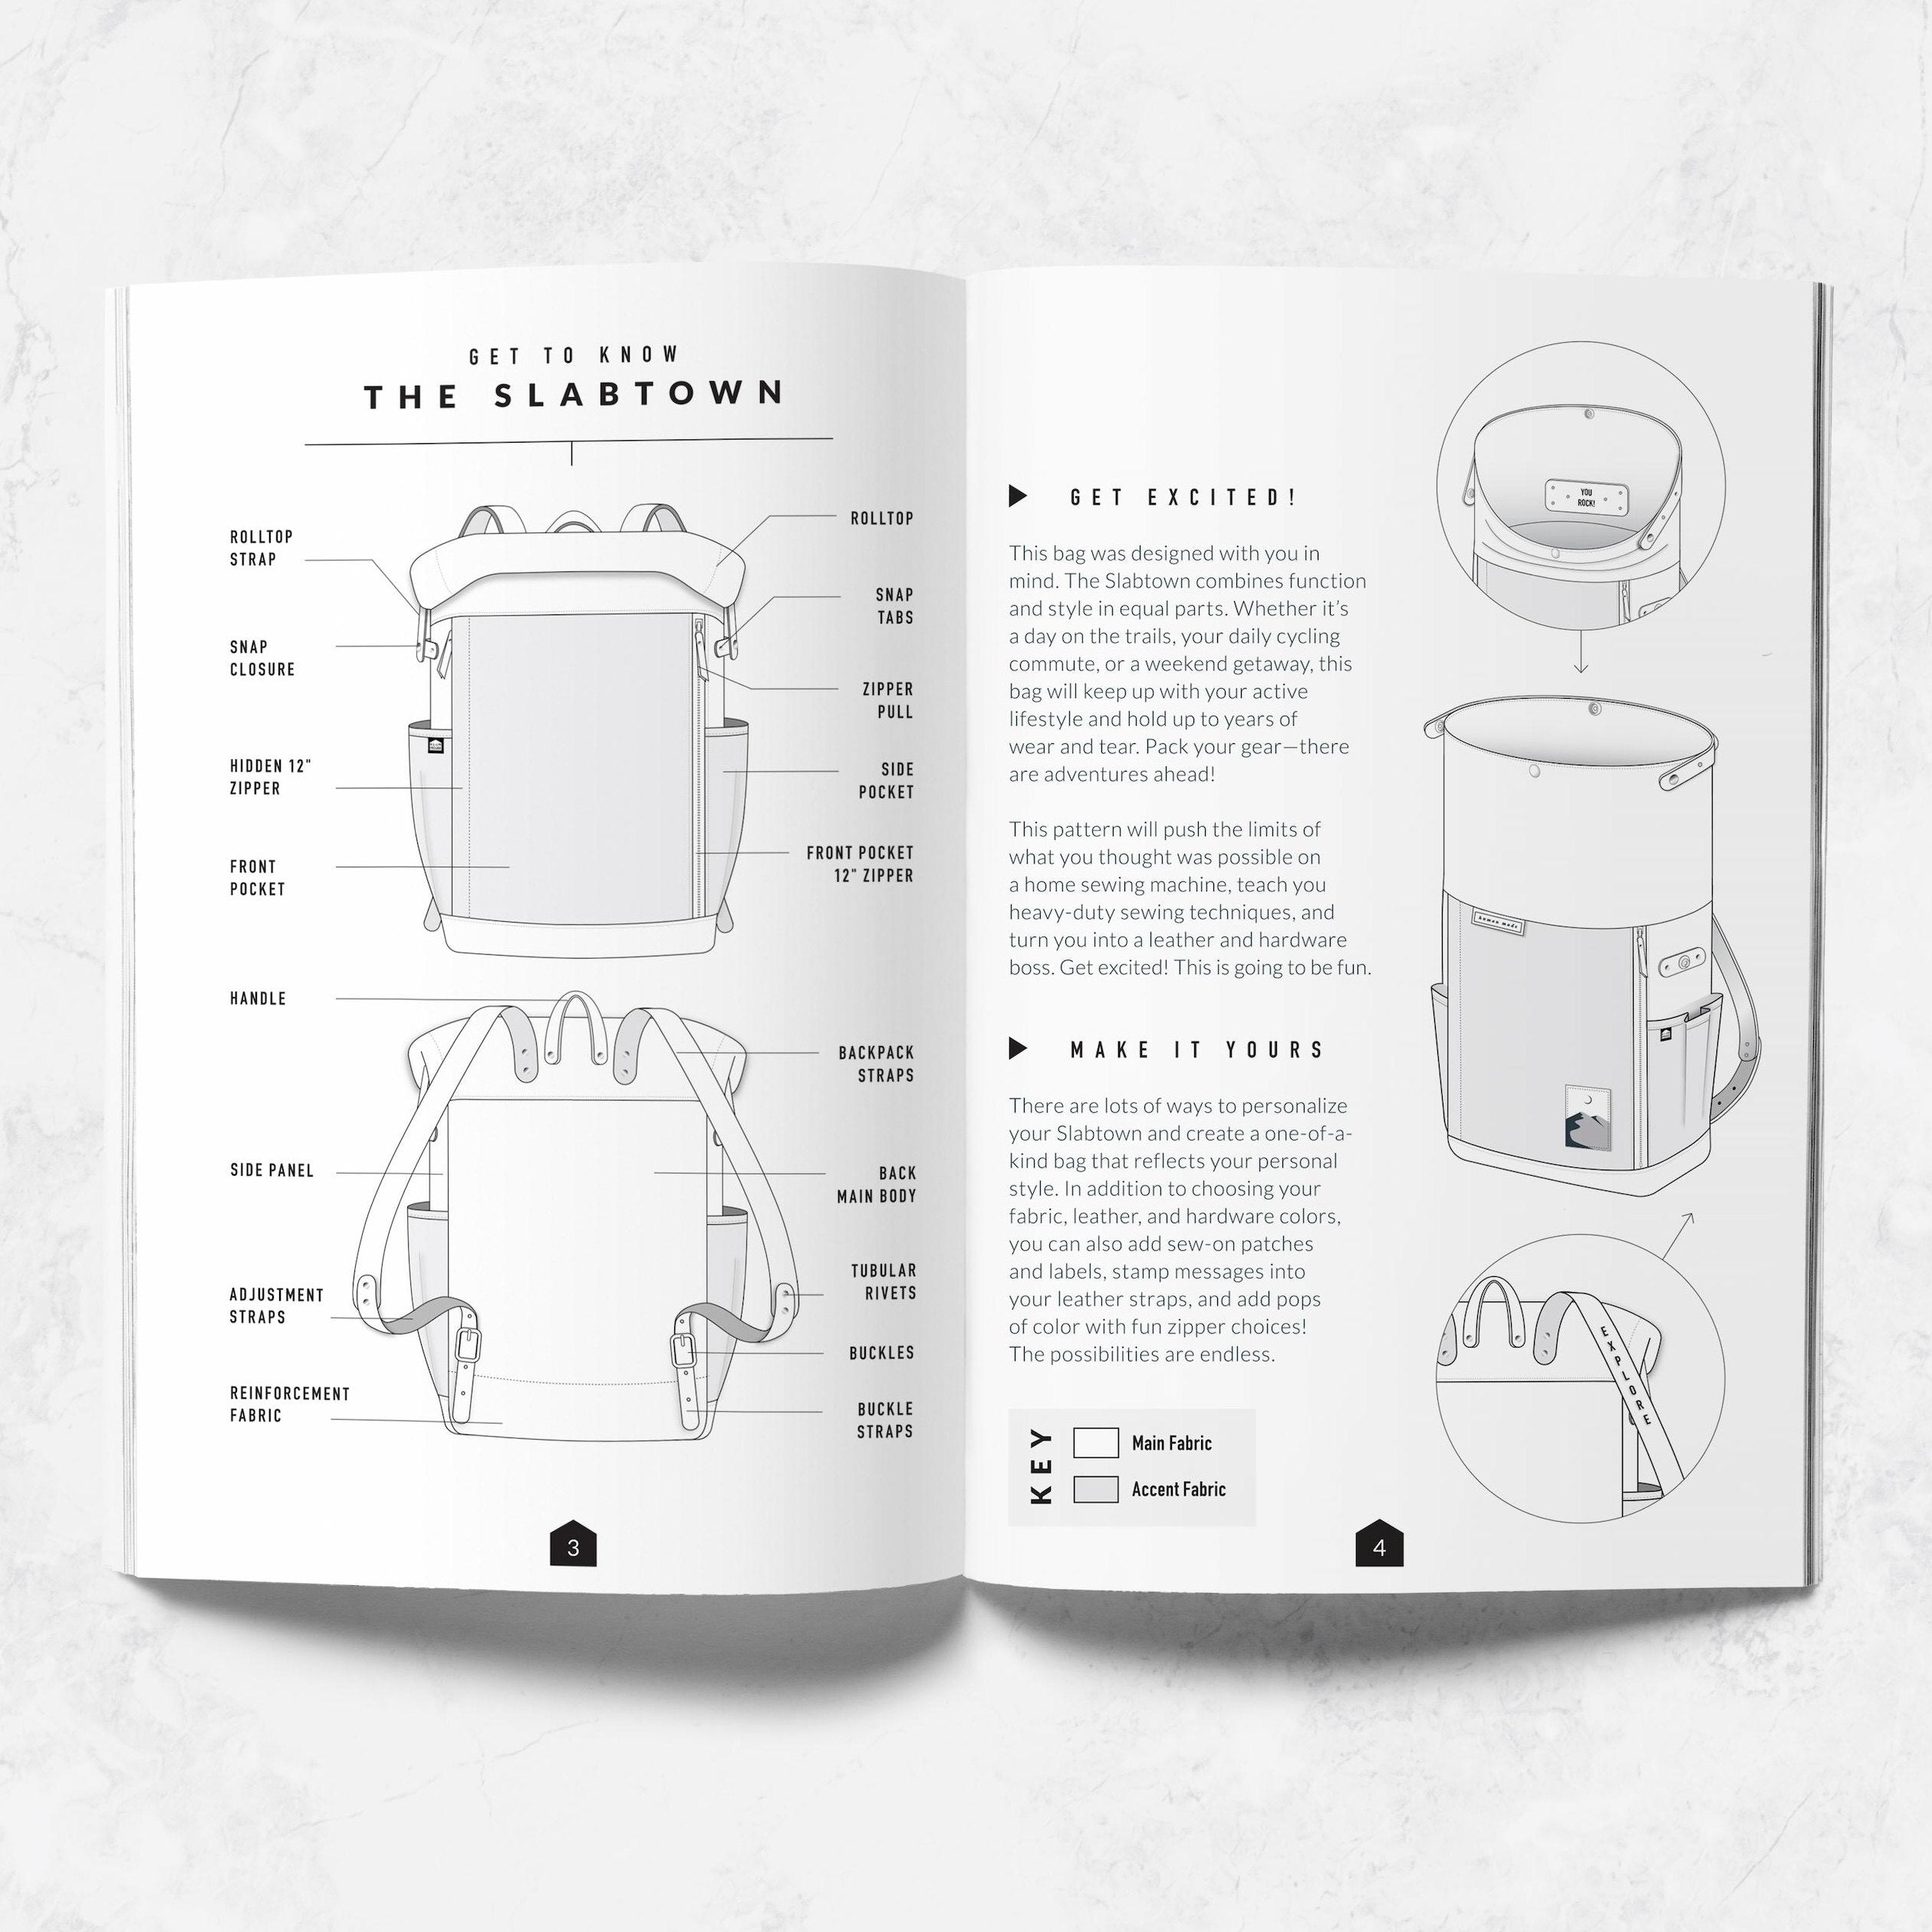
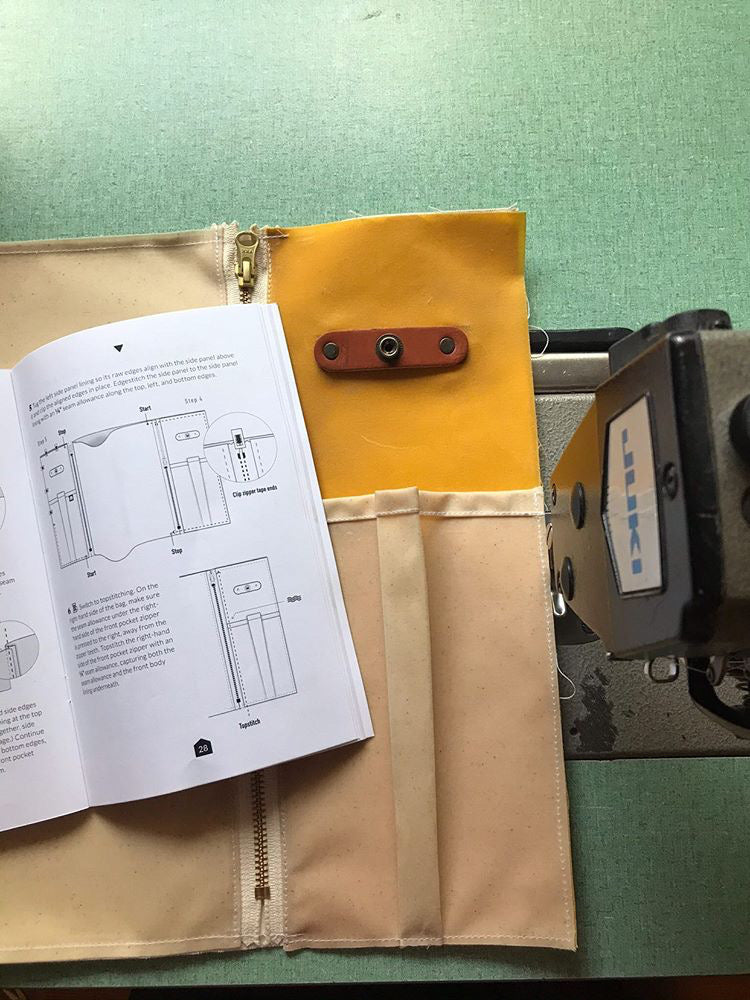
Excellent Illustrations
Our patterns are filled with helpful, technically-precise illustrations. We makers are visual learners! With 3D renderings and transparent layers, we’ll help you conceptualize every stitch, flip, and fold.
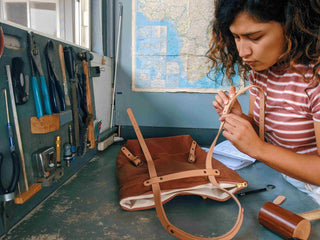
Specialty Education
Bag making is different from other types of sewing. It involves working with heavy-duty fabrics, leather, hardware, and tools you may not have encountered before. But don’t worry, our patterns break it all down.
Multiple Making Paths
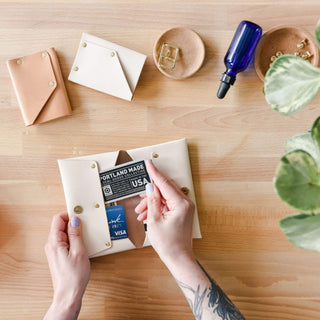
Whether you choose to make from an all-inclusive maker kit, a leather + hardware kit, or “from scratch,” our patterns are designed to guide you along your chosen path to guarantee a successful make!
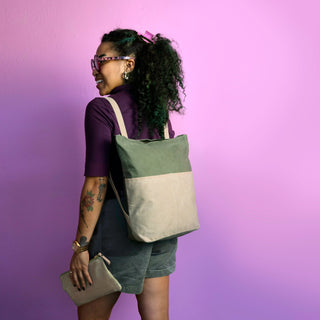
😍 Maker Stories
FAQS
Questions about the Alberta? We've got you covered.
OUR PROMISE
You've got this.
Making things takes courage! For every little victory and moment of triumph, there are frustrating seam rips and cooked rivets, but there is magic to be found in showing up and trusting the process. Sometimes you have to take the leap to discover how much you're truly capable of!
OUR PROMISE
We've got you.
From sourcing the very best tools and materials to crafting crystal-clear instructions, we're committed to setting you up for success (and enjoyment!) at every step of your bag making journey. No matter your skill level, we'll meet you where you are and help you reach your bag making goals.