Maywood + Naito Essential Tools Bundle
- Unit price
- / per
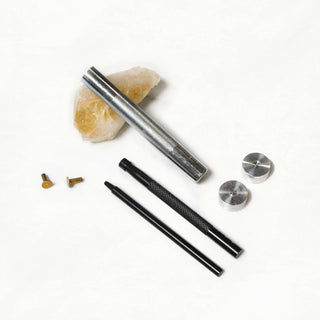
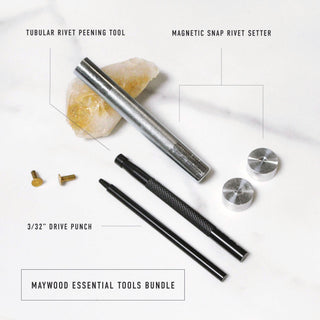
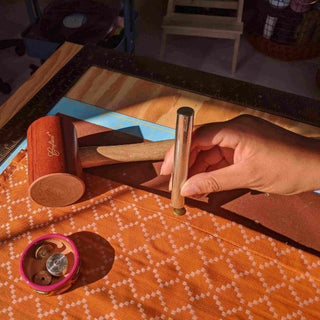
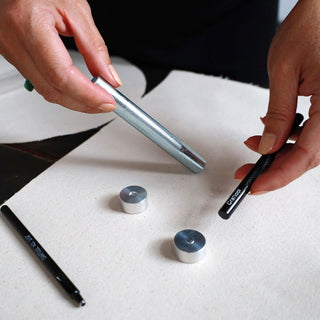
Tubular Rivet Peening Tool: Necessary for setting tubular rivets. Use on top of a hard surface and strike with a non-rubber mallet.
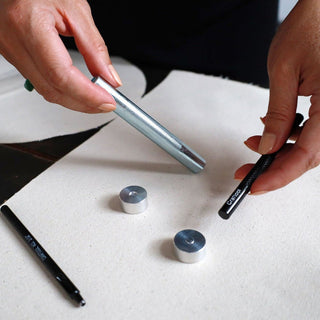
Magnetic Snap Rivet Setter + Anvils: For setting pro magnetic snap rivets. Includes a strike post with a concave end to protect the rivet cap's roundness & anvils for each rivet side. Use on top of a hard surface and strike with a non-rubber mallet.
3/32" Drive Punch: To punch holes in fabric. Use with a mallet on top of a punching board to avoid damaging your table or cutting mat.

Naito Tools + Supplies List
This guide covers all the tools, materials, and supplies needed, whether you're working from a kit or from scratch.
Maywood + Naito Essential Tools Bundle
- Unit price
- / per
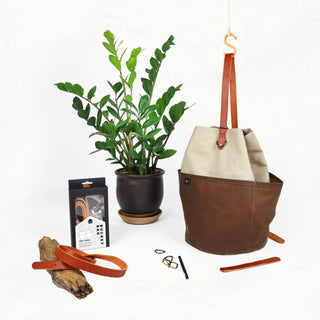
Bundle & Save! All of the essential tools you need to make the Maywood Totepack or Naito Bucket Bag. You can also add this bundle onto a Maywood or Naito kit.
BUNDLE INCLUDES:
- Tubular rivet peening tool
- Magnetic snap rivet setter + anvils
- 3/32" Drive punch
🧰 BUNDLE & SAVE ON TOOLKITS
Adding product to your cart
Complete Your Experience
Tubular Rivet Peening Tool: Necessary for setting tubular rivets. Use on top of a hard surface and strike with a non-rubber mallet.
Magnetic Snap Rivet Setter + Anvils: For setting pro magnetic snap rivets. Includes a strike post with a concave end to protect the rivet cap's roundness & anvils for each rivet side. Use on top of a hard surface and strike with a non-rubber mallet.
3/32" Drive Punch: To punch holes in fabric. Use with a mallet on top of a punching board to avoid damaging your table or cutting mat.

Maywood Tools + Supplies List
This guide covers all the tools, materials, and supplies needed, whether you're working from a kit or from scratch.

Naito Tools + Supplies List
This guide covers all the tools, materials, and supplies needed, whether you're working from a kit or from scratch.
Complete Your Experience
Complete Your Experience

@small.sews
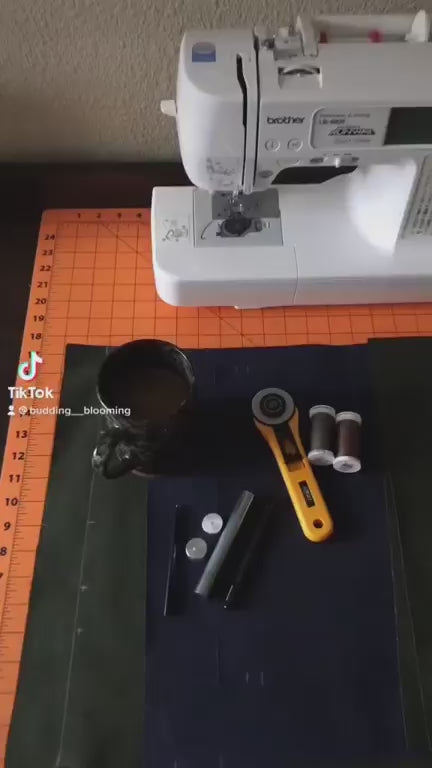
Watch me make the Naito!
@ sew.with.intention
"Watch me make the Maywood Totepack!"
@notaprimarycolor
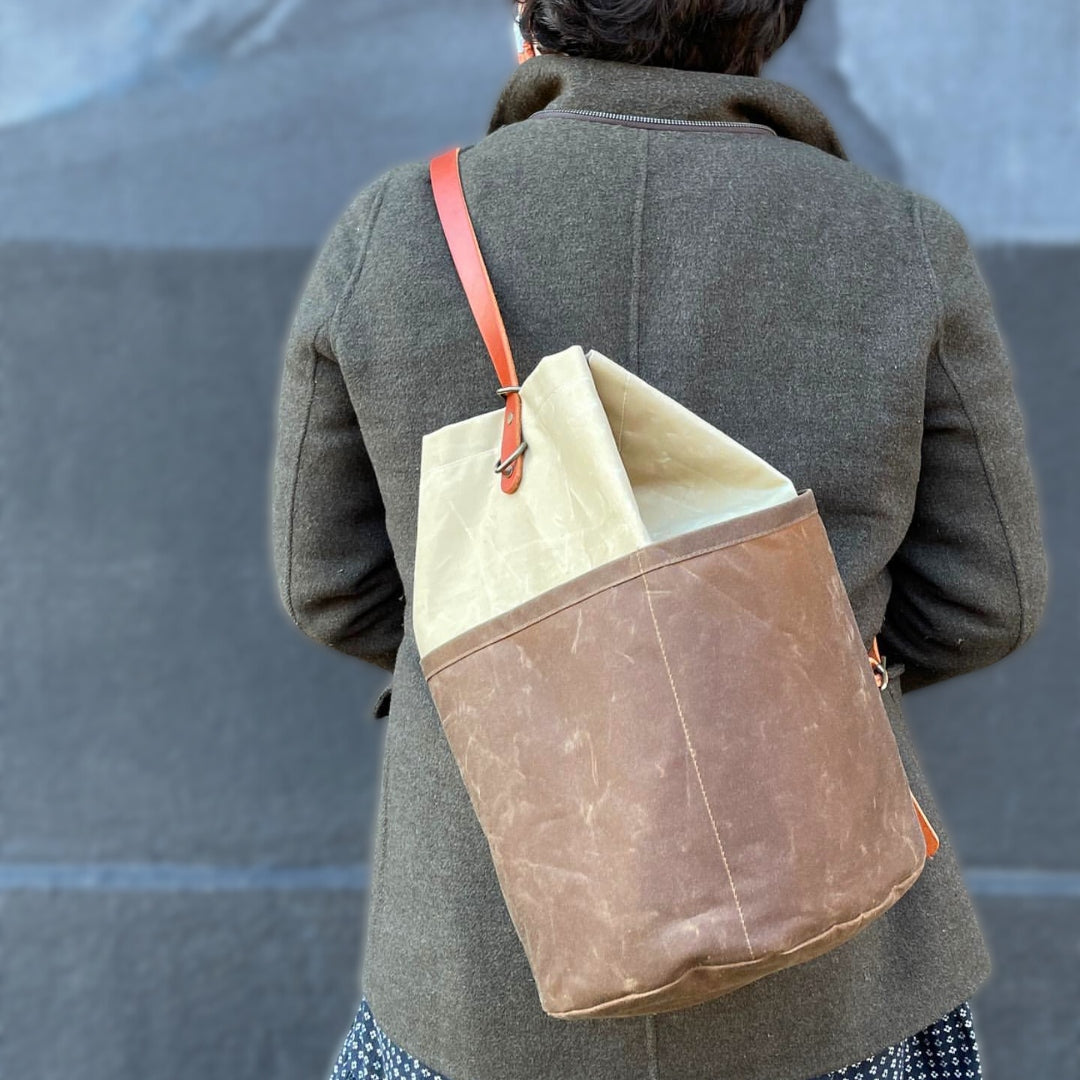
"Attaching the circle base on other bucket bag patterns was always unpleasant, but this one aligned perfectly, and Ellie’s class showed how to guide it through your machine."
😍 Maker Stories
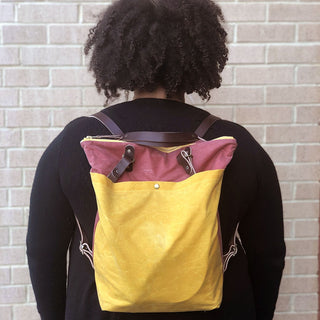
“You end up with a bag that looks so professional. It's sleek AND it’s strong enough to carry all my things. It was also very empowering to make this bag.”

My bag is finished and I'm IN LOVE 😍! Wow wow wow! The online class was invaluable for the trickier parts. Ellie is an amazing instructor and so clear! This thoughtfully designed bag was an absolute joy to sew.
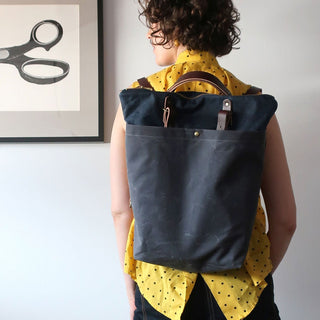
“This bag has all the features that I look for in a travel bag. It's big enough to fit a laptop! I love all the metal and leather details. Even the leather is cut out and punched. It’s all thoughtfully done and just beautiful."

"I loved putting this together - but even more, I LOVE using it! Waxed canvas & canvas lining creates shape without bulk. Such fun hammering 🔨! The 42" strap works great, or get the extended strap at no extra cost.⚡️"
SKILL BUILDING
How to Set Tubular Rivets
Check out our blog for more free educational resources, video tutorials, style inspiration, and more!
FAQS
Questions about Maywood + Naito Essential Tools? We've got you covered.
In short, no. The Maywood + Naito Essential Tools has all the "essential" hand tools you need to set the hardware on both bags. However, there are "studio tools" that should be used in conjunction with the essential tools. For setting hardware you should use a (non-rubber!) mallet on a hard surface, such as a slab of stone, metal anvil, or concrete floor. The 1/8” drive punch should be used with a mallet on a punching + cutting board.
Suggested Studio Tools:
You can add these complimentary "studio tools" to your essential tools bundle above.
Download the FULL TOOLS + SUPPLIES LIST for The Maywood Totepack for a comprehensive list of everything you need to make this bag.
Download the FULL TOOLS + SUPPLIES LIST for The Naito Bucket Bag for a comprehensive list of everything you need to make this bag.
Tubular rivets are much stronger than double-cap rivets. Since the straps pull away from the bag at the attachment points double-cap rivets are unreliable, since they can pop-apart when pulled with opposing force (as compared to "shearing force" that are on tote back straps).
On the other hand, tubular rivets are made to withstand this force, and will stay in place (especially when reinforced with leather on the backside of the fabric). So, in a nutshell, these bags are designed to stand the test of time! Please don't substitute double-cap rivets for the tubular ones when making The Maywood or Naito.
Also note: tubular rivets need to be set with a Tubular Rivet Peening Tool.
Yes, if you have the correct dies for tubular rivets and magnetic snap rivets, then a press should work great! Just a side-note, we sometimes find it easier to just set tubular rivets with the Tubular Rivet Peening Tool instead of our industrial hand press, but everyone has their own preferences!
Tubular rivets are made of thicker metal than double-cap rivets and to set them, you need to actually split & bend the metal so that it splays outward. This is called "peening", which takes some force. It is done with a Tubular Rivet Peening Tool. However, with the right mallet—as long as it is NOT rubber, and the right setting surface, you'll be set up for success.
The trick is to isolate the force of your blow into the actual rivet. The only way to really do this is to work on a really stable surface WITH a stone slab or metal anvil on top of it. If you are working on a regular table, it often has too much "bounce" in it, even if you have a setting stone on top of it. The best surfaces we found are countertops or a good 'ol concrete floor (with your setting stone on top of it).
Yes! We have a ton of ✨free videos✨ on our blog and Youtube channel. Here are the specific ones that pertain to The Maywood + Naito Essential Tools Bundle:
- How to Use a Drive Punch
- How to Set a Magnetic Snap Rivet
- How to Set Tubular Rivets
- How to Remove Tubular Rivets
- How to Remove a Magnetic Snap Rivet
👉 Check out the Maywood & Naito Online Classes!
Taught by Ellie, the pattern designer, who walks you through making The Maywood & The Naito with step-by-step videos from the comfort of your home sewing machine.
Maywood + Naito Essential Tools Bundle
Excellent experience with 1st Klum House kit a (seconds Maywood Bag) . Useful tool recomendations, also Highly recommend a purchasing the mallet for installation of tubular rivets.
OUR PROMISE
You've got this.
Making things takes courage! For every little victory and moment of triumph, there are frustrating seam rips and cooked rivets, but there is magic to be found in showing up and trusting the process. Sometimes you have to take the leap to discover how much you're truly capable of!

OUR PROMISE
We've got you.
From sourcing the very best tools and materials to crafting crystal-clear instructions, we're committed to setting you up for success (and enjoyment!) at every step of your bag making journey. No matter your skill level, we'll meet you where you are and help you reach your bag making goals.
Handpicked for you


Join Us on Instagram @klumhouse for #YAYMAYWOOD + #YAYNAITO Inspiration ✨

@klumhouse
#KLUMHOUSE
@klumhouse
📸 @notaprimarycolor

@klumhouse
#KLUMHOUSE

@klumhouse
📸 @jenhewett

@klumhouse
#KLUMHOUSE

@klumhouse
📸 @kat.makes

@klumhouse
#KLUMHOUSE
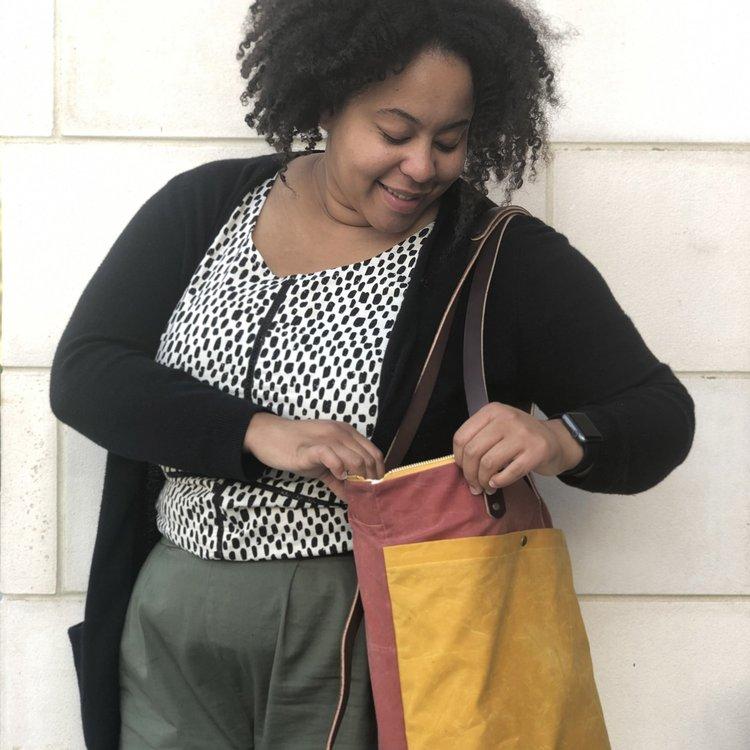
@klumhouse
📸 @sierraburrell

@klumhouse
#KLUMHOUSE

@klumhouse
📸 @lladybird

@klumhouse
#KLUMHOUSE
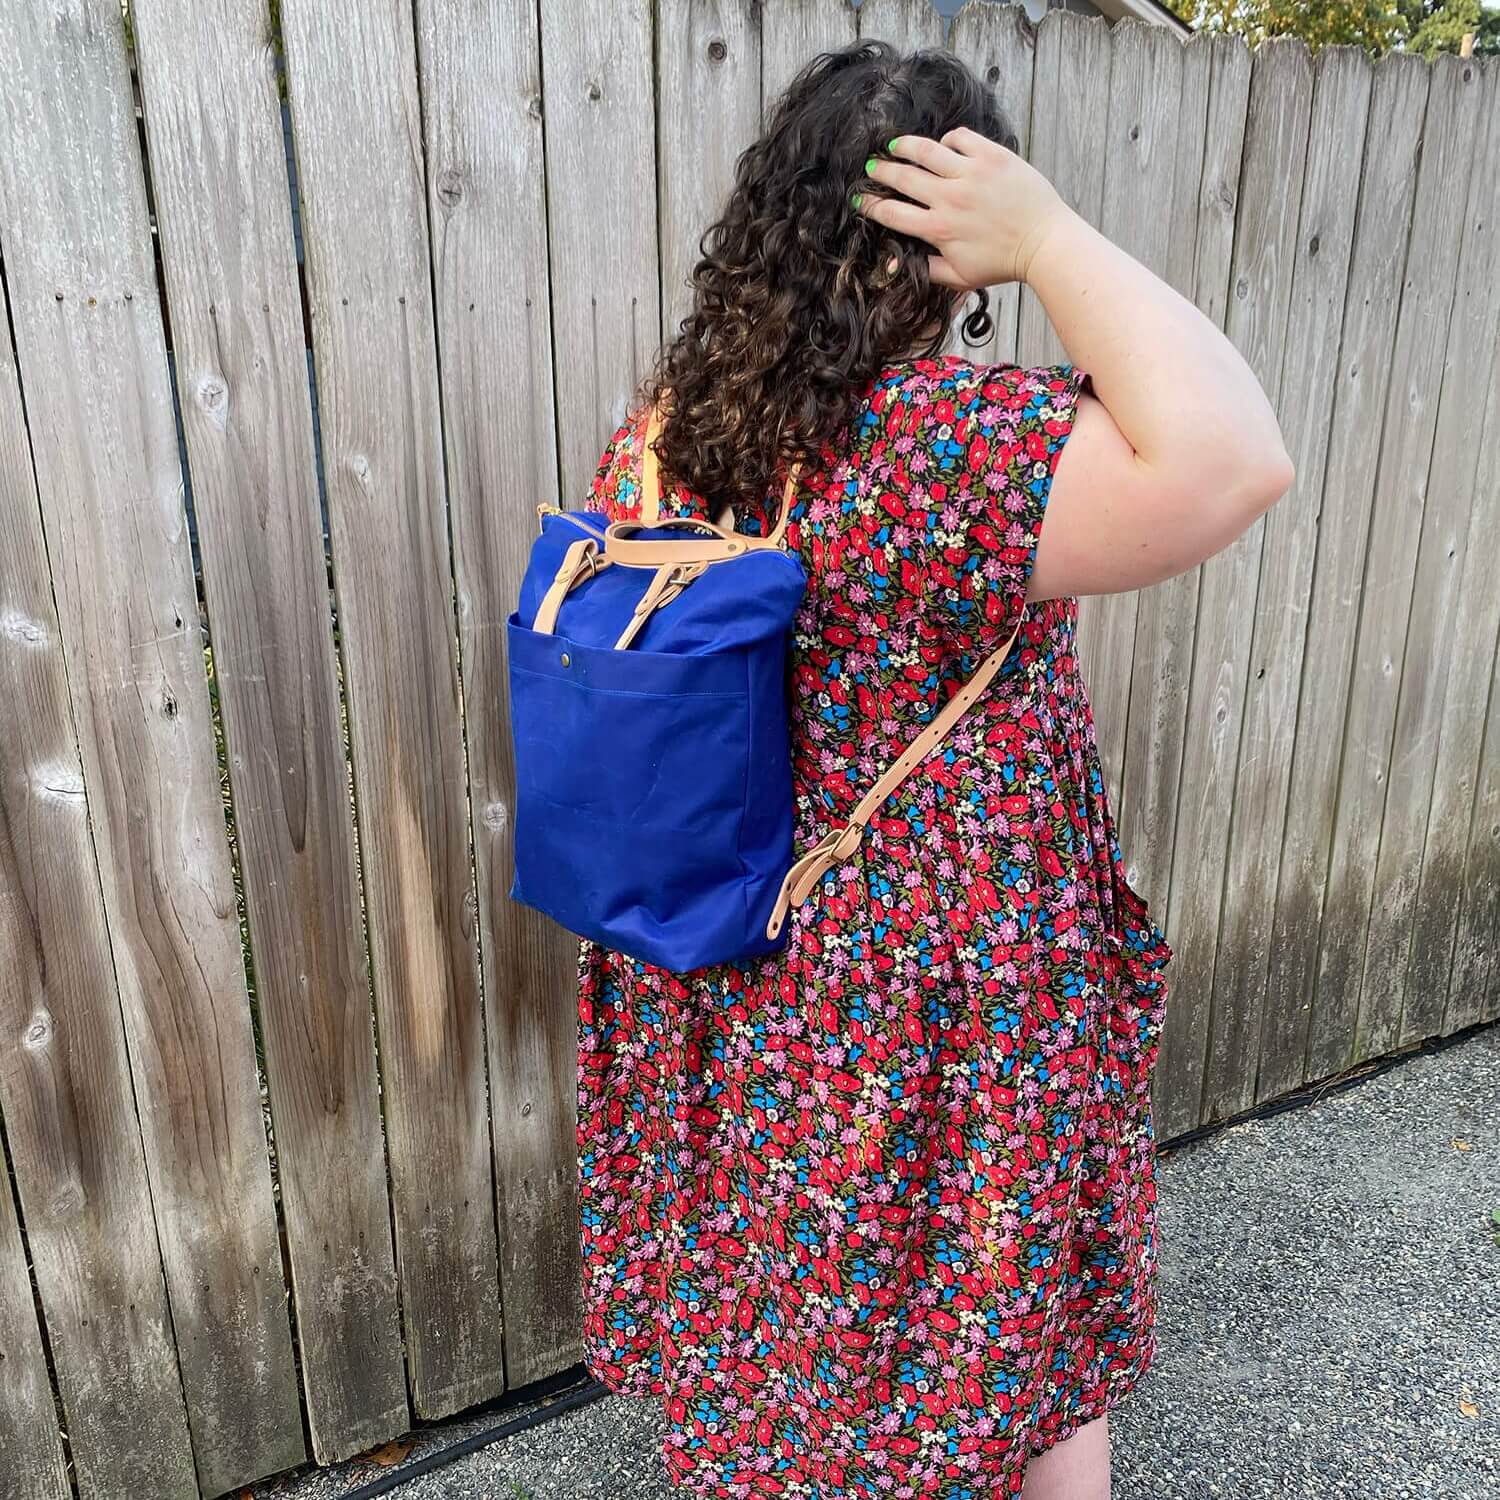
@klumhouse
📸 @jules.makes

@klumhouse
#KLUMHOUSE
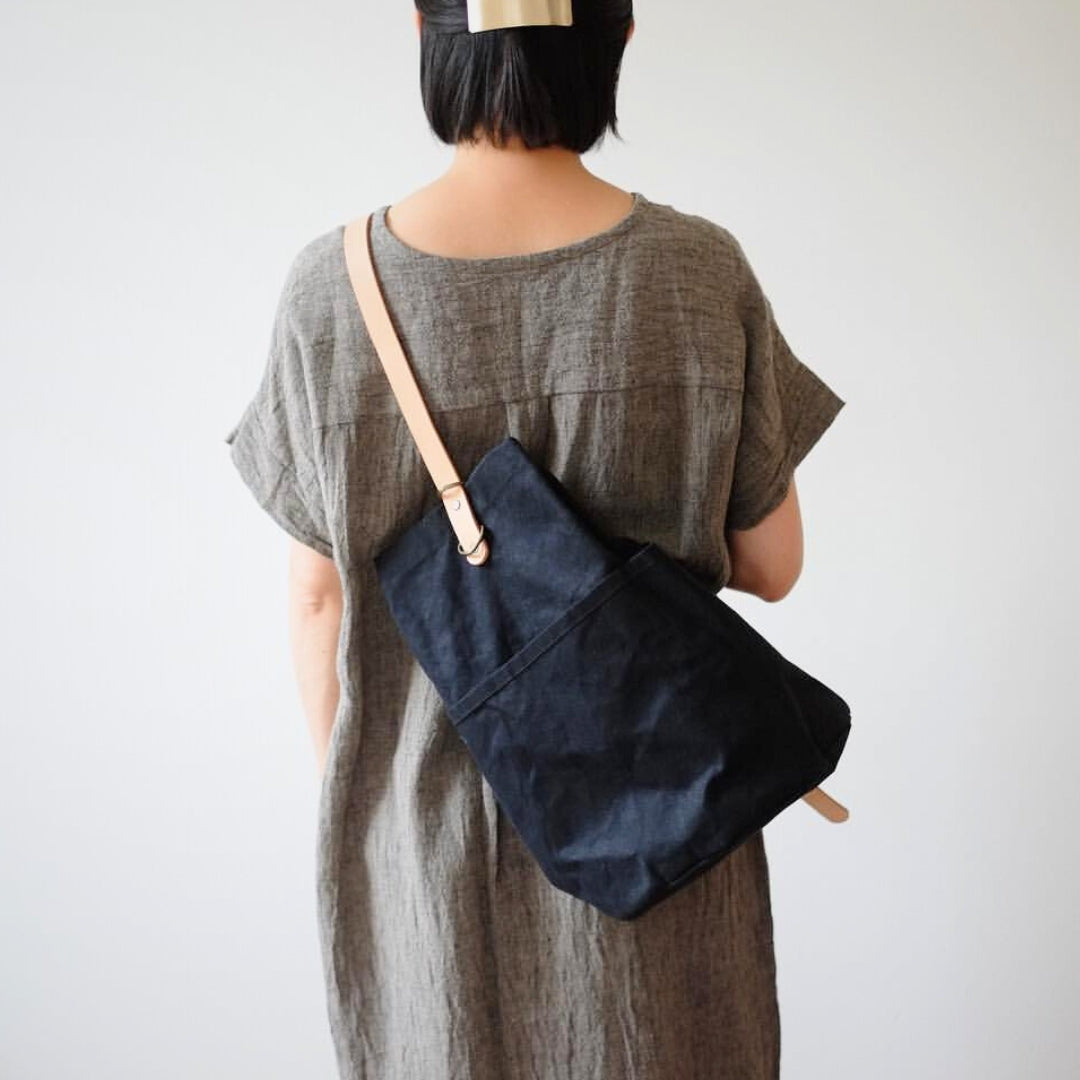
@klumhouse
📸 @nu.no.me

@klumhouse
#KLUMHOUSE

@klumhouse
📸 @consciousbychloe
Our waxed canvas is Better Cotton Initiative and organic certified.
Crystal-clear illustrated teaching patterns designed to upskill your bag making.
Durable, premium materials sourced with the highest quality in mind.
Made with care in small batches, by a woman-powered team in Portland.

