New
Fremont - Pattern
- Unit price
- / per
Our teaching patterns are designed to help you build lifelong skills as you make.
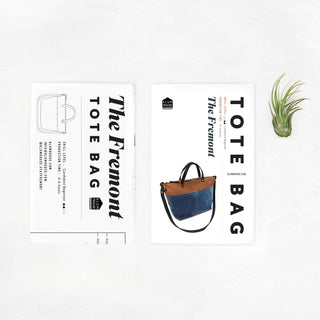
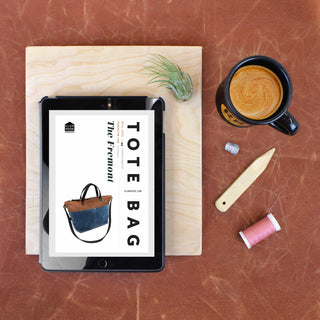
PAPER PATTERN
- Physical Instructions Booklet
- Large-format paper Pattern
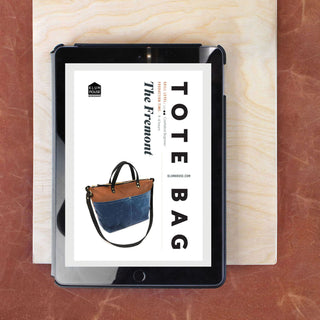
PDF PATTERN
- PDF Instructions Booklet
- Tiled, Print-at-home PDF Pattern
- Large-format PDF Pattern
- PDF Pattern included with Bag Maker Kits; available as optional add-on with Leather + Hardware Kits
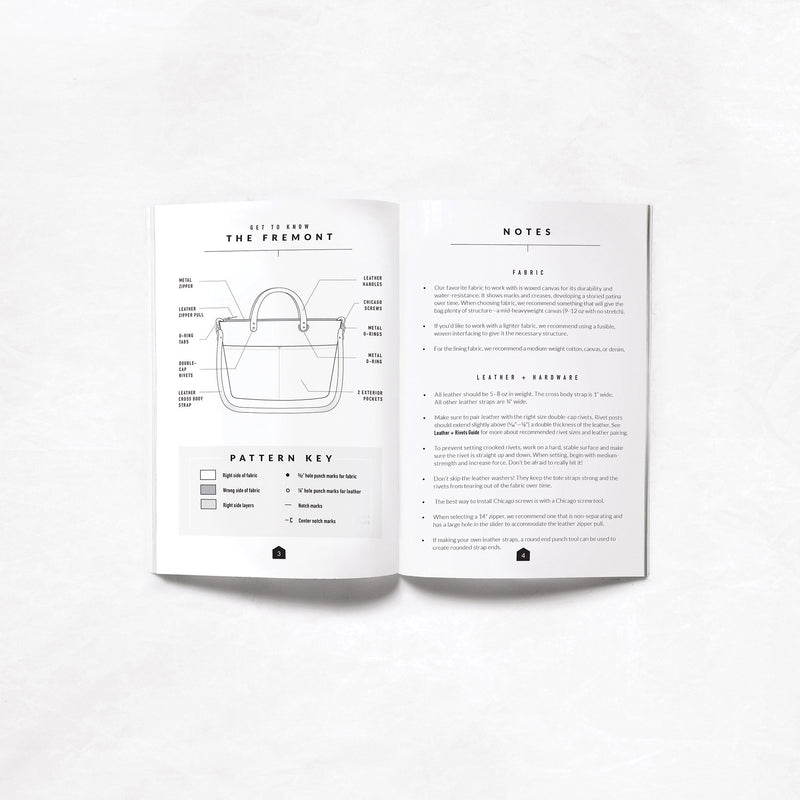
Crystal-clear fully illustrated instructions with helpful tips from Ellie, the pattern designer.
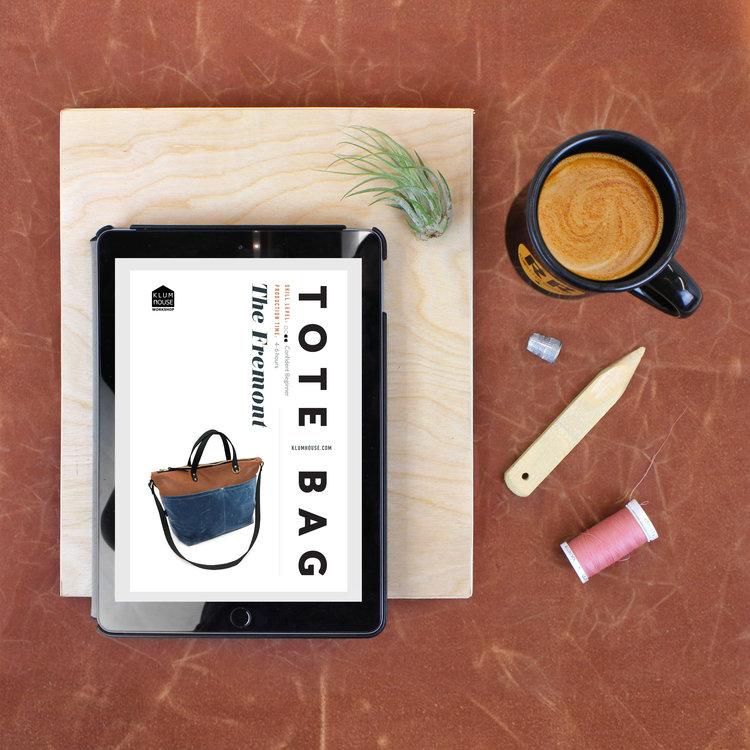
- After purchasing a PDF pattern, you will receive an email with a link to download the digital file(s).
- You can also access all previously-purchased digital goods at any time by logging into your account on our website.
- NOTE: It may not be possible to download a PDF pattern directly to your tablet or mobile device without a download app. We suggest using Adobe Acrobat in combination with a file storage service like Dropbox to download files to mobiles devices.
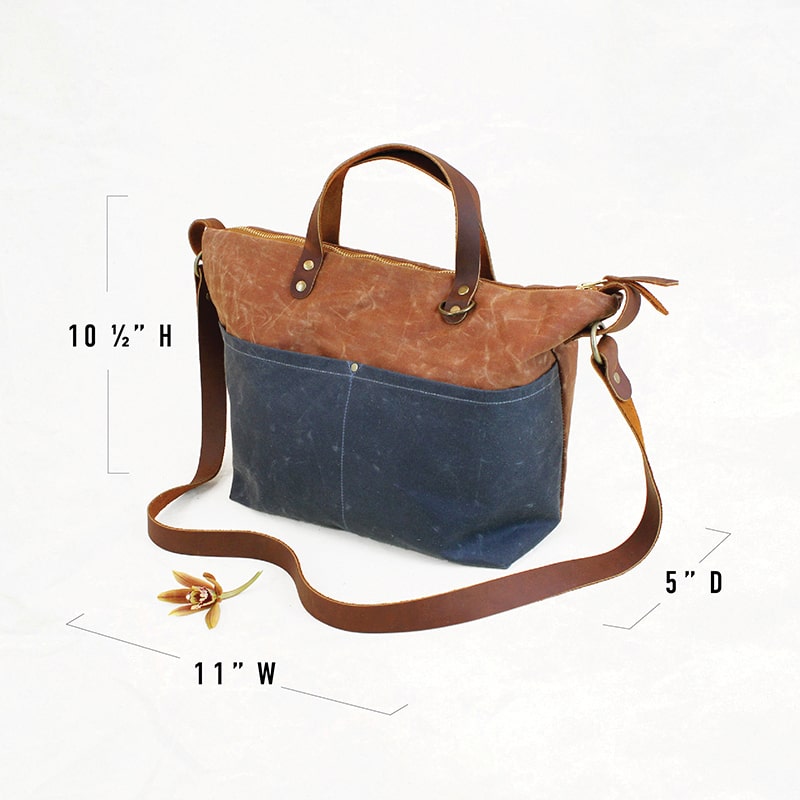
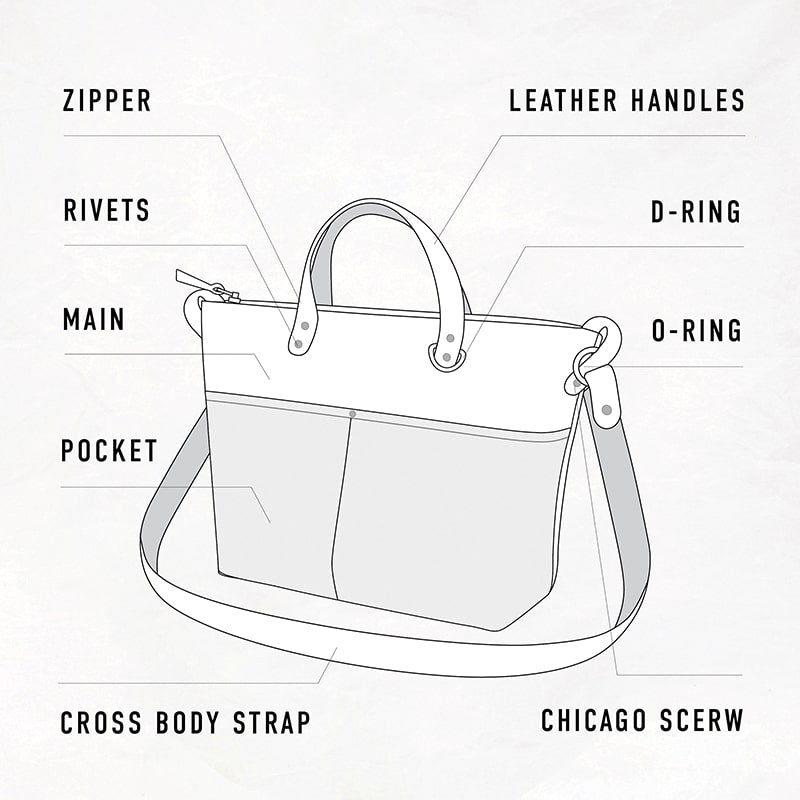
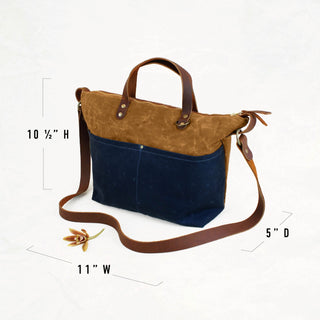
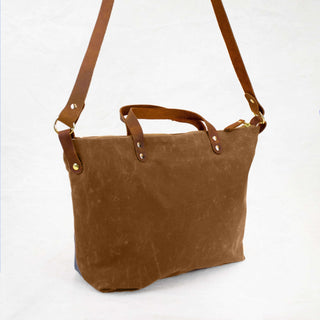
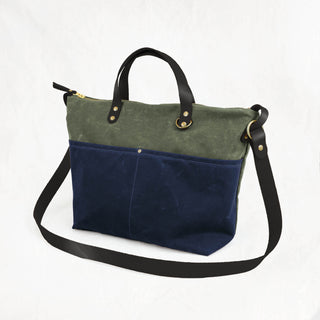
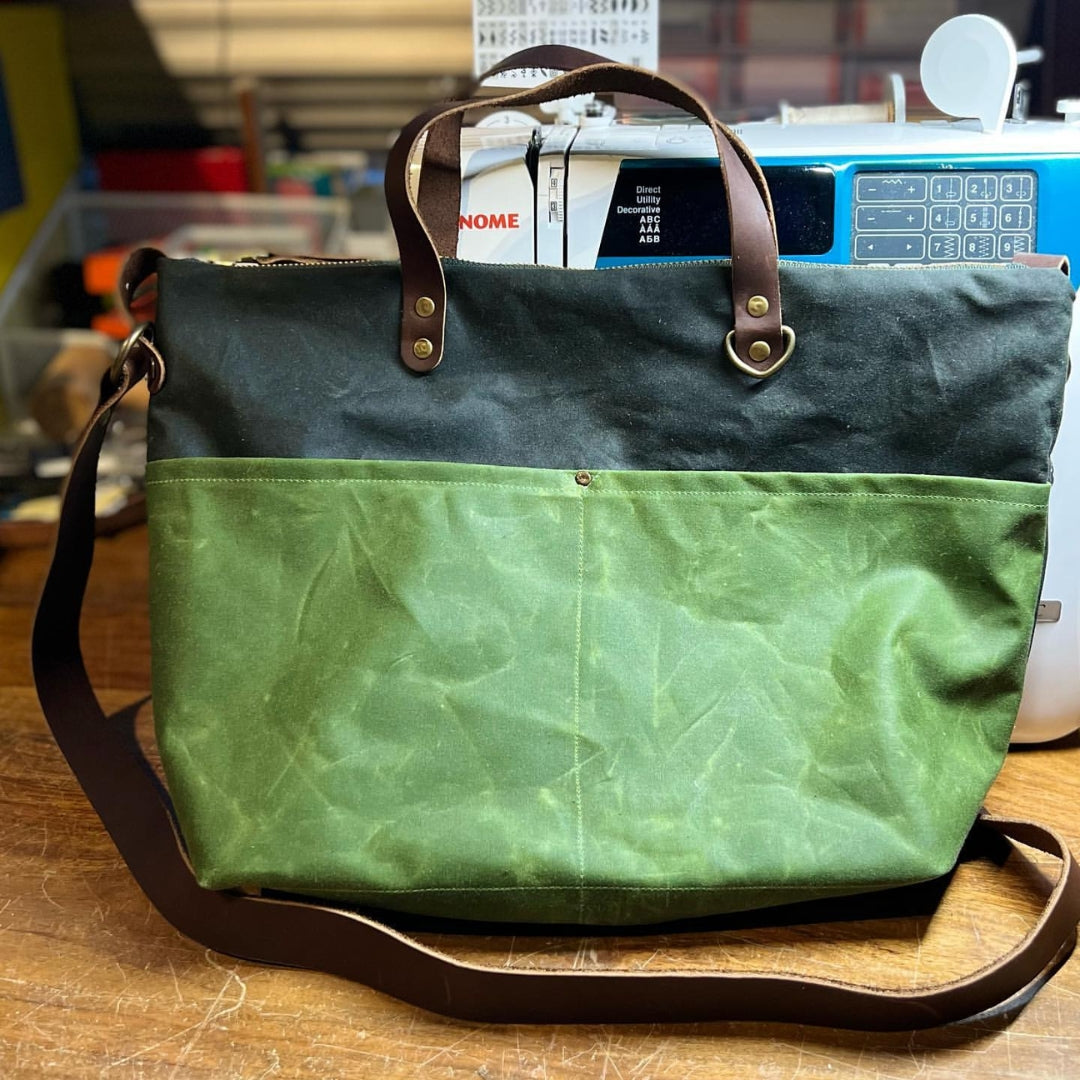
- Bag Dimensions: 10.5" H x 11" W (at bottom) x 5" D
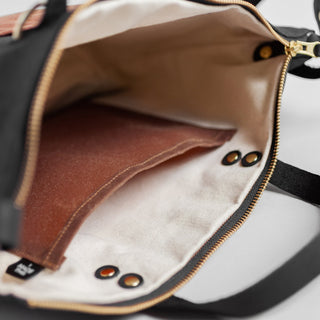
- Fully-lined natural canvas interior
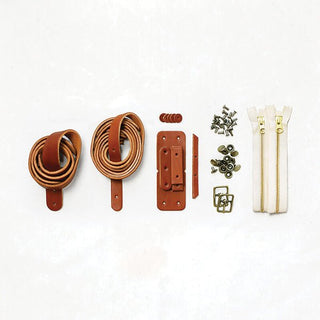
- Leather cross body strap
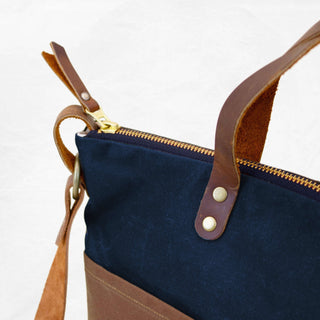
- Leather handles for a second carrying option
- Interior pocket for keeping essentials organized
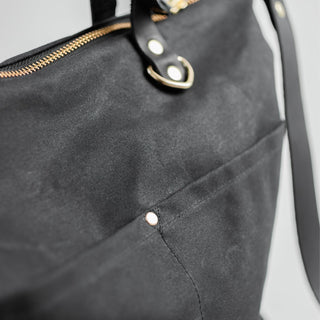
- 2-compartment exterior pocket
- Metal D-ring to attach keys
- Metal double-cap rivets
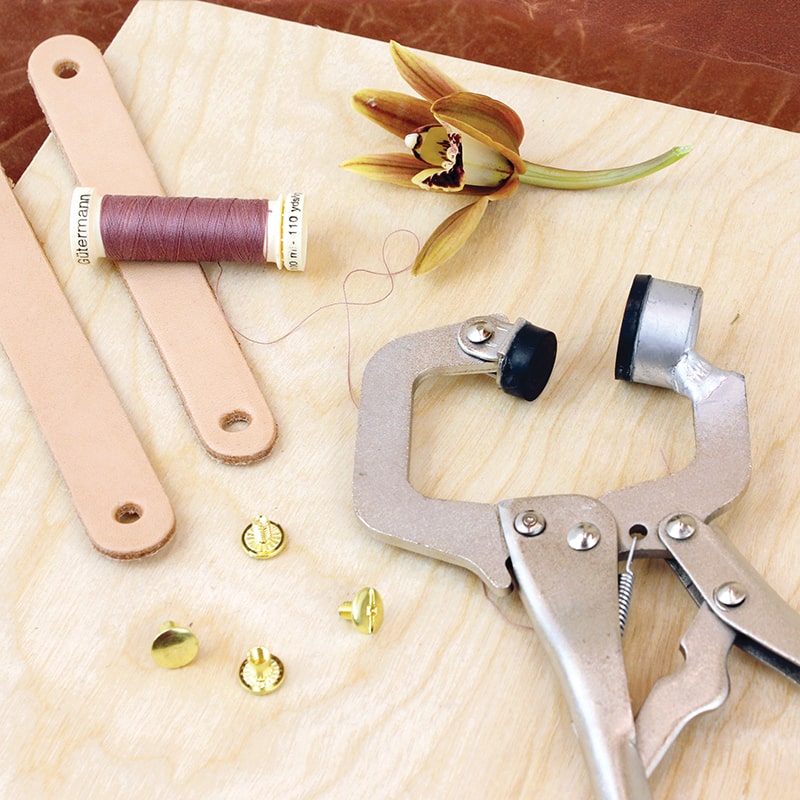
The Fremont is a Confident Beginner-level project that takes about 4–6 hours to complete. In addition to teaching you how to make an amazing bag, this project will also help you develop a solid foundation of bag making skills that you’ll continue to use on all kinds of bag projects for years to come. We’ve got you every step of the way.
You will learn how to:
- Sew multiple layers of heavy-duty waxed canvas on a home machine
- Sew a zipper with lining fabric
- Construct boxed corners
- Finish zipper ends with Ellie's simple + clean technique
- Attach leather straps using rivets
- Install Chicago Screws
- Set metal double-cap rivets
In addition to a sewing machine and some basic supplies, there are a few tools that we highly recommend for making your bag. It’s easy to add tools onto your kit.
For punching holes in fabric:
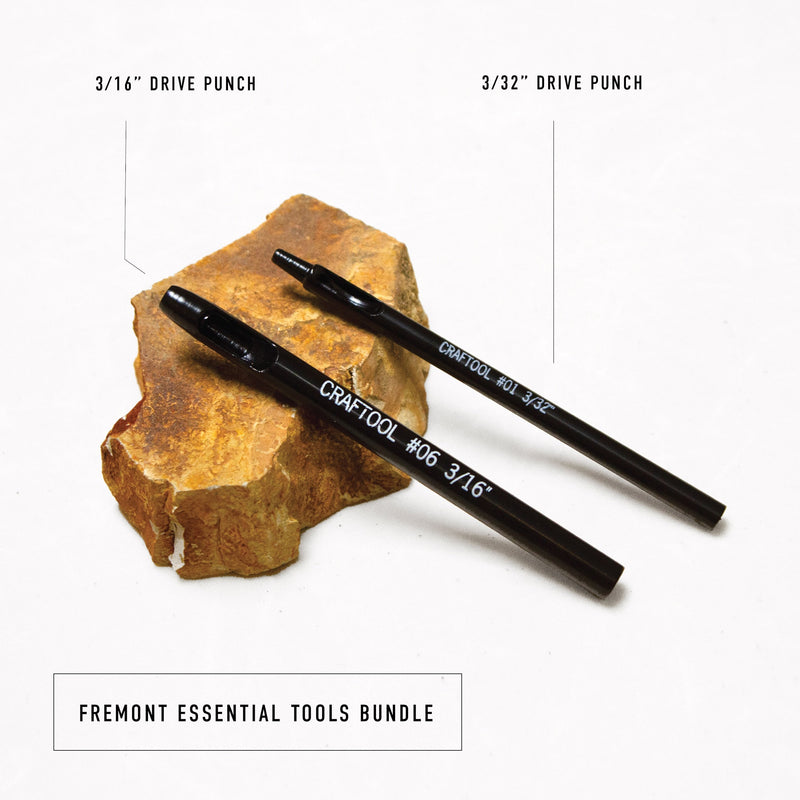
- Option 1: 3/32" (for rivets) & 3/16" (for Chicago Screws) Drives Punch with a Mallet on a Poly Punching + Cutting Board
- Option 2: A Tapered Tailors Awl
Download the complete supplies list so you have everything you need to start making The Fremont Crossbody Tote!
Fremont - Pattern
- Unit price
- / per
Skill Levels
 BEGINNER |
 CONFIDENT BEGINNER |
|
Beginner projects will introduce you to the basics of bag making. You'll learn to sew heavy-duty fabric, punch holes in fabric and leather, set metal rivets, and sew your first zipper! |
Confident Beginner projects involve managing more pieces of fabric and leather. They'll teach you to add interior and exterior pockets and install new types of hardware, like snaps. |
 INTERMEDIATE |
 ADVANCED |
|
Intermediate projects involve a more in-depth making process. They'll teach you to work with a wider variety of tools and hardware techniques, like setting extra-strength tubular rivets. |
Advanced projects are for experienced stitchers ready to invest a significant amount of time and energy into becoming a bag maker. Complex construction and seriously professional results. |
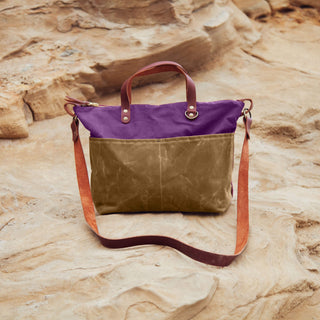
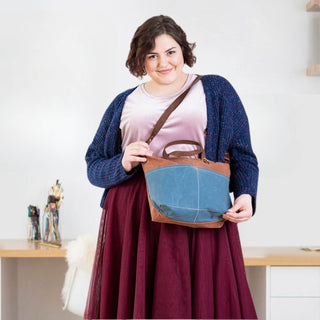
The Fremont is the ultimate cross-body tote for hands-free adventures! With a zipper top closure, interior and exterior pockets, a natural canvas lining, and sturdy leather handles, this bag is ready for anything, just like you.
Fremont Tools + Supplies List
This guide covers all the tools, materials, and supplies needed, whether you're working from a kit or from scratch.
SUGGESTED ADD-ONS
Adding product to your cart
Essentials for Making This Bag
Our teaching patterns are designed to help you build lifelong skills as you make.
PAPER PATTERN
- Physical Instructions Booklet
- Large-format paper Pattern
PDF PATTERN
- PDF Instructions Booklet
- Tiled, Print-at-home PDF Pattern
- Large-format PDF Pattern
- PDF Pattern included with Bag Maker Kits; available as optional add-on with Leather + Hardware Kits
Crystal-clear fully illustrated instructions with helpful tips from Ellie, the pattern designer.


- After purchasing a PDF pattern, you will receive an email with a link to download the digital file(s).
- You can also access all previously-purchased digital goods at any time by logging into your account on our website.
- NOTE: It may not be possible to download a PDF pattern directly to your tablet or mobile device without a download app. We suggest using Adobe Acrobat in combination with a file storage service like Dropbox to download files to mobiles devices.


- Bag Dimensions: 10.5" H x 11" W (at bottom) x 5" D
- Fully-lined natural canvas interior
- Leather cross body strap
- Leather handles for a second carrying option
- Interior pocket for keeping essentials organized
- 2-compartment exterior pocket
- Metal D-ring to attach keys
- Metal double-cap rivets


The Fremont is a Confident Beginner-level project that takes about 4–6 hours to complete. In addition to teaching you how to make an amazing bag, this project will also help you develop a solid foundation of bag making skills that you’ll continue to use on all kinds of bag projects for years to come. We’ve got you every step of the way.
You will learn how to:
- Sew multiple layers of heavy-duty waxed canvas on a home machine
- Sew a zipper with lining fabric
- Construct boxed corners
- Finish zipper ends with Ellie's simple + clean technique
- Attach leather straps using rivets
- Install Chicago Screws
- Set metal double-cap rivets
In addition to a sewing machine and some basic supplies, there are a few tools that we highly recommend for making your bag. It’s easy to add tools onto your kit.
For punching holes in fabric:
- Option 1: 3/32" (for rivets) & 3/16" (for Chicago Screws) Drives Punch with a Mallet on a Poly Punching + Cutting Board
- Option 2: A Tapered Tailors Awl
Download the complete supplies list so you have everything you need to start making The Fremont Crossbody Tote!

New
Size-Inclusive Straps
The Fremont Crossbody Tote pattern and kits have been updated to be inclusive of a wider range of body sizes! We believe no one should have to wear a bag with uncomfortable straps, or forego a fun project because the finished product isn’t functional on their body.
Essentials for Making This Bag
Essentials for Making This Bag
LEARN WITH US
Patterns designed to upskill your bag making.
At Klum House, we pride ourselves in creating patterns that are thoughtful, holistic, and easy-to-follow. We want you to feel fully-supported at every step of your making journey.
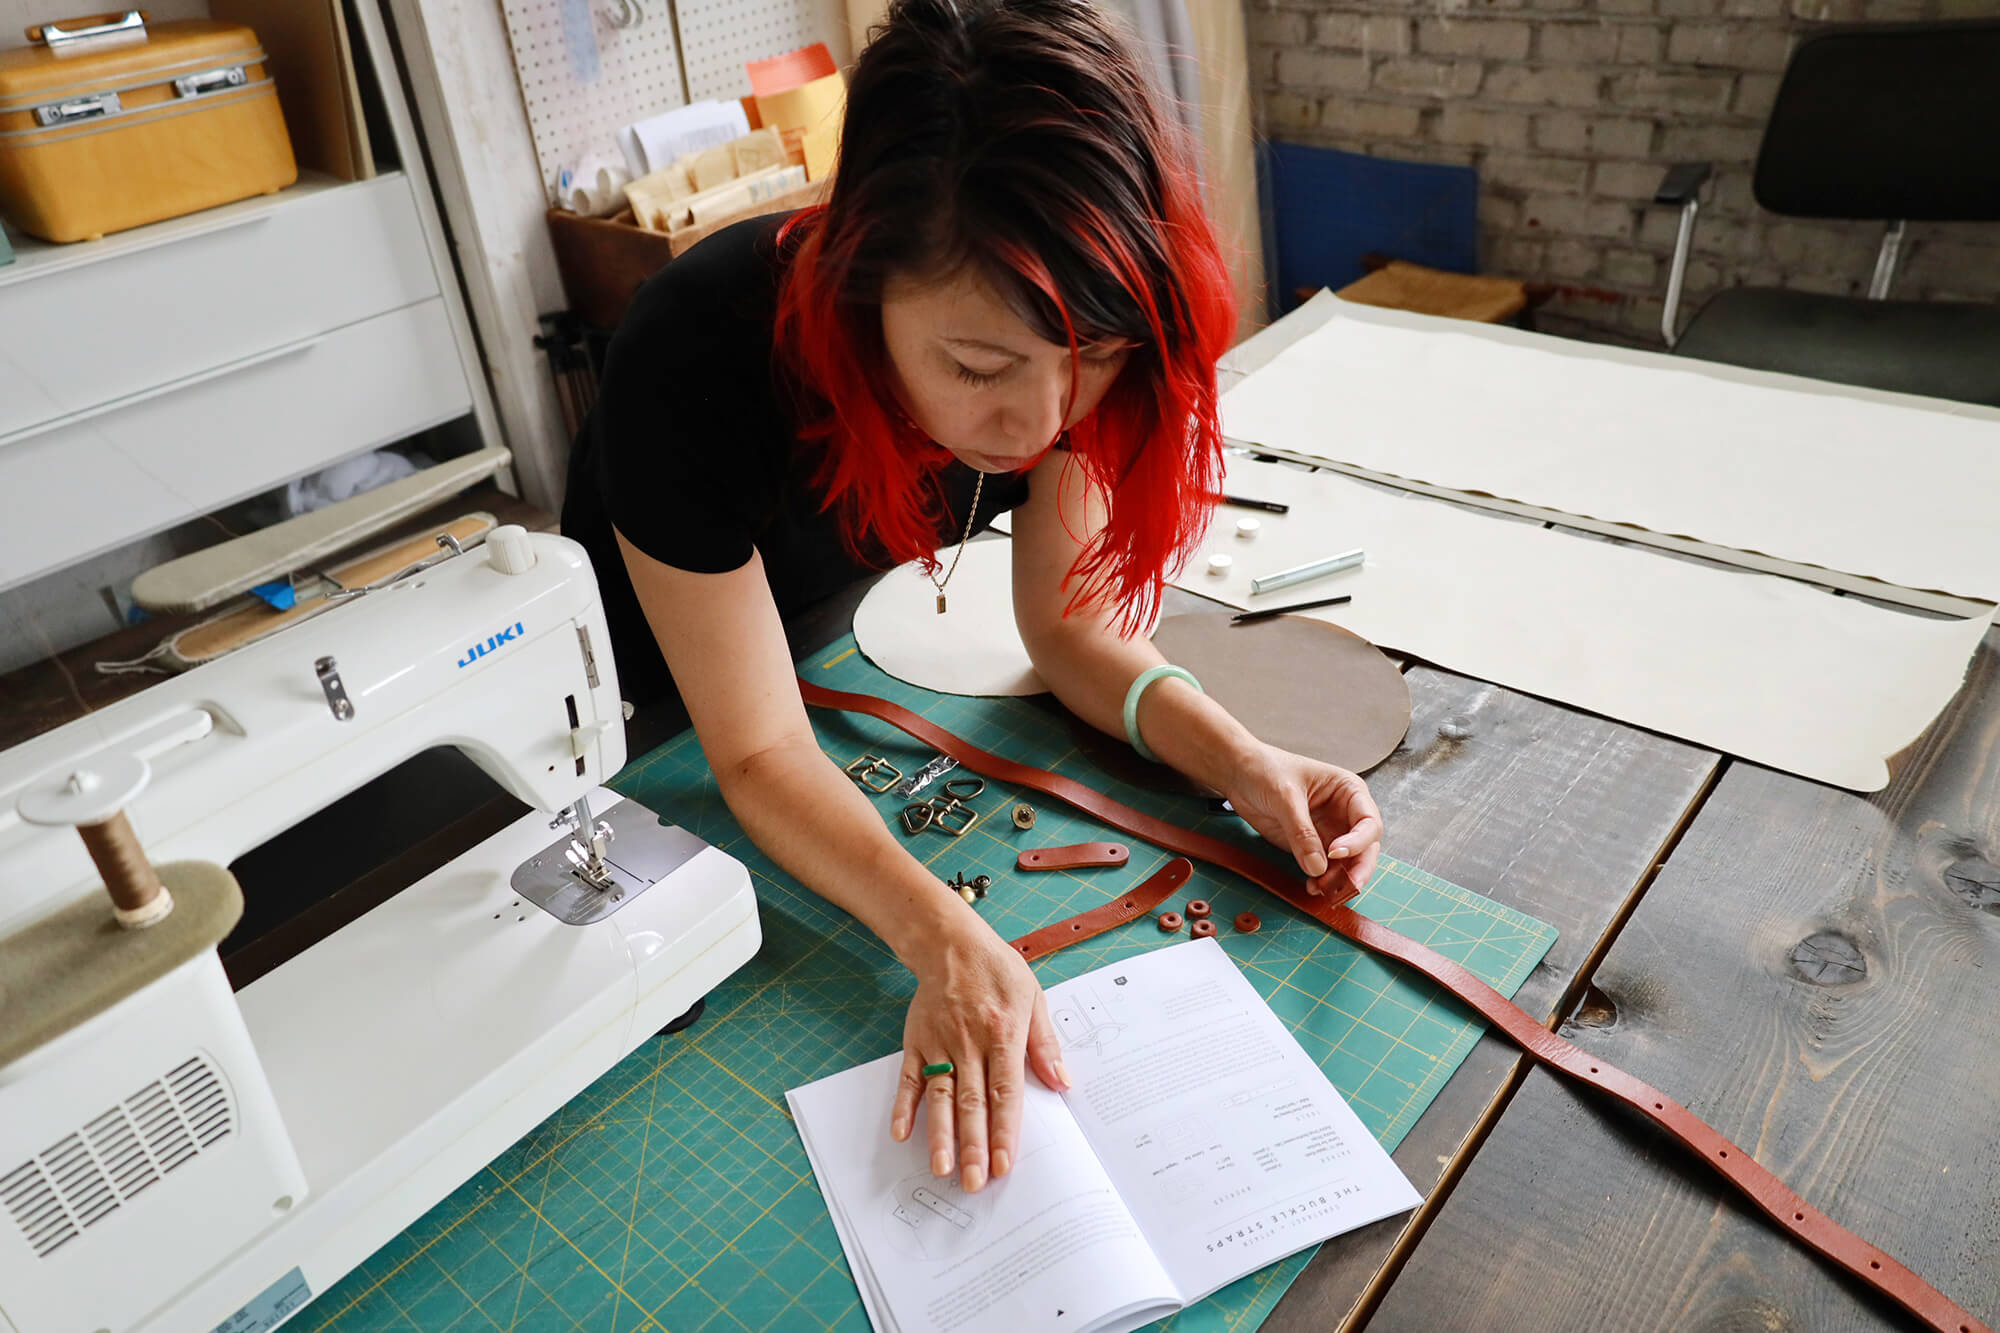
Clear Instructions
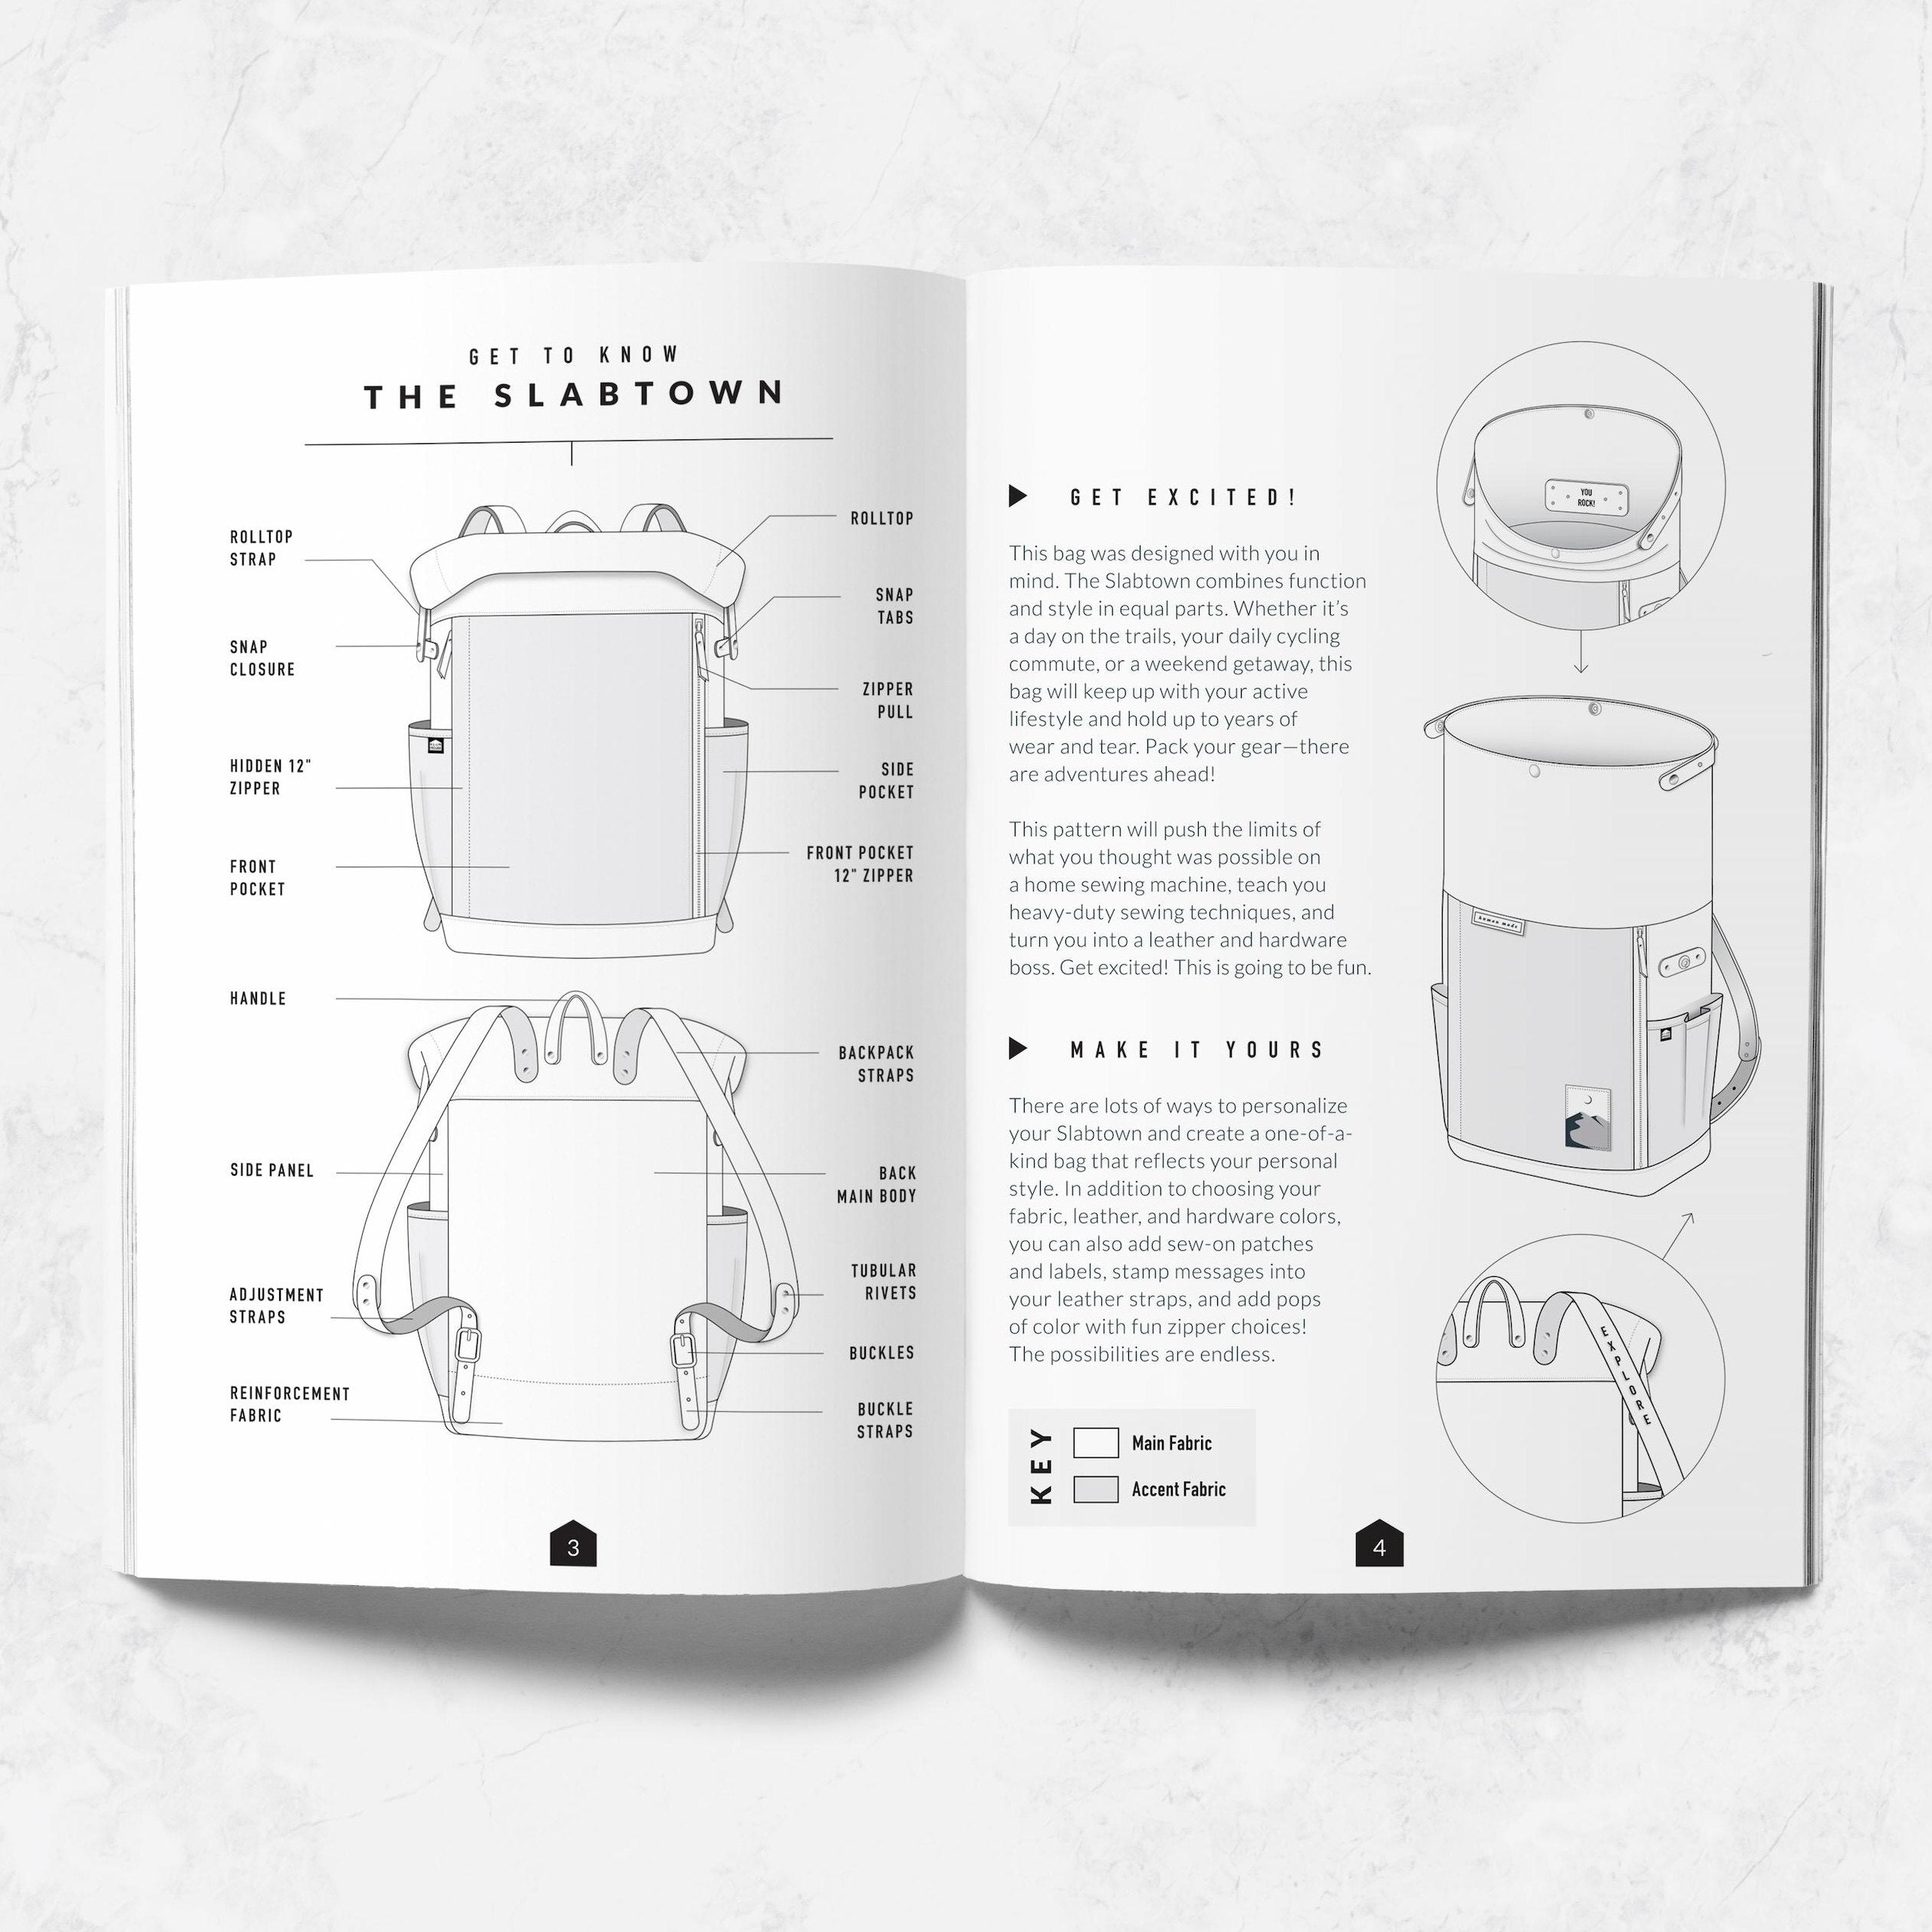
We are teachers, first and foremost, and as such we know that clear language is so important. We are dedicated to crafting simple, easy-to-follow instructions, so you can forge ahead with confidence.
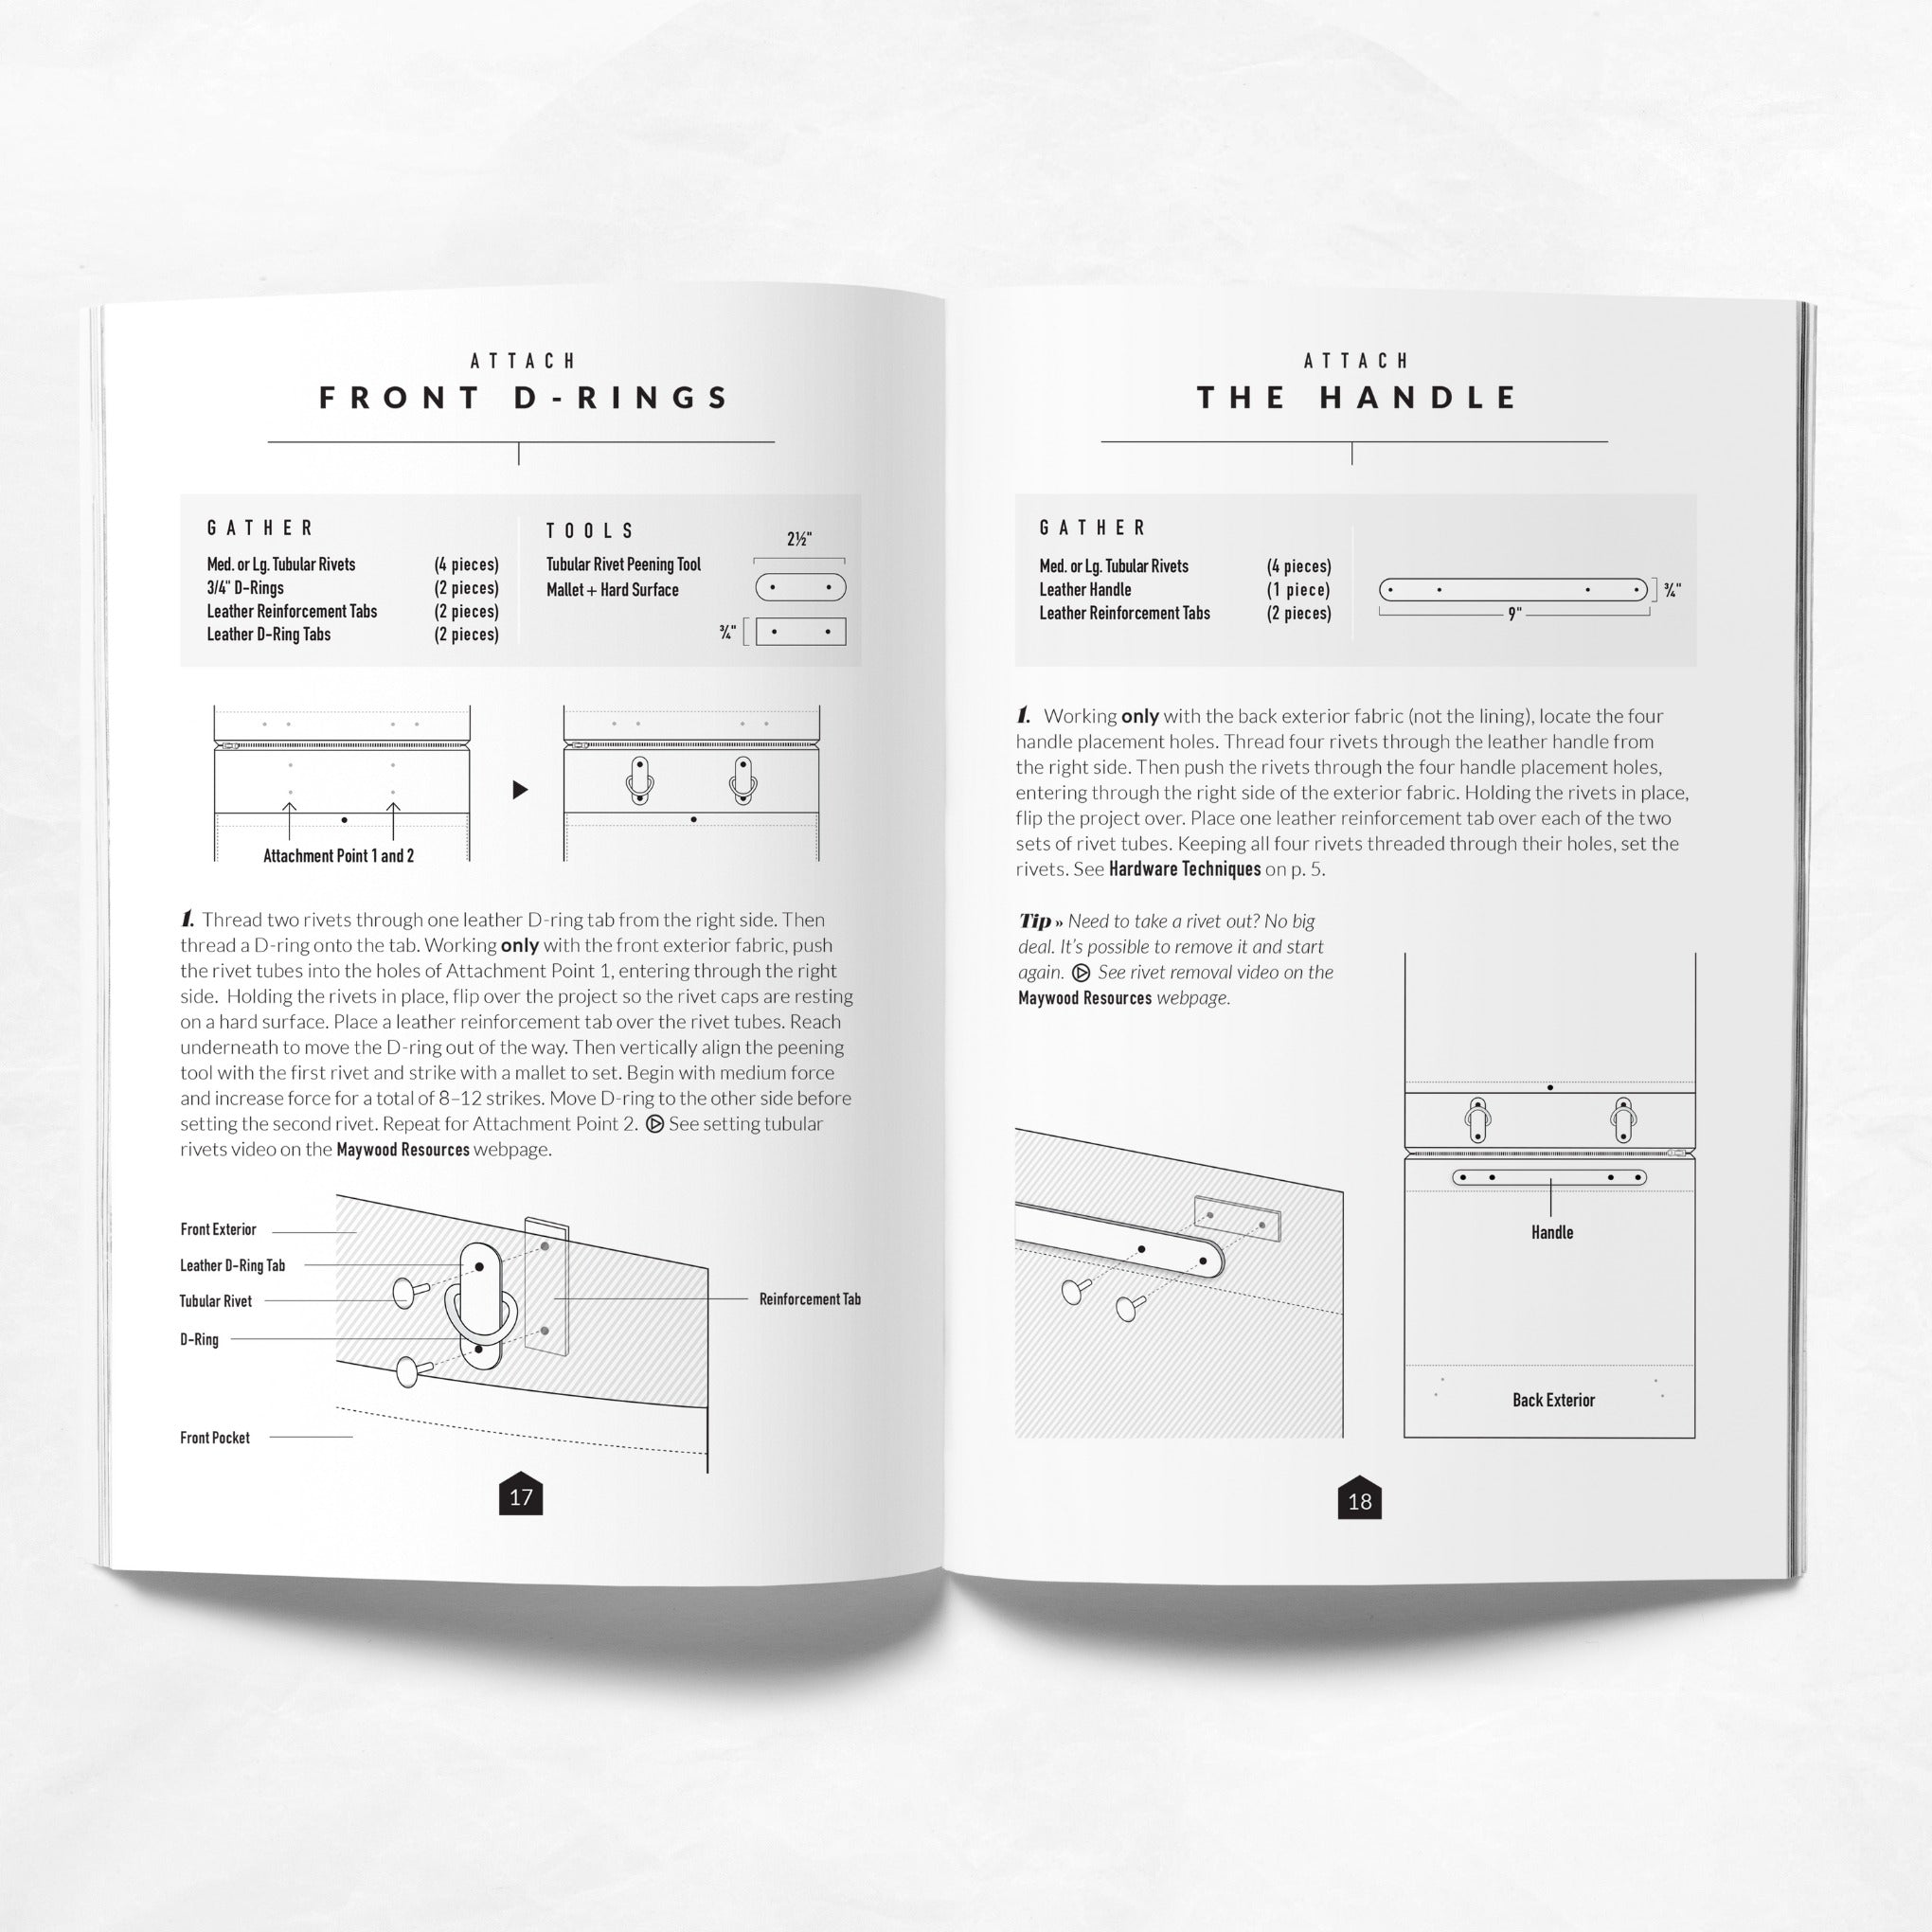
Helpful Tips + Cautions
Your instructions booklet will be peppered with helpful tips, reminders, and caution moments. We know all of the most common mistakes (because we’ve made them!) and point them out so you can avoid them.
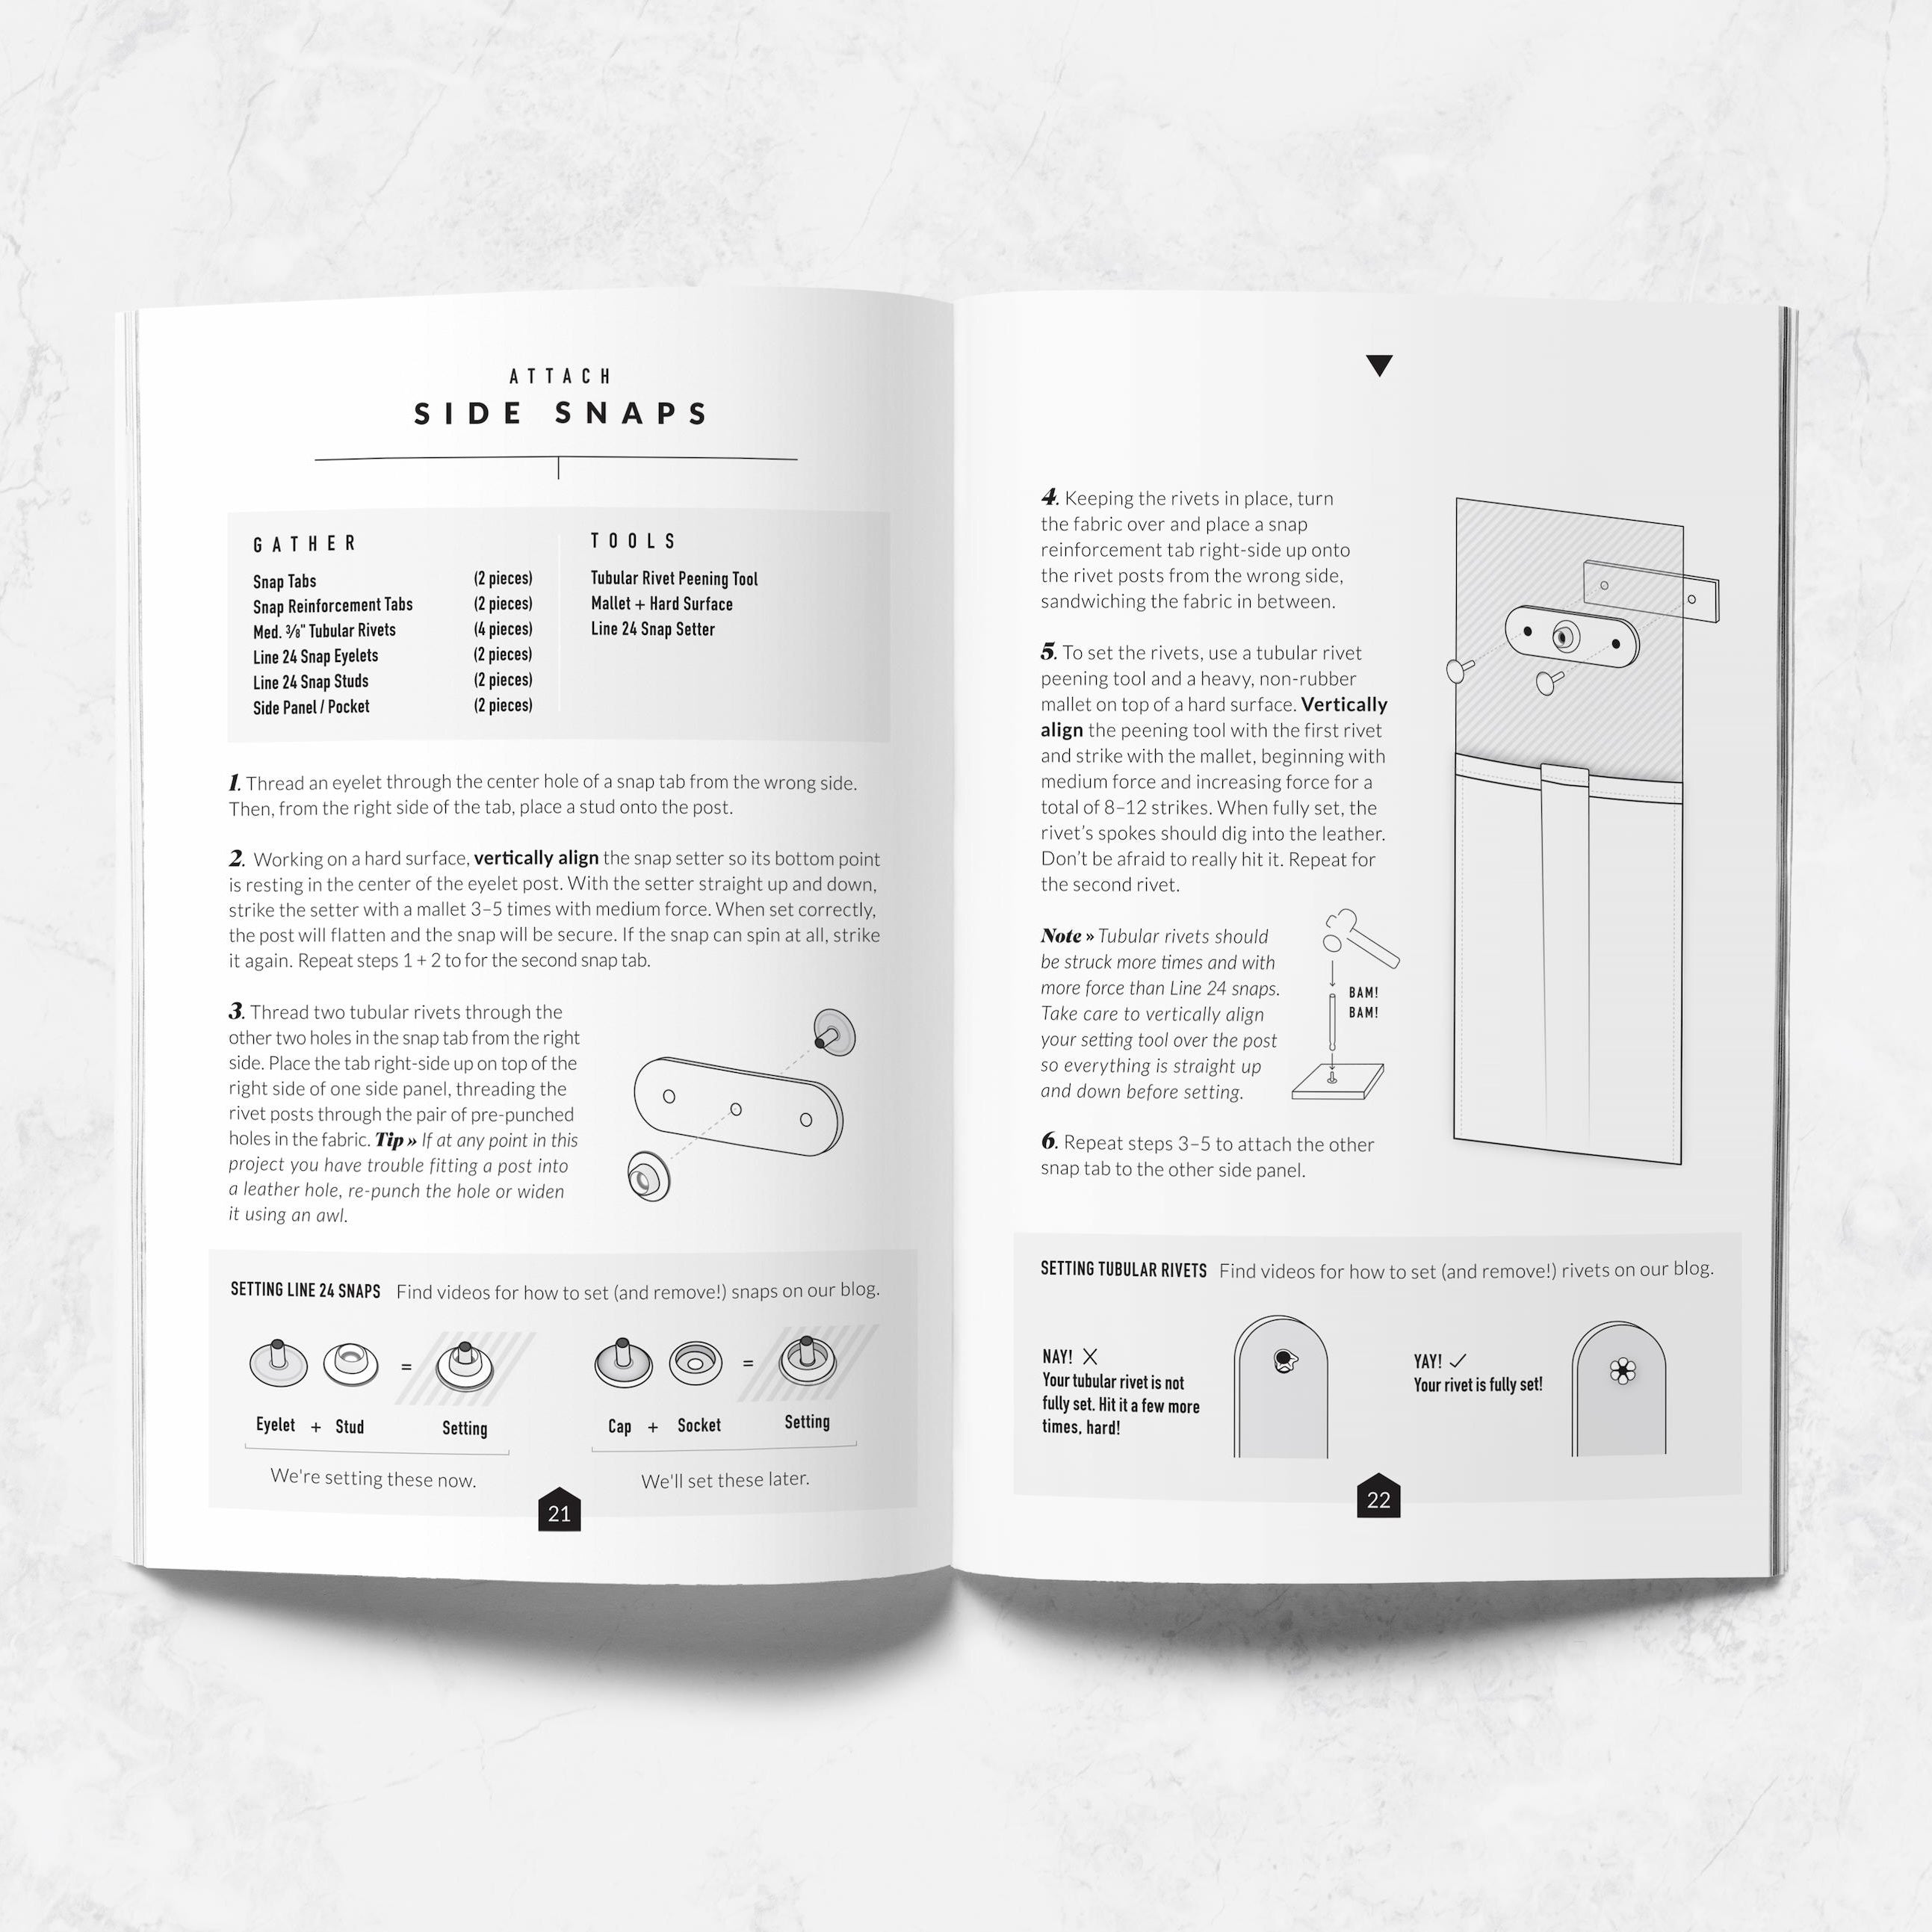
Excellent Illustrations
Our patterns are filled with helpful, technically-precise illustrations. We makers are visual learners! With 3D renderings and transparent layers, we’ll help you conceptualize every stitch, flip, and fold.
Specialty Education
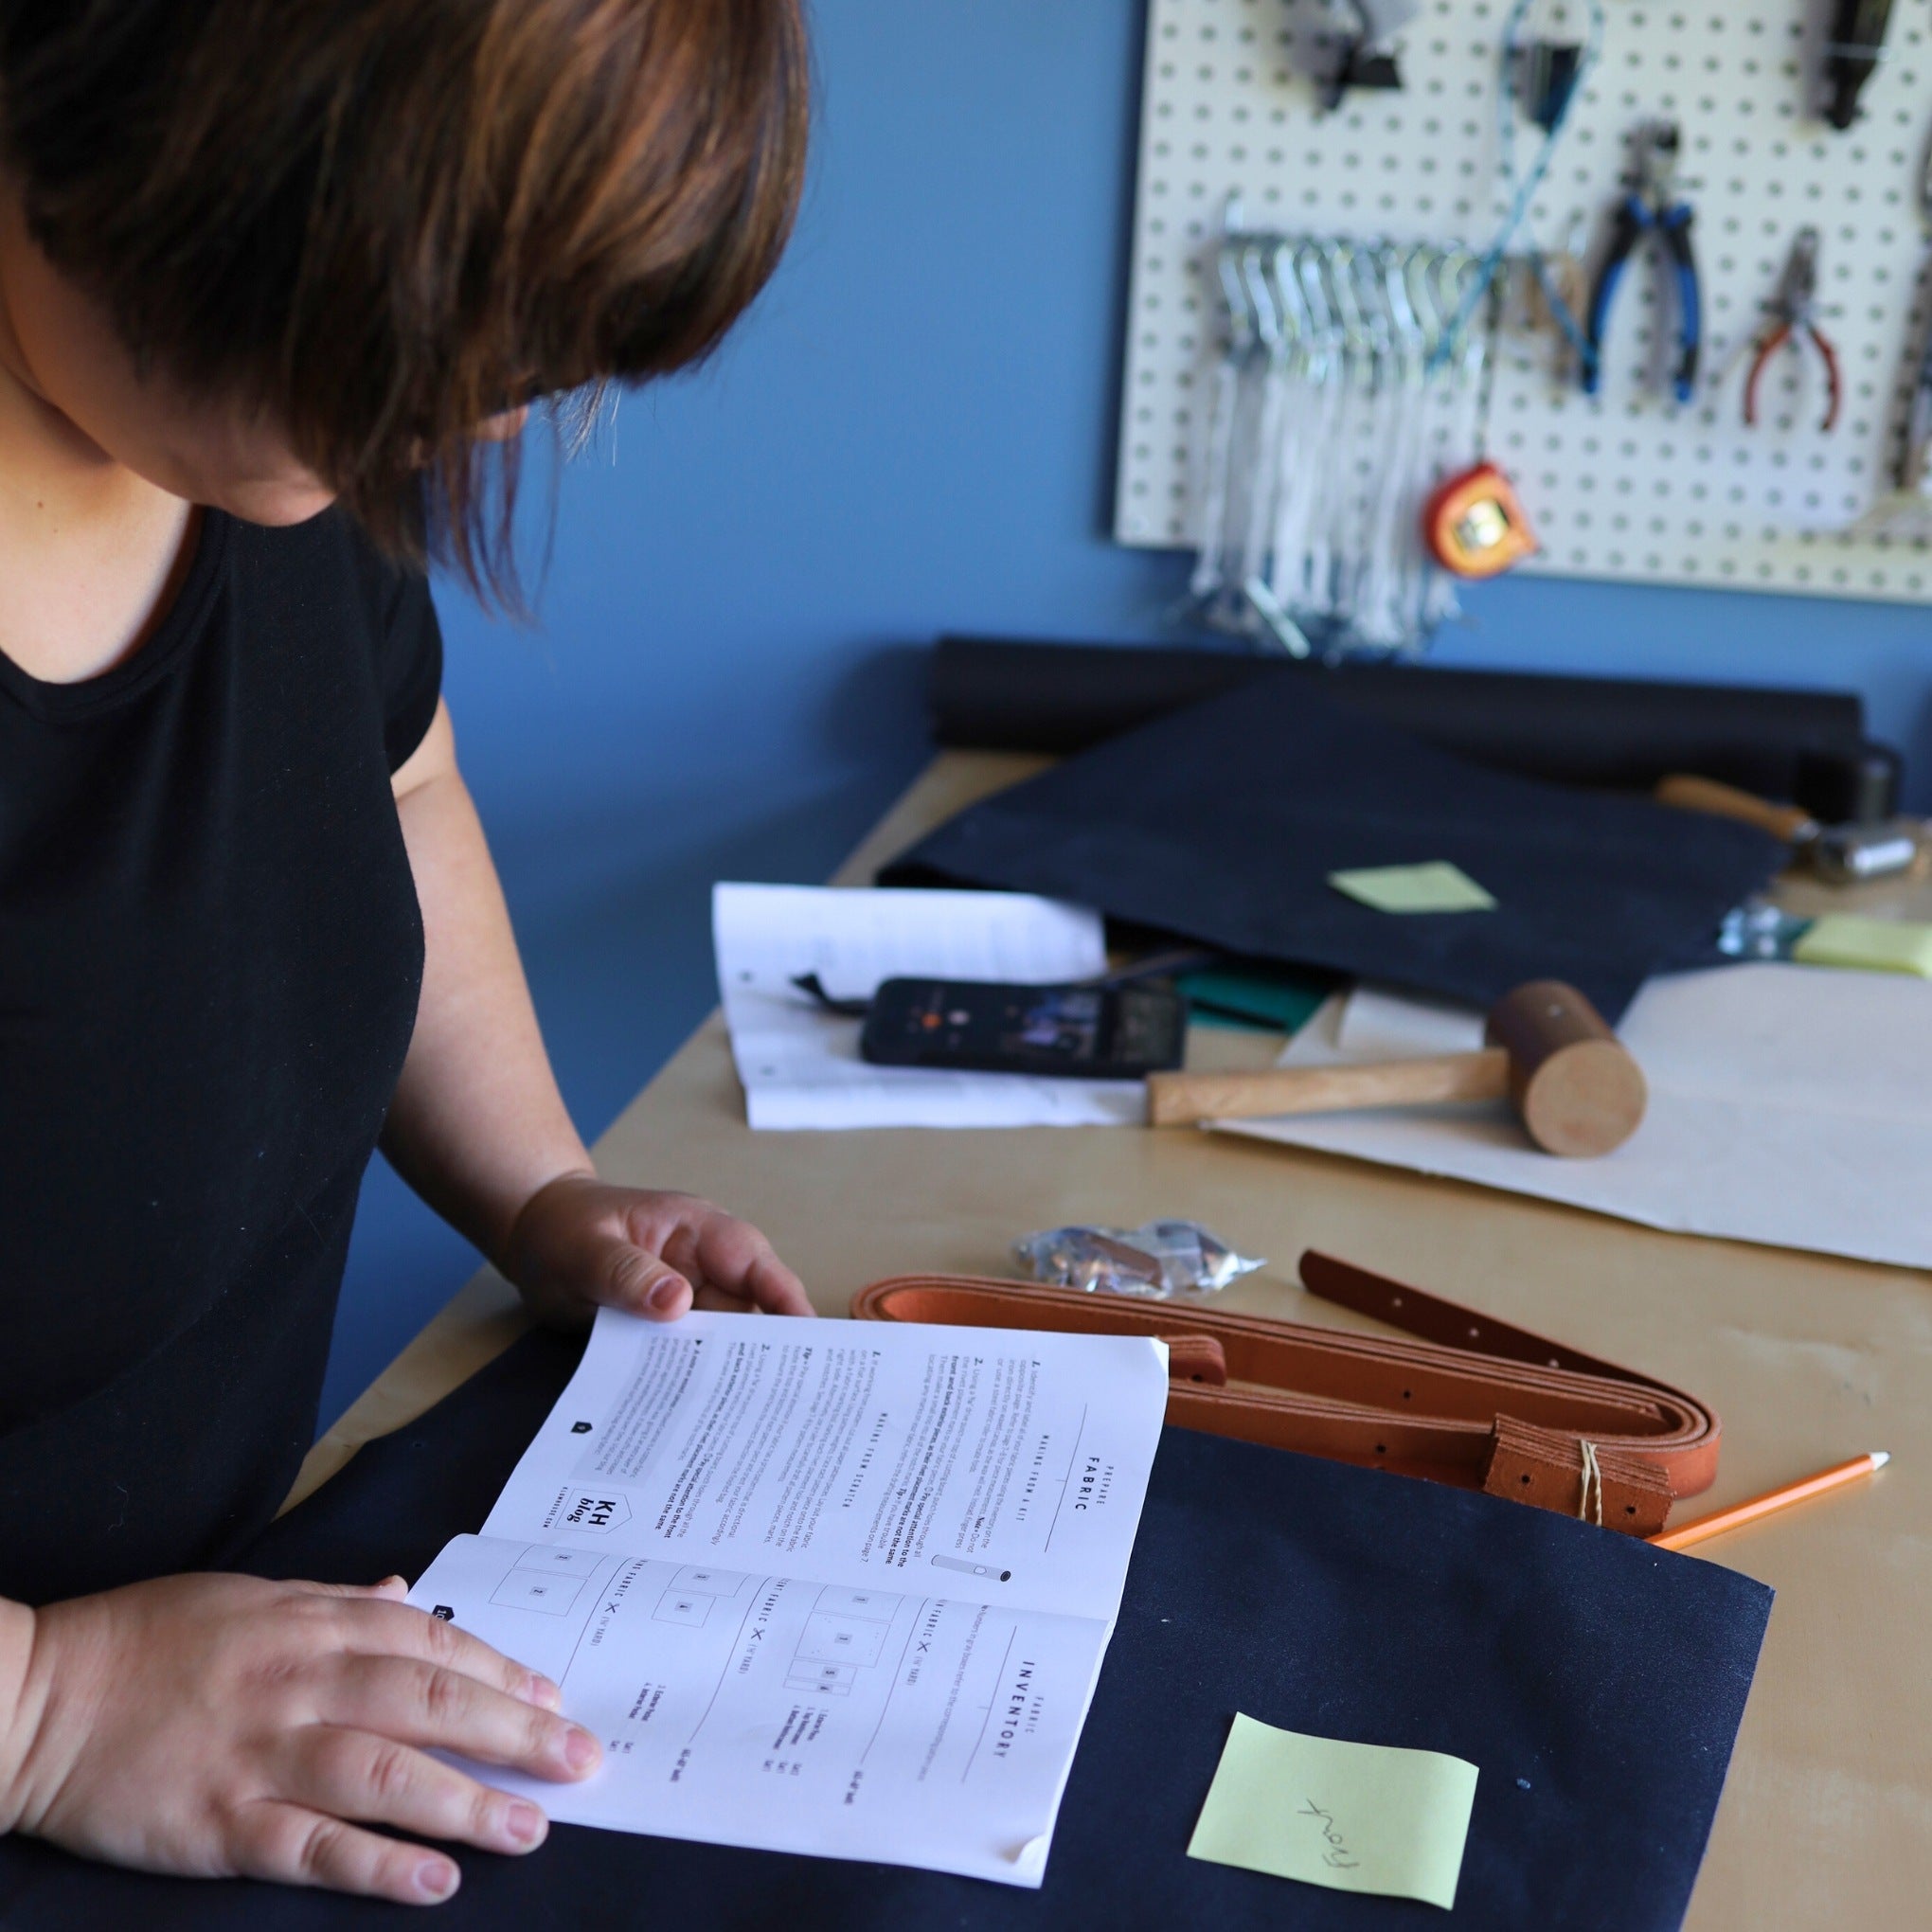
Bag making is different from other types of sewing. It involves working with heavy-duty fabrics, leather, hardware, and tools you may not have encountered before. But don’t worry, our patterns break it all down.
Multiple Making Paths
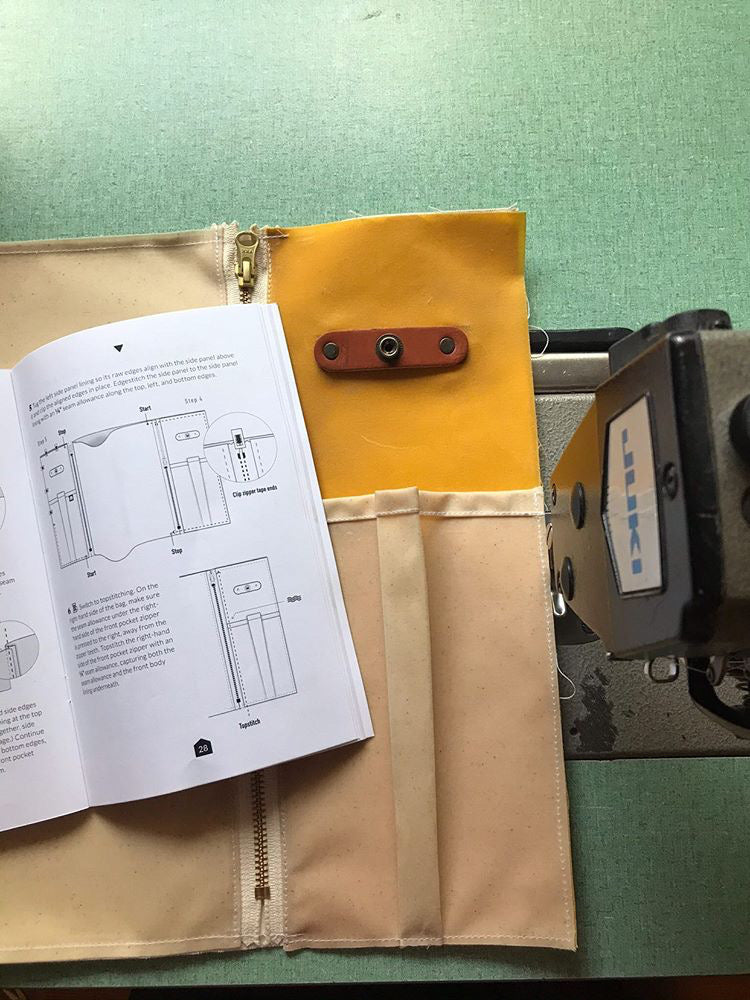
Whether you choose to make from an all-inclusive maker kit, a leather + hardware kit, or “from scratch,” our patterns are designed to guide you along your chosen path to guarantee a successful make!
@seam_ingly
"This bag was surprisingly simple and the waxed canvas fabric was a DREAM to sew with. 🥰 I could see this being great for beginners as well as advanced sewists like myself."
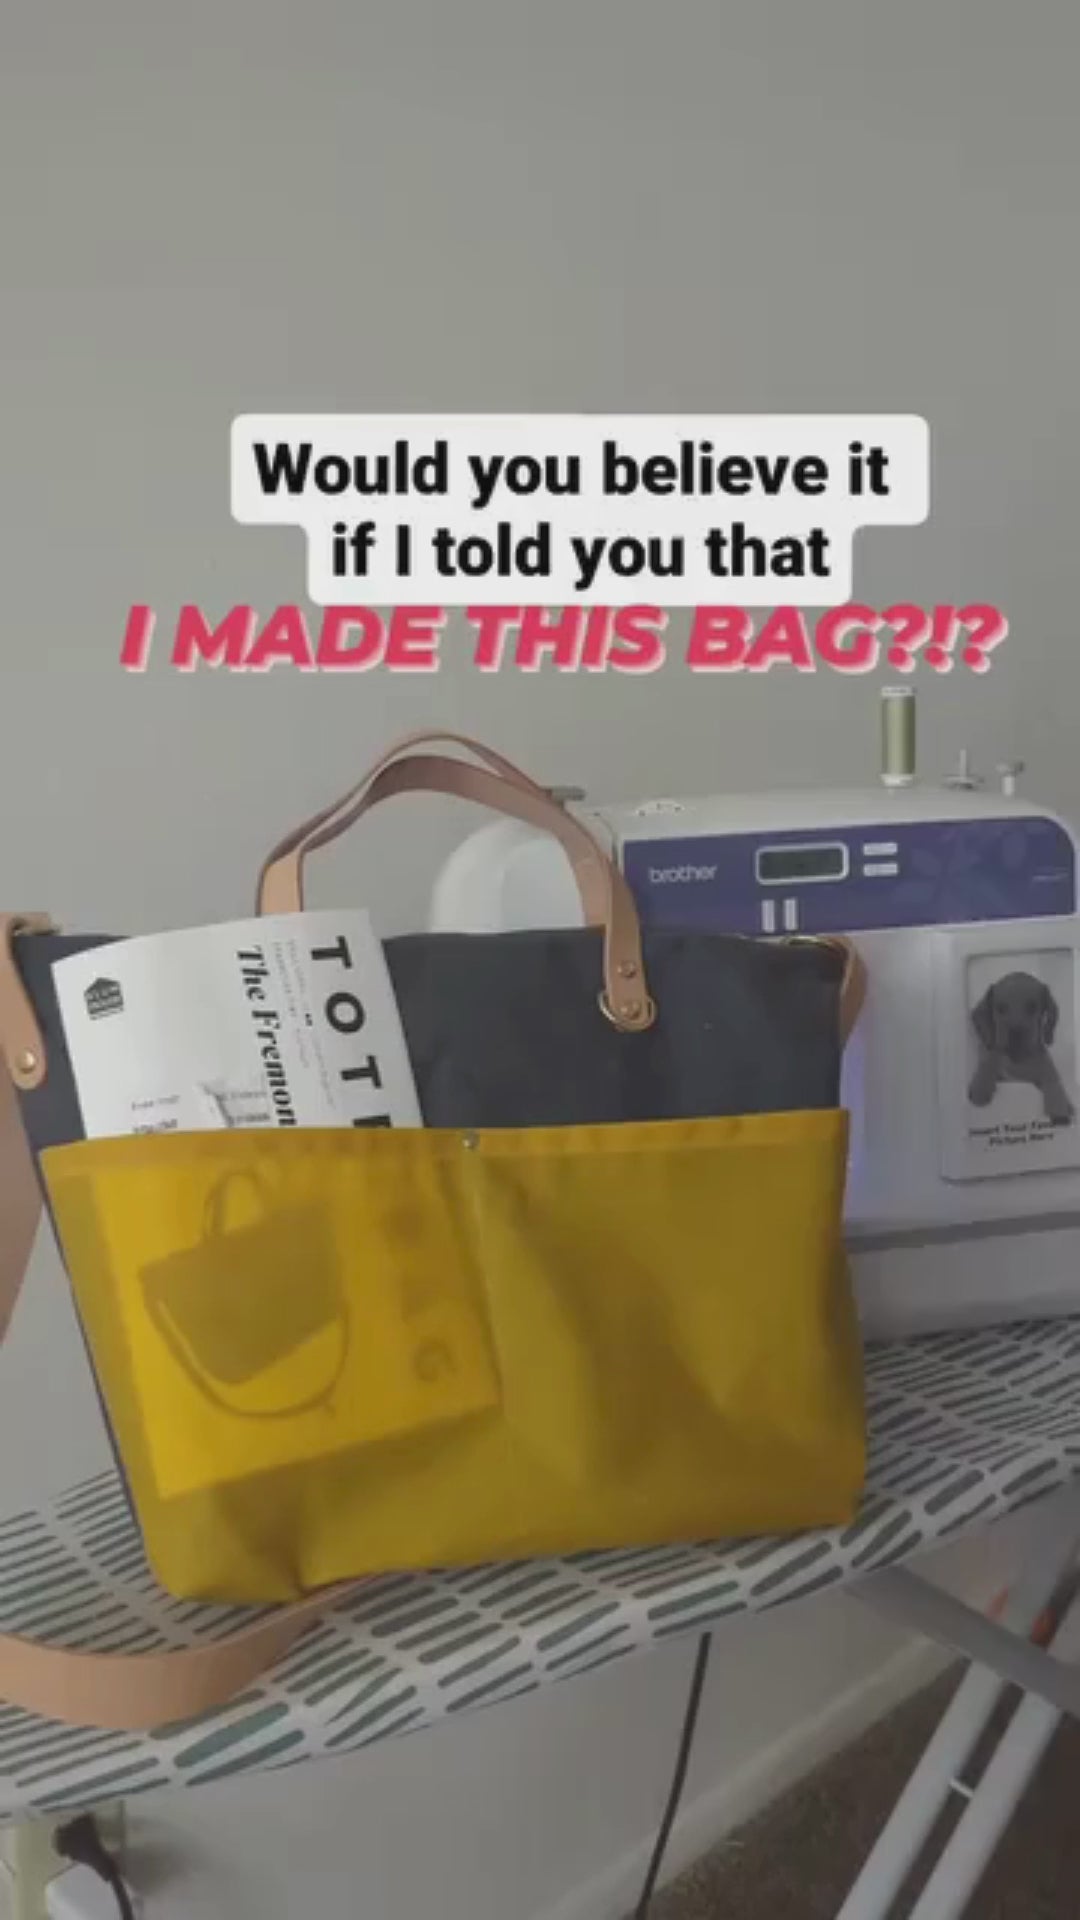
@seam_ingly
"I recently made the Fremont tote bag and learning how to set rivets was so satisfying! ⚒️
😍 Maker Stories
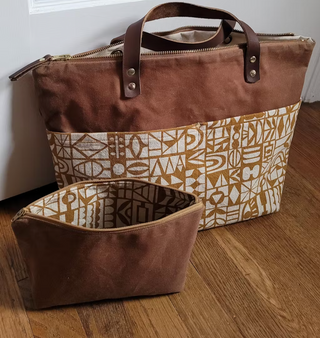
"I made a group of Fremont bags and gave them away as gifts. Making this pattern multiple times was a great way for a beginner like me to practice sewing and gain skill."
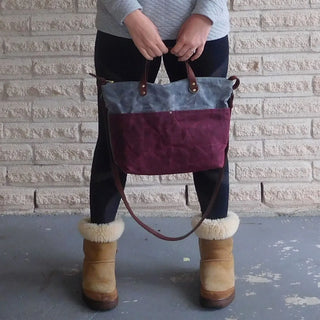
"The bag is absolutely amazing, and I felt like a champion finishing it in 2 short days! My one piece of advice about making this bag: Buy the Leather + Hardware Kit. Seriously this was such a time saver because I didn’t have to source each piece of hardware, and the leather came pre-cut with rivet holes punched!"
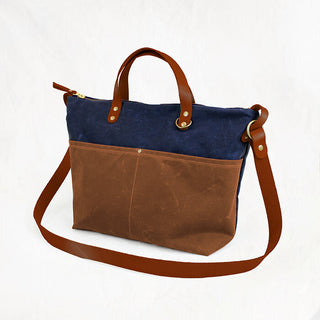
"This was so much fun to make and turned out beautiful. I can't wait to make another one. I think this is going to be a wonderful new addiction."
"I enjoyed making the Fremont from a kit. The video instructions were very helpful. I was impressed with how the bag turned out, as were my husband and friends. It's now my favorite purse, and I have several dozen, so that's saying a lot. It's a great size for carrying everything I might want."
The Fremont
Online Class
Learn to make your Fremont with Ellie, the pattern's designer, from the comfort of your home sewing machine. The online class is great for visual learners and those who could use an extra boost of confidence.
FAQS
Questions about the Fremont? We've got you covered.
Yes, you can totally make this bag on a regular home sewing machine! No heavy-duty or industrial machine required. For best results, we highly recommend working on a machine that has been well-maintained and using a new, sharp needle. Denim needles or nonstick needles (if working with waxed canvas) are our favorite!
These are the tools and sewing supplies we recommend having on hand for the optimal Fremont-making experience.
Sewing Supplies:
- Size 100 denim needle or nonstick needle (our favorites for sewing heavy-duty fabric & waxed canvas)
- Craft clips (for securing multiple layers of waxed canvas)
- 5" x 5" Quilting ruler (comes in handy for marking boxed corners)
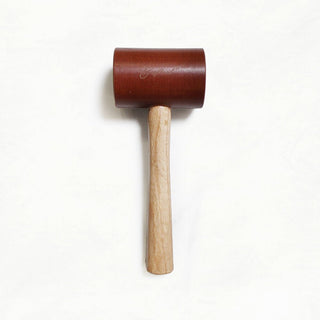
- Hammer + hard surface (for setting rivets)
Tools:
The Fremont Crossbody Tote has double-cap rivets, which can be set with just a regular hammer. Optionally, you can use a double-cap rivet setter and a (non-rubber!) mallet on a hard surface, such as a slab of stone, metal anvil, or concrete floor. To make holes in fabric you’ll need two drive punches: a 3/32” drive punch for rivets and a 3/16" drive punch for Chicago Screws, which are used with a mallet on a cutting board.
For Chicago Screws, it is possible to set them with just a flathead screwdriver. However, for the strongest set, we recommend using a Chicago Screw Tool, which helps you grip the screw while you tighten it.
You can add these tools to your kit, or combined in The Drive Punch Toolkit for a discounted price!
Download the FULL TOOLS + SUPPLIES LIST
The Fremont Crossbody Tote is a Confident Beginner-level bag making project. The finished bag may look hella professional, but don't let that intimidate you! Even if you're newish to sewing bags, you'll do great. Be sure you have all of the correct tools on hand, and we also highly recommend signing up for the Fremont online class, as Ellie's video instructions are super helpful for visual learners and anyone who could use an extra post of confidence.
The making time for confident beginner projects is estimated at 4-6 hours. Having said that, each maker has their own pace and process.
We recommend using a 100 denim needle or a non-stick needle, and three spools of all-purpose thread to match the main, accent, and lining fabrics.
The Fremont Crossbody Tote is a Confident Beginner-level bag making project. Confident Beginner projects involve managing more pieces of fabric and leather. They'll teach you to add interior and exterior pockets and install new types of hardware, like Chicago Screws.
First time working with waxed canvas and leather and all that goes with it, but I loved it and will definately buy more kits from Klum!
Appears to be a well thought out pattern. I’m looking forward to making it!
I absolutely love this pattern and bad! Combine with the video tutorial and you’re got yourself a fun sew with a professional look! Absolutely love Klum House and their products !!!
OUR PROMISE
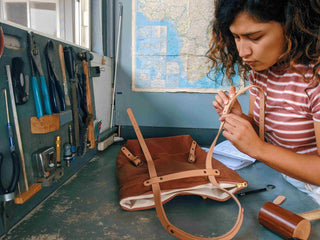
You've got this.
Making things takes courage! For every little victory and moment of triumph, there are frustrating seam rips and cooked rivets, but there is magic to be found in showing up and trusting the process. Sometimes you have to take the leap to discover how much you're truly capable of!
OUR PROMISE
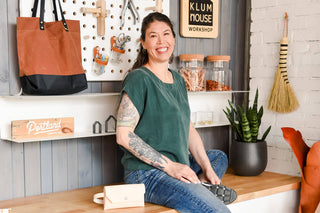
We've got you.
From sourcing the very best tools and materials to crafting crystal-clear instructions, we're committed to setting you up for success (and enjoyment!) at every step of your bag making journey. No matter your skill level, we'll meet you where you are and help you reach your bag making goals.
Handpicked For You
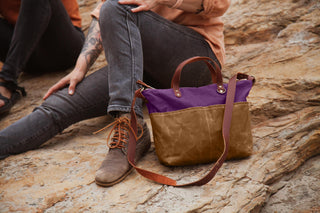

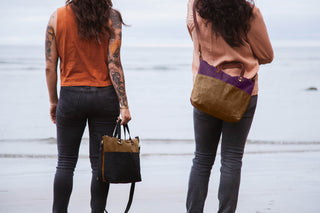

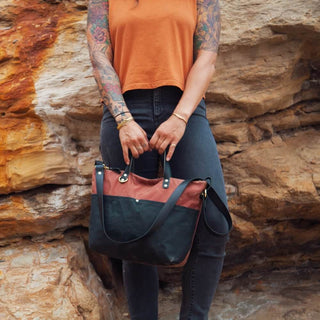

Join Us on Instagram @klumhouse for #YAYFREMONT Inspiration ✨

@klumhouse
#YAYFREMONT
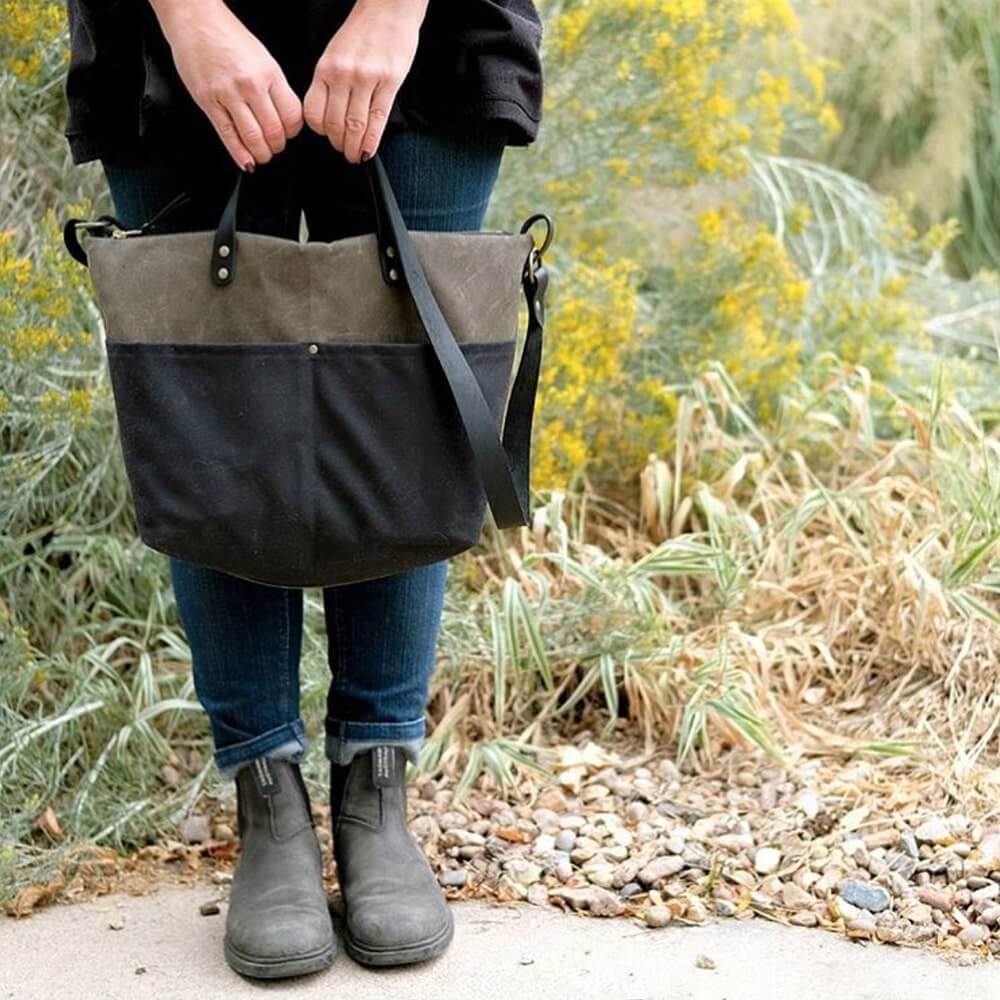
@klumhouse
📸 @fancytigercrafts

@klumhouse
#YAYFREMONT
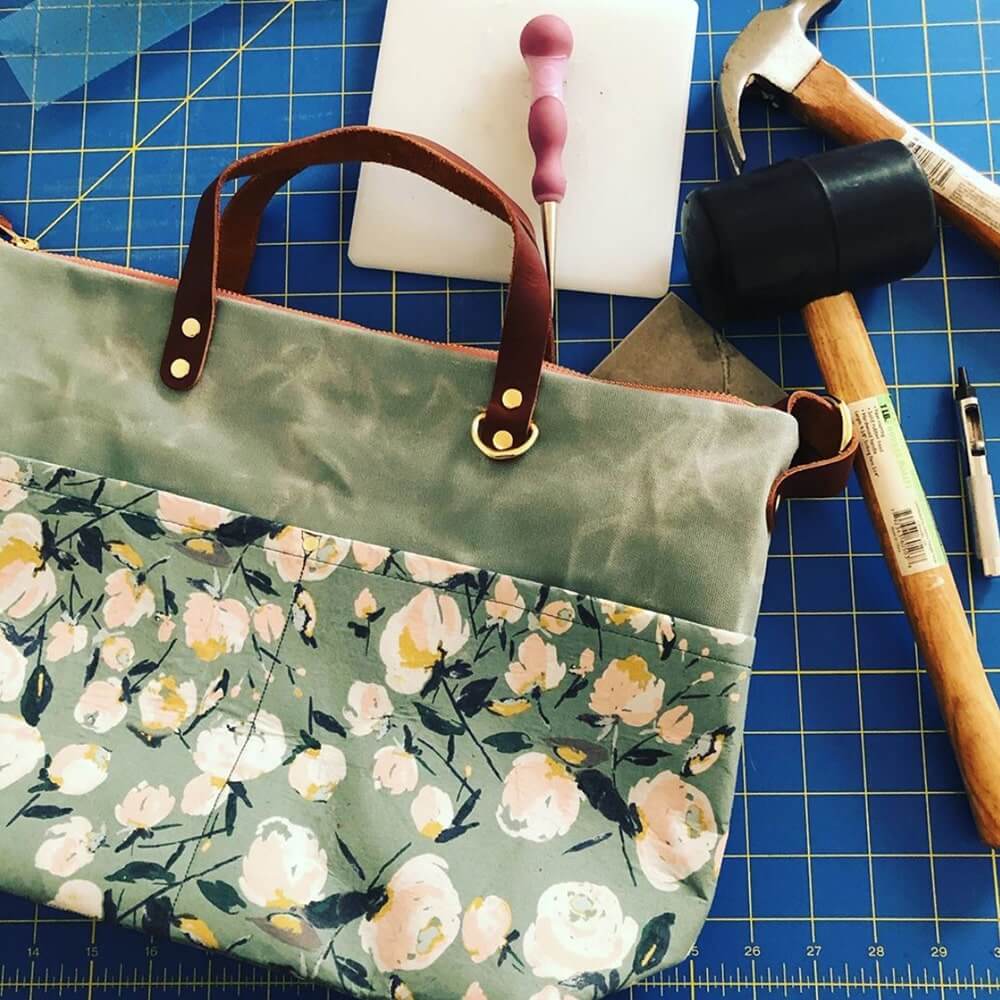
@klumhouse
📸 @queenandsew

@klumhouse
#YAYFREMONT

@klumhouse
📸 @ilovesnacks

@klumhouse
#YAYFREMONT
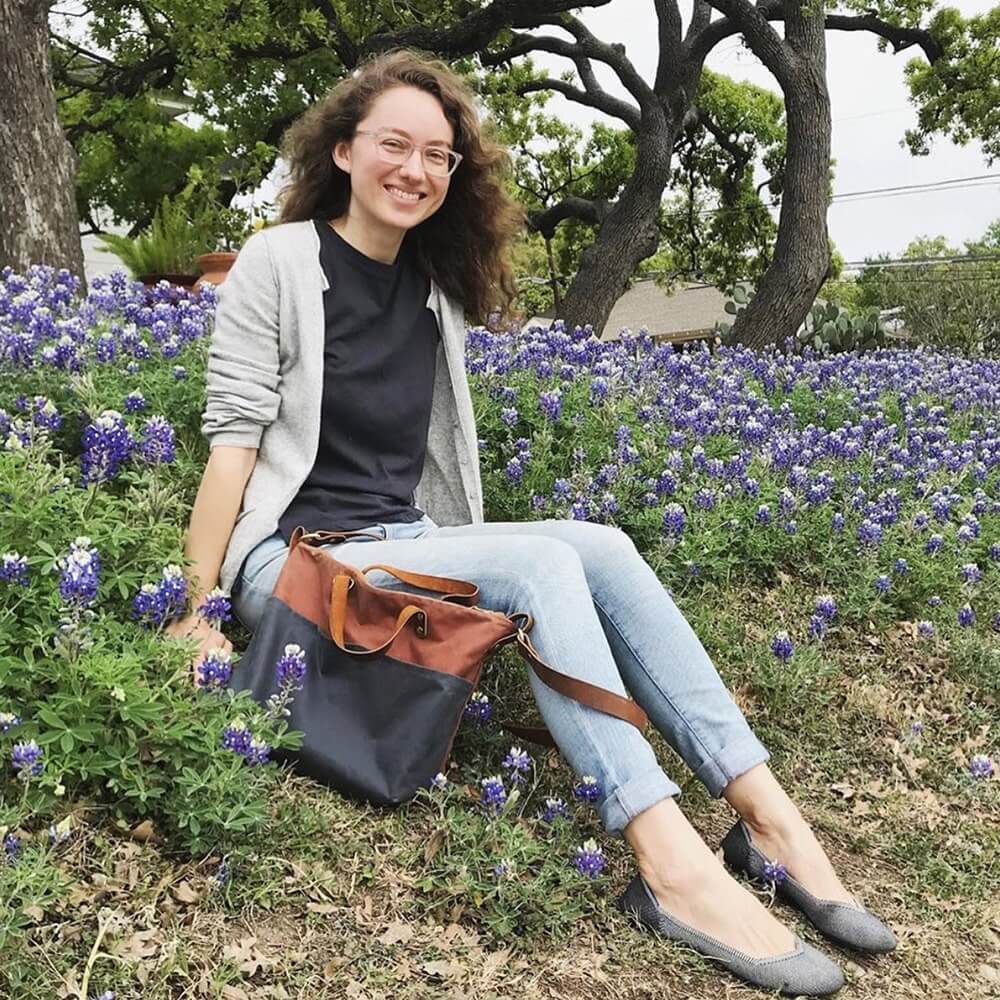
@klumhouse
📸 @magdaslimko

@klumhouse
#YAYFREMONT
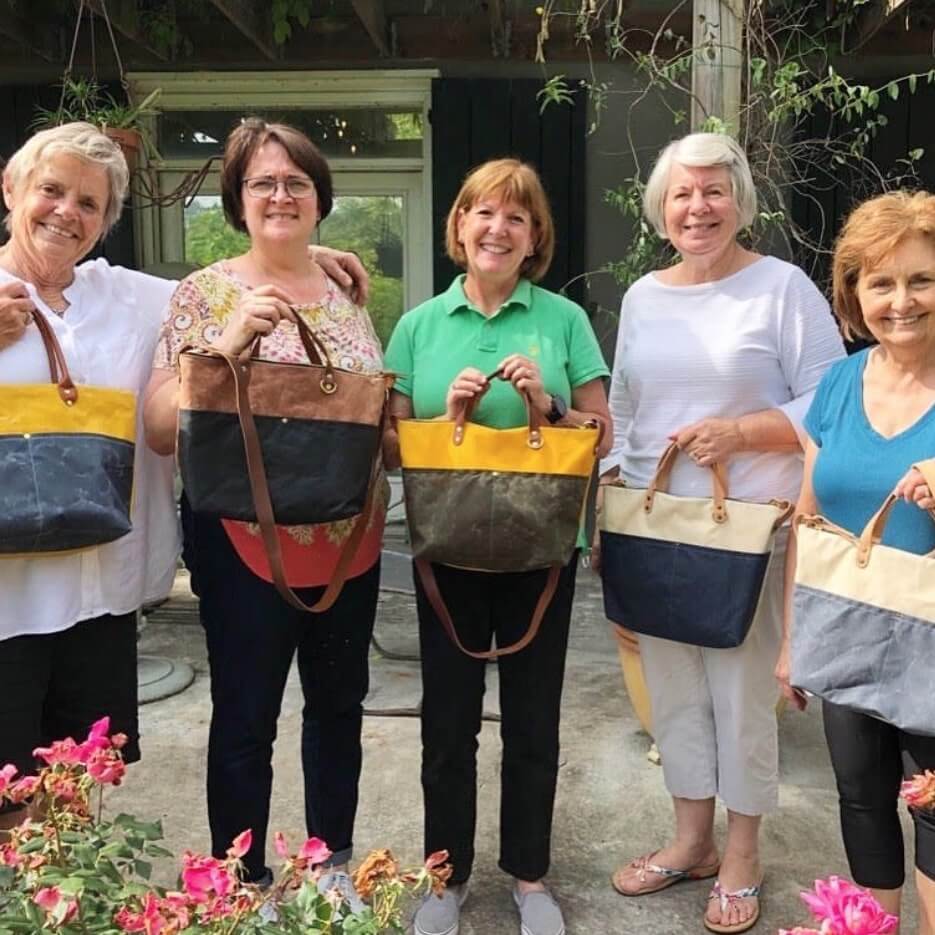
@klumhouse
📸 @jeannebuffat

@klumhouse
#YAYFREMONT
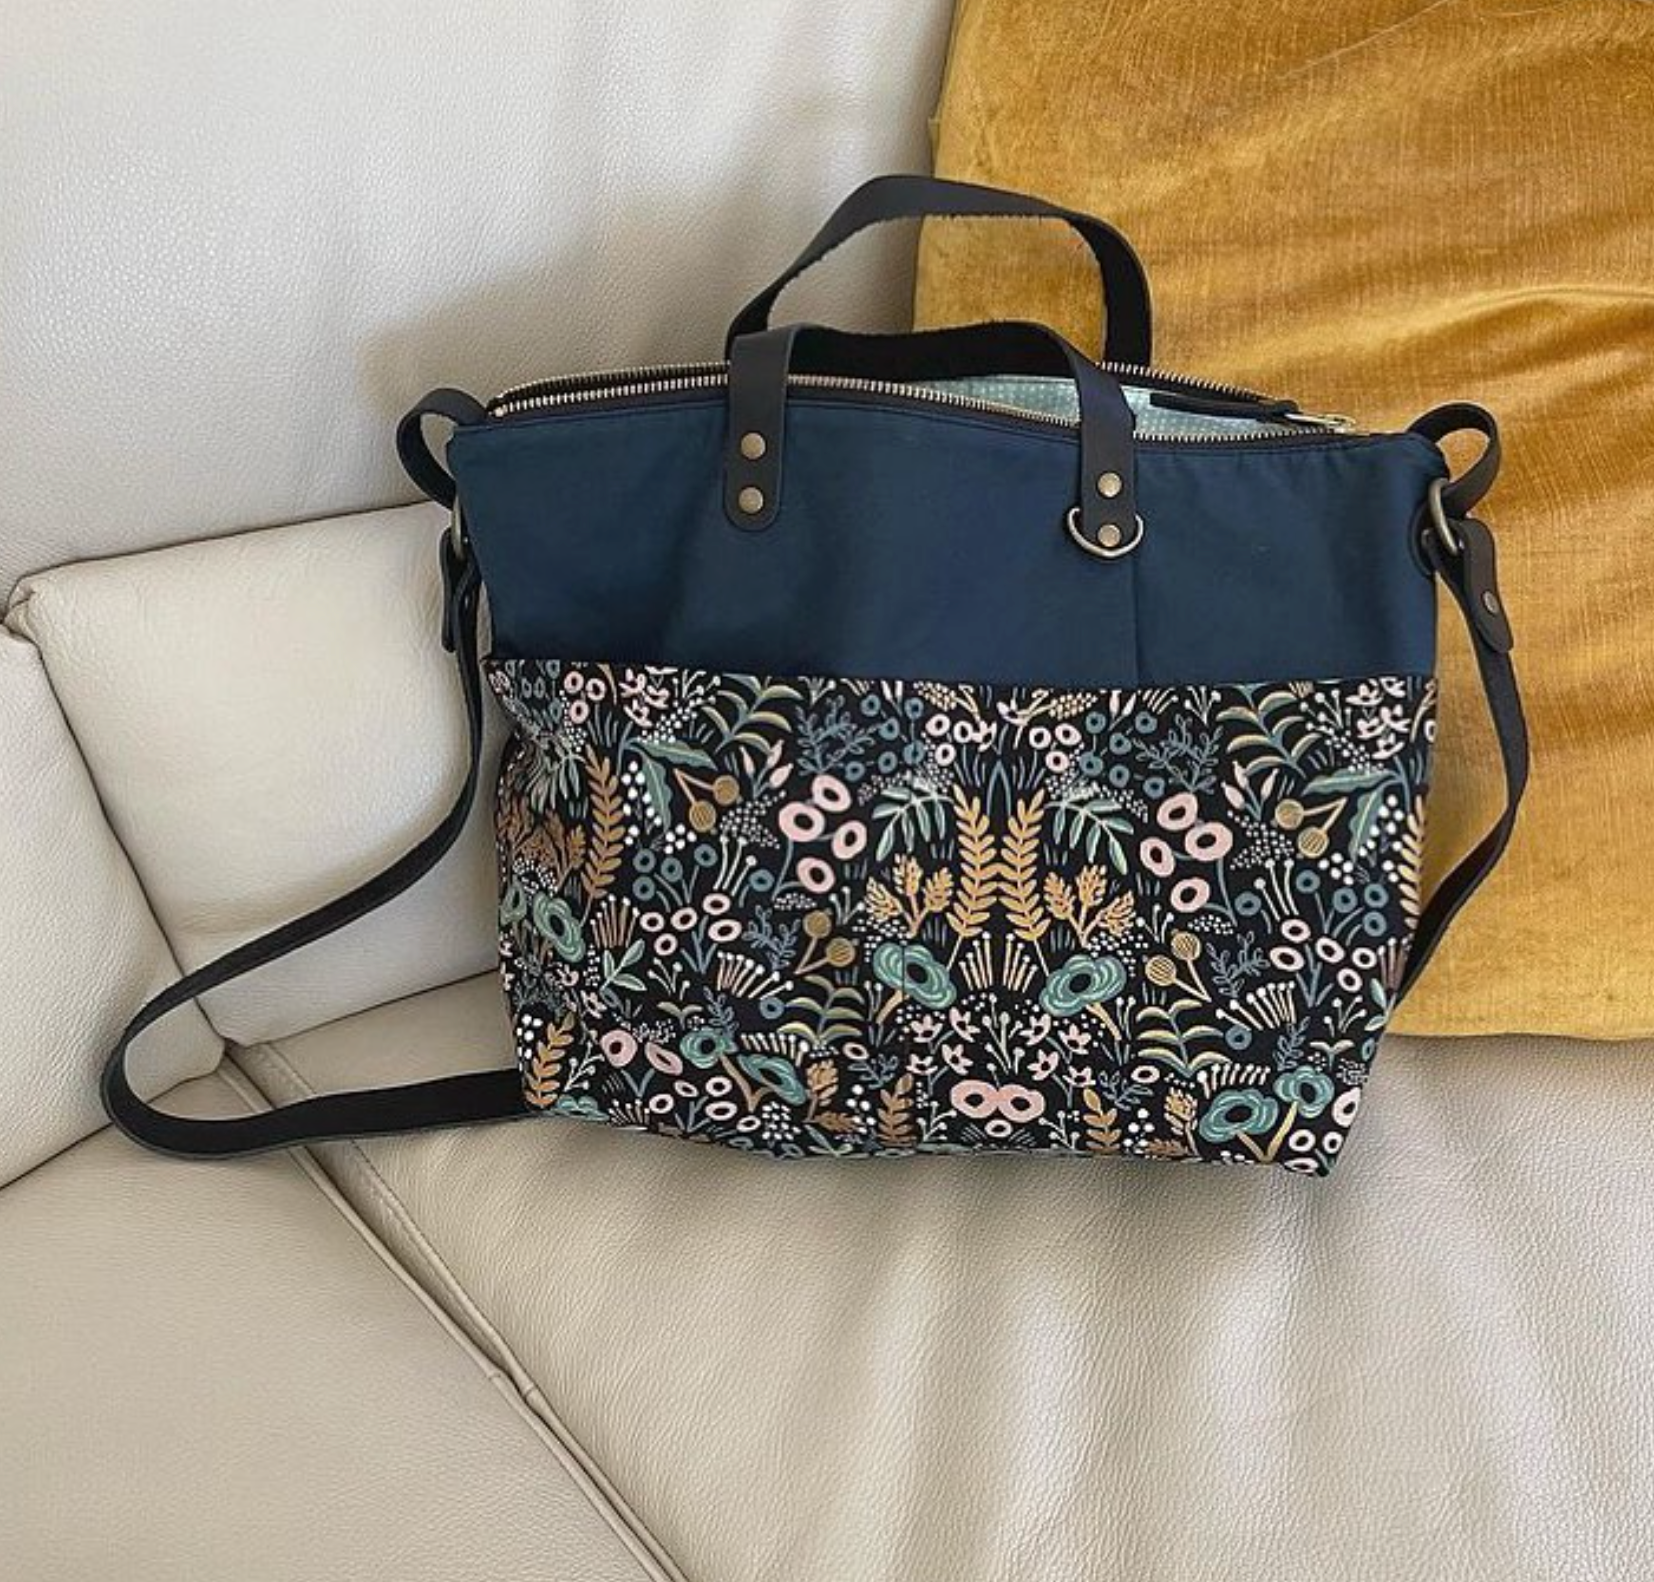
@klumhouse
📸 @krupakreates

@klumhouse
#YAYFREMONT
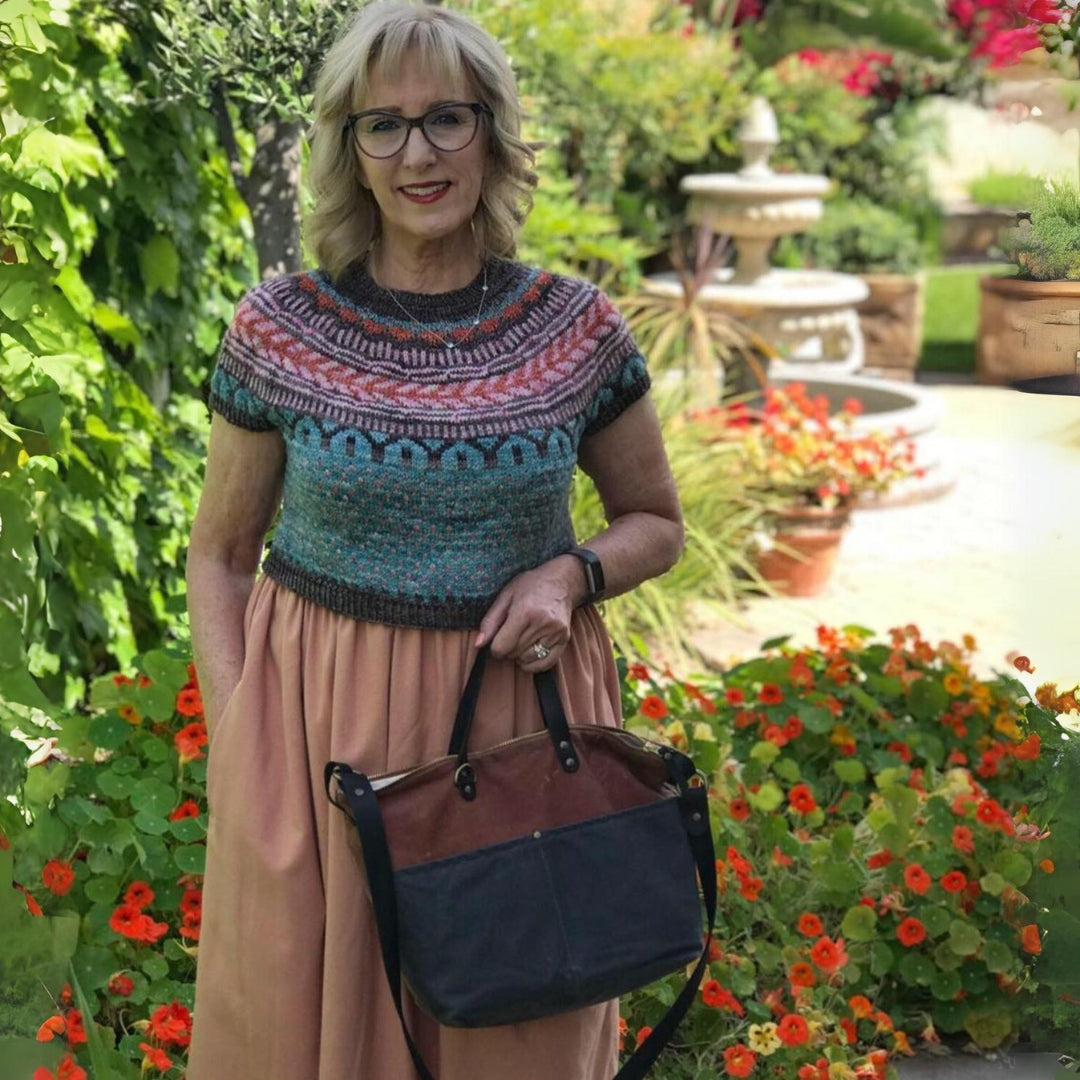
@klumhouse
📸 @diane_stanley_sews_and_knits

@klumhouse
#YAYFREMONT
@klumhouse
📸 @ncohen13
Our waxed canvas is Better Cotton Initiative.
Crystal-clear illustrated teaching patterns designed to upskill your bag making.
Durable, premium materials sourced with the highest quality in mind.
Made with care in small batches, by a woman-powered team in Portland.
