Leather Stamps
34% off
Leather Wallet Kit (Seconds)
31% off
34% off
31% off
34% off
31% off
31% off


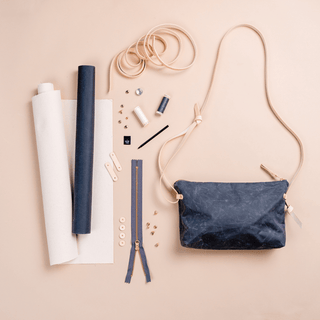
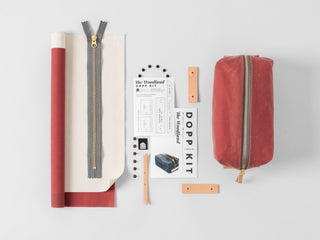
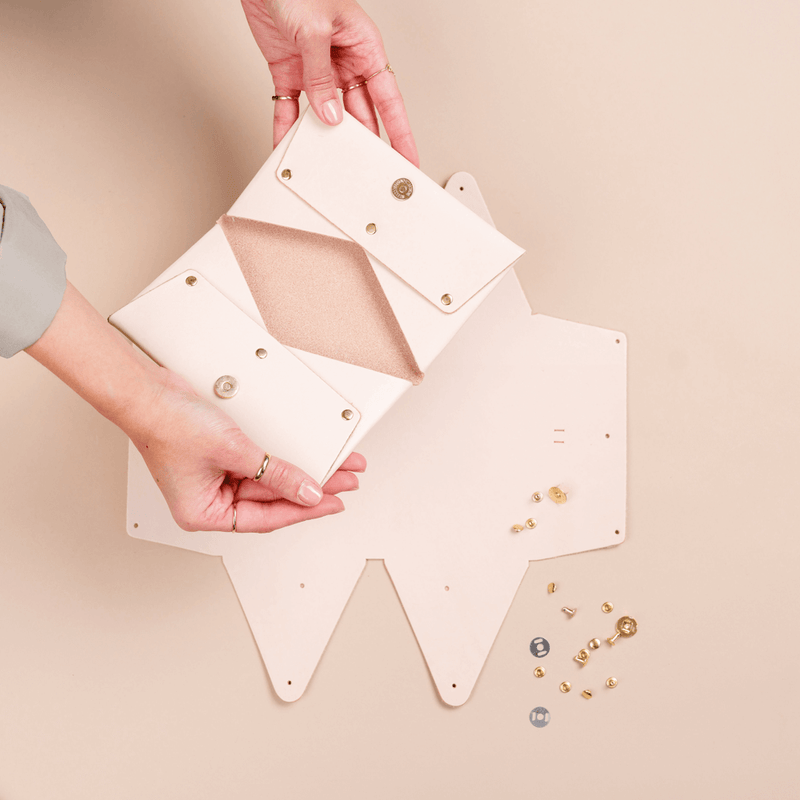
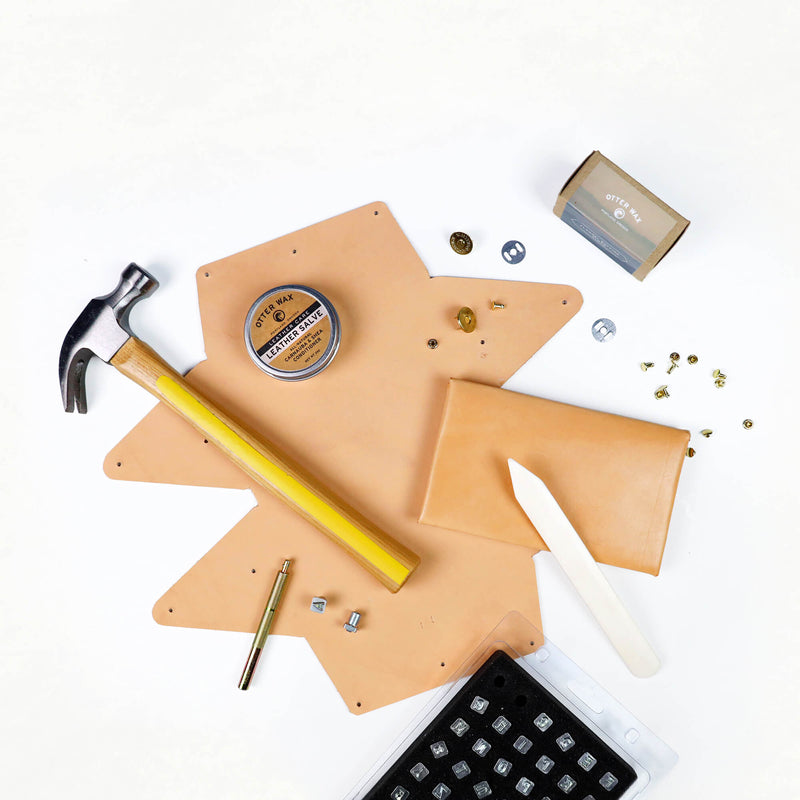
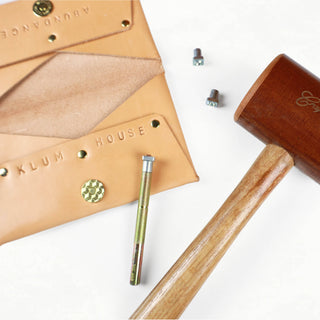
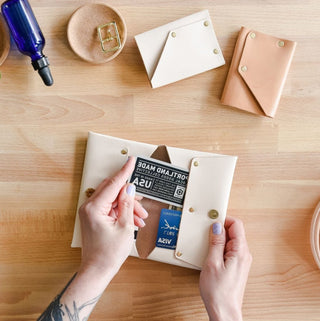
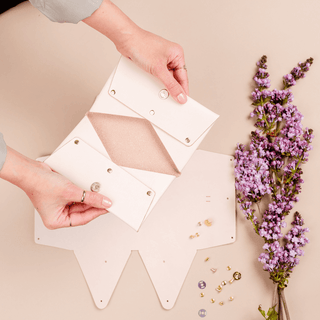
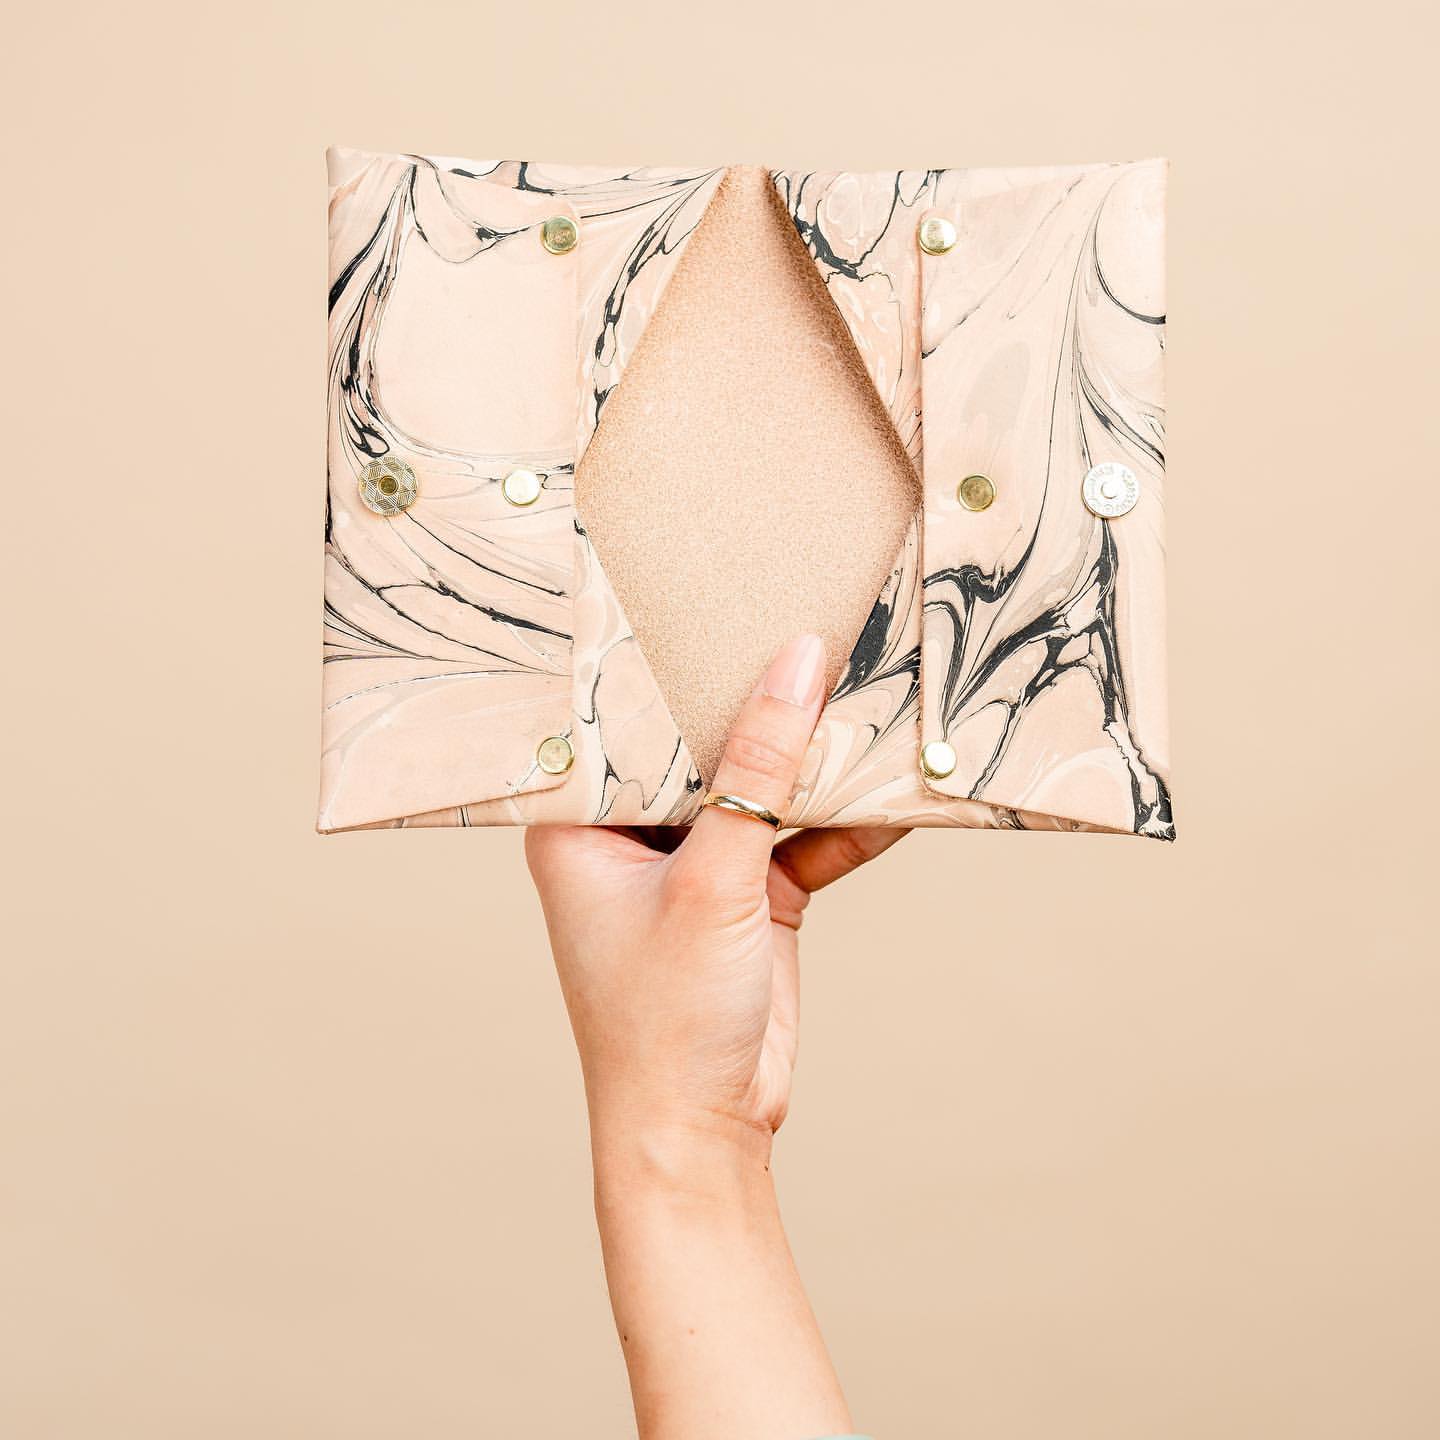
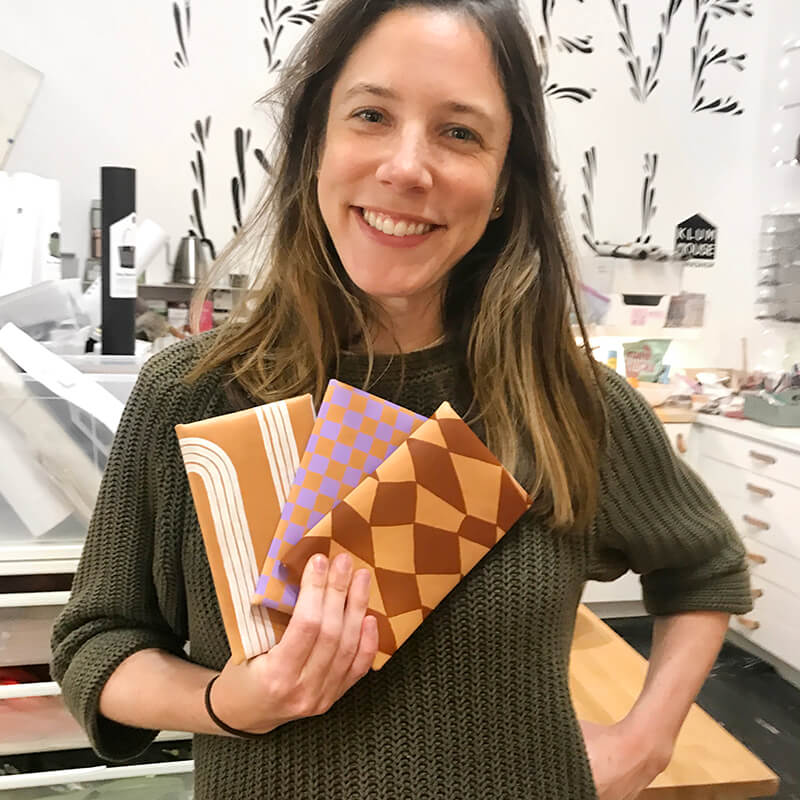
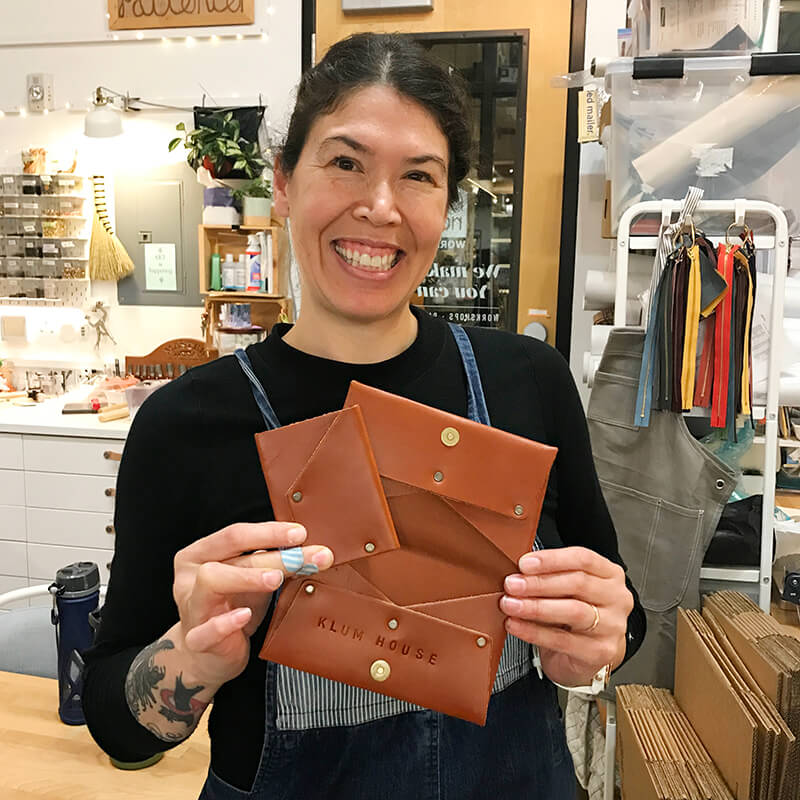
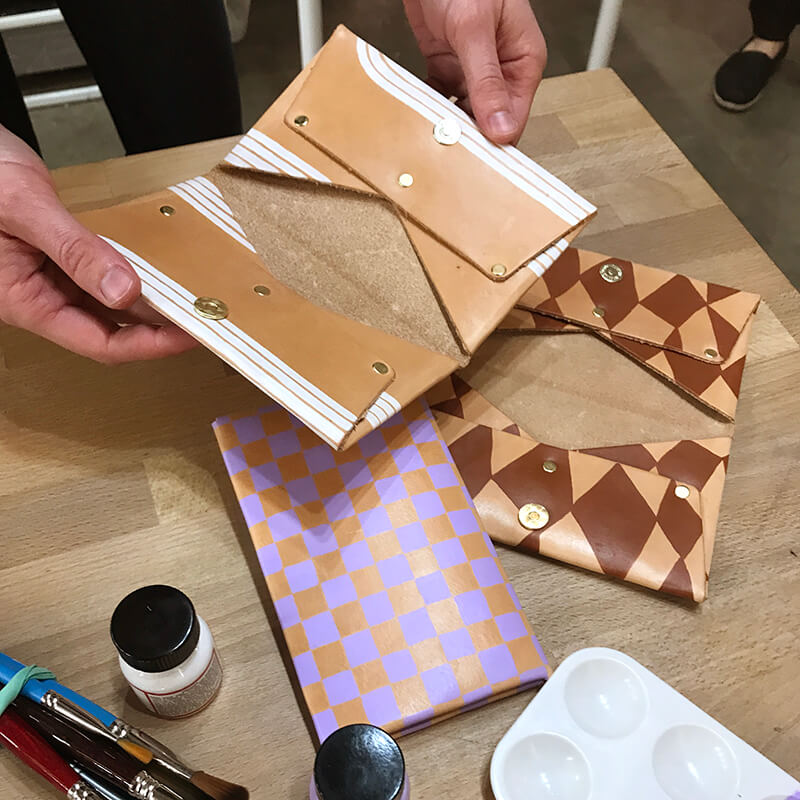
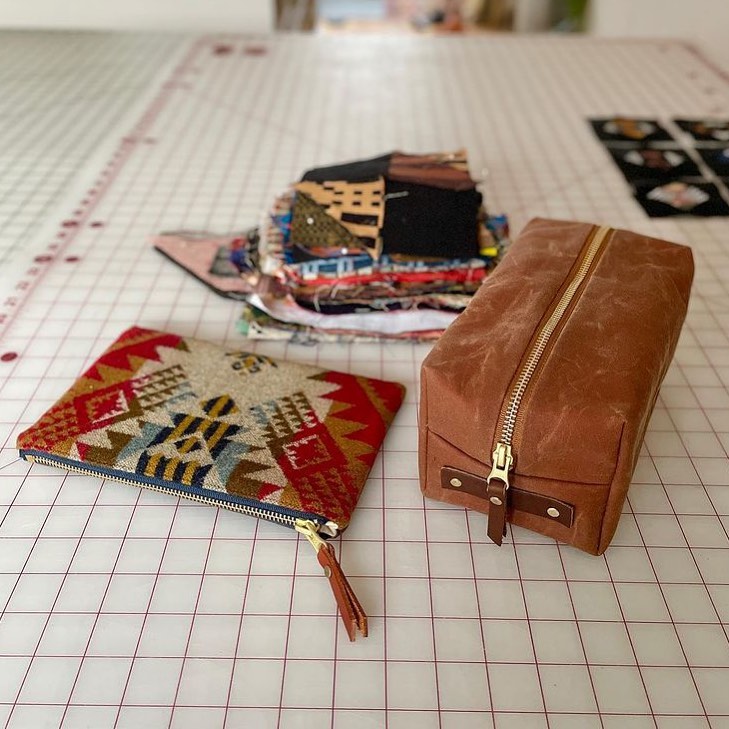
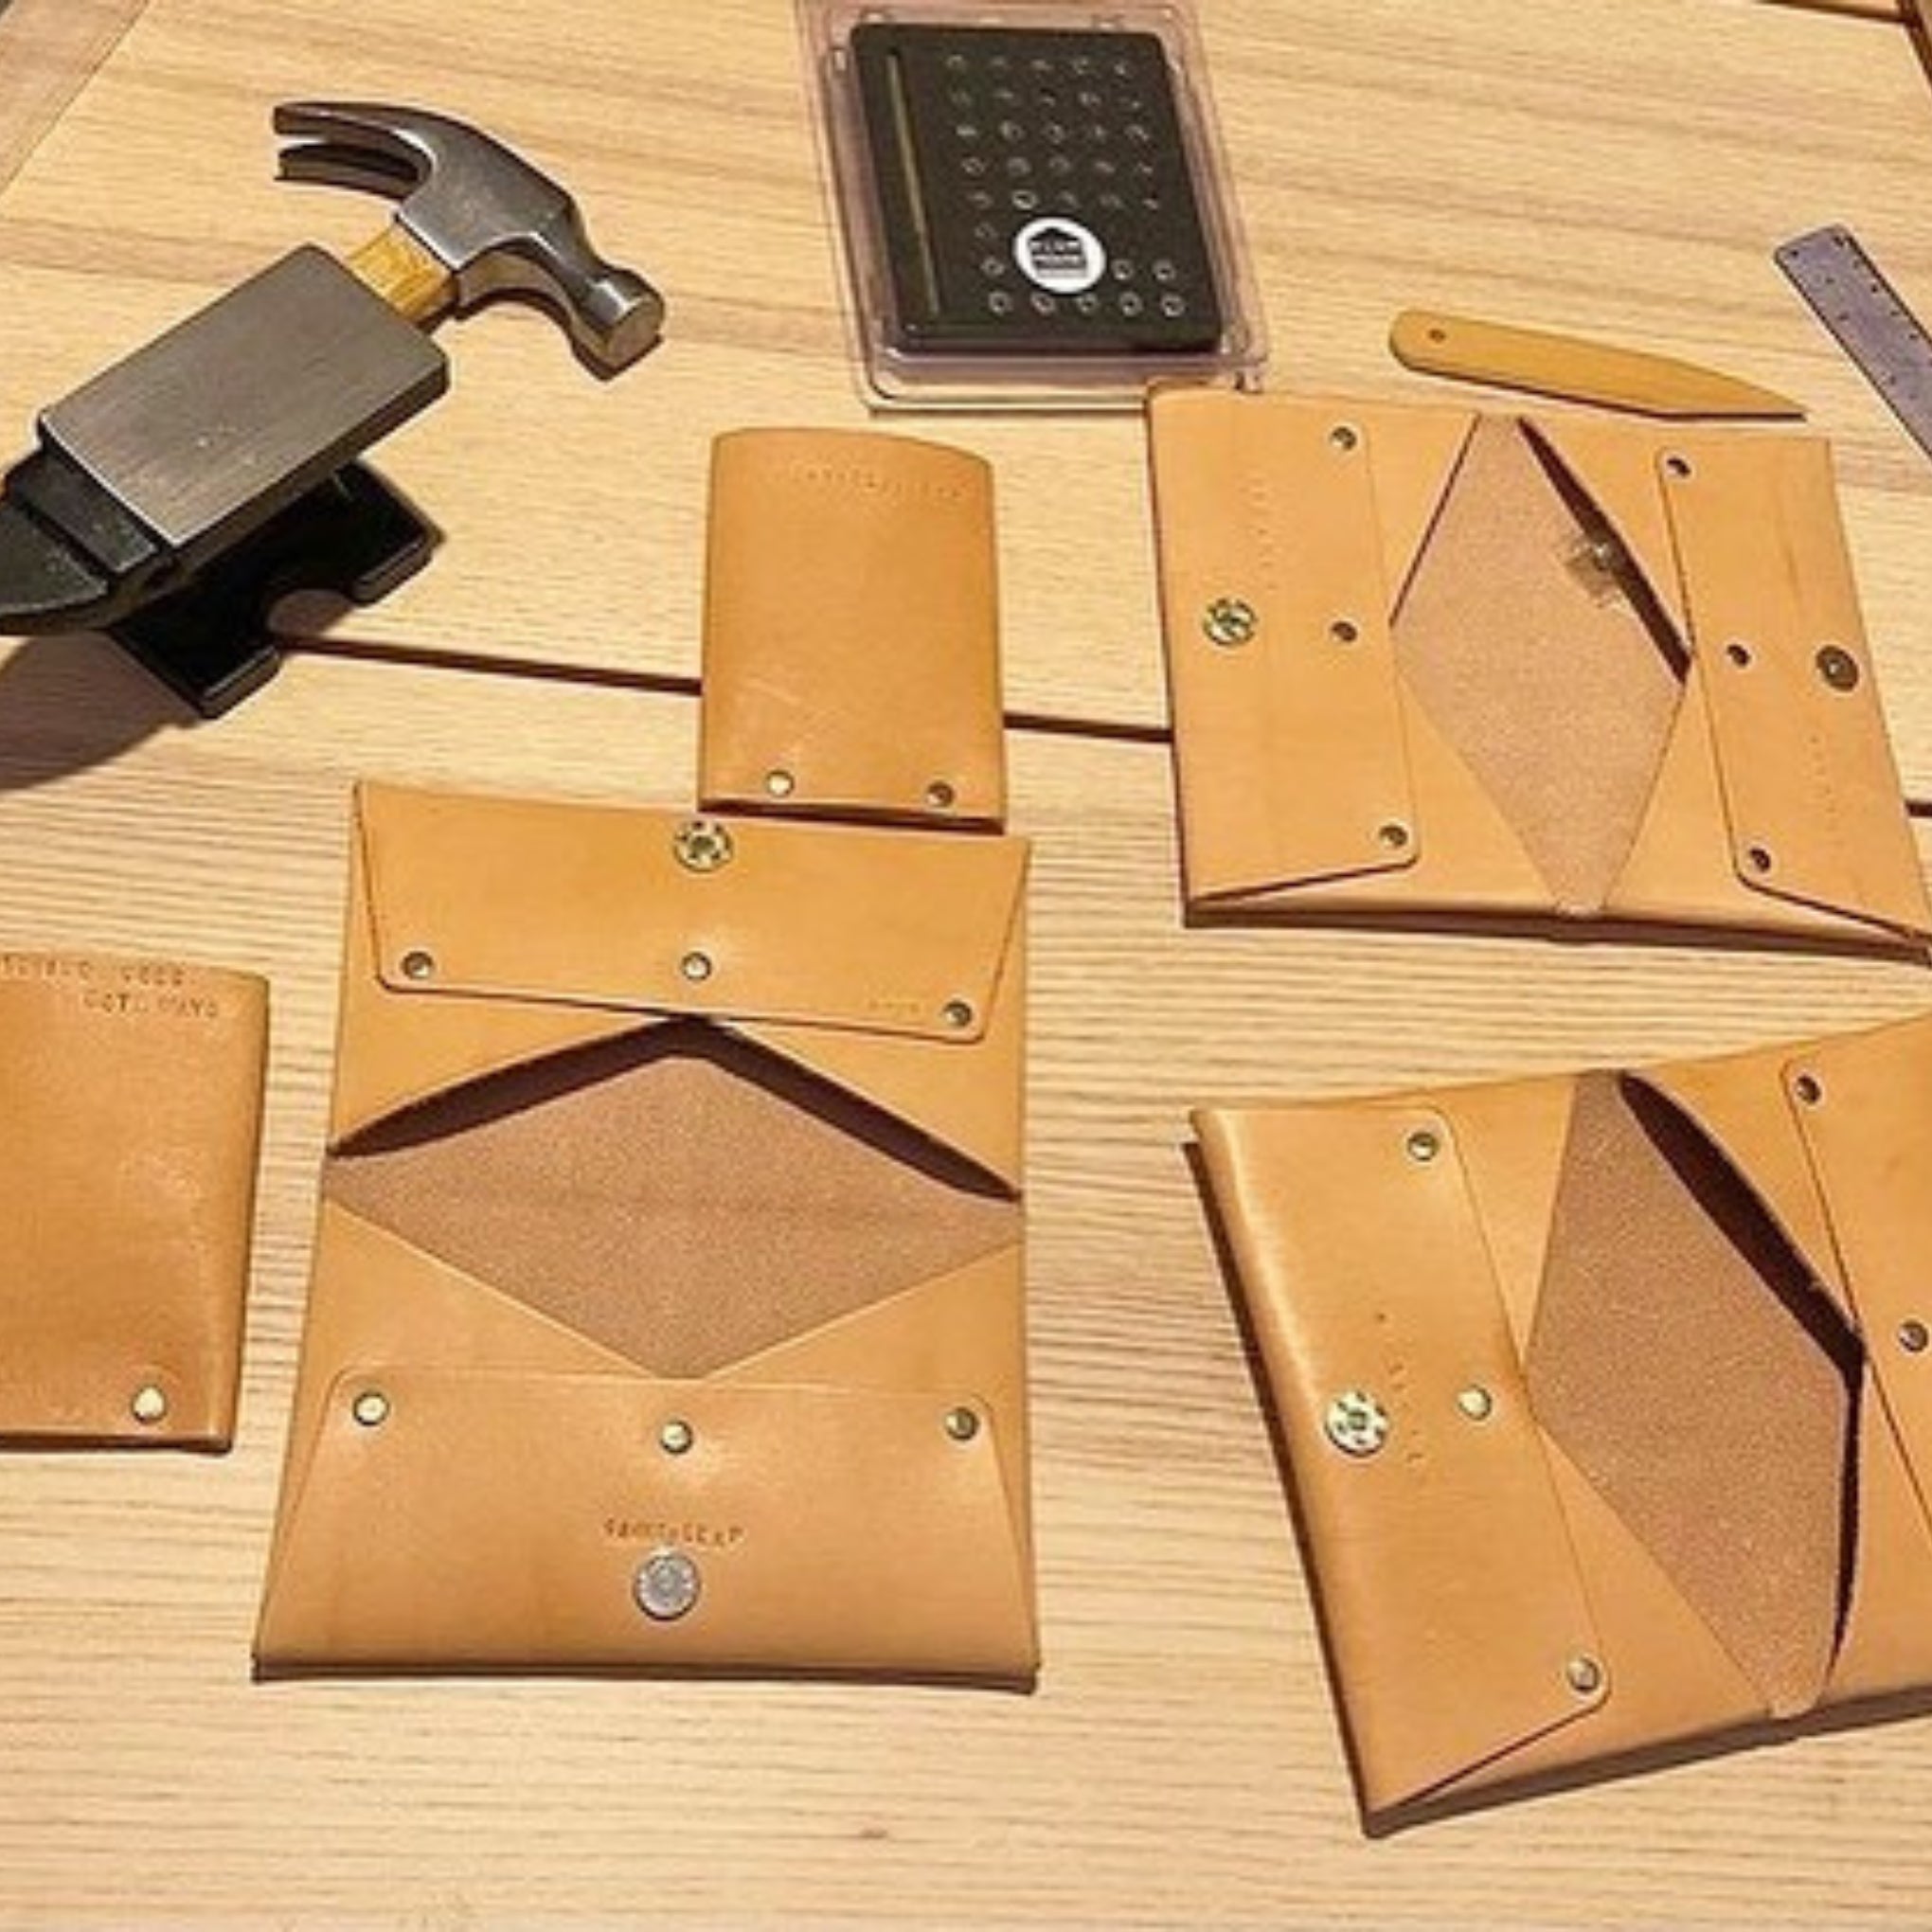
A fun, beginner-friendly project! This classic leather wallet features metal rivets, four card slots, two cash pockets, and a magnetic snap closure. All you need is a metal dot anvil, a hammer, and a hard surface to set the hardware.
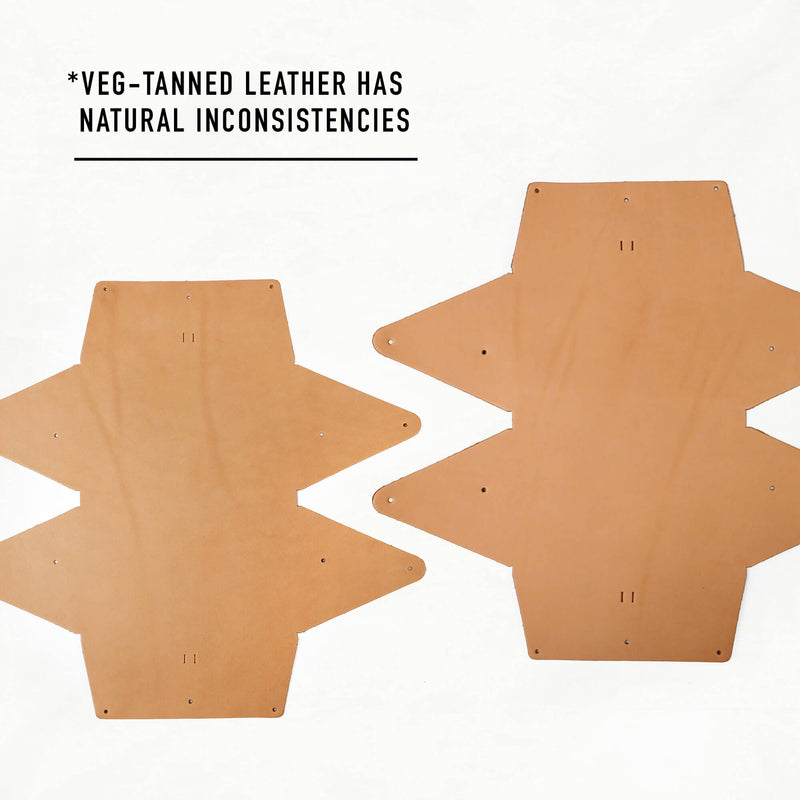
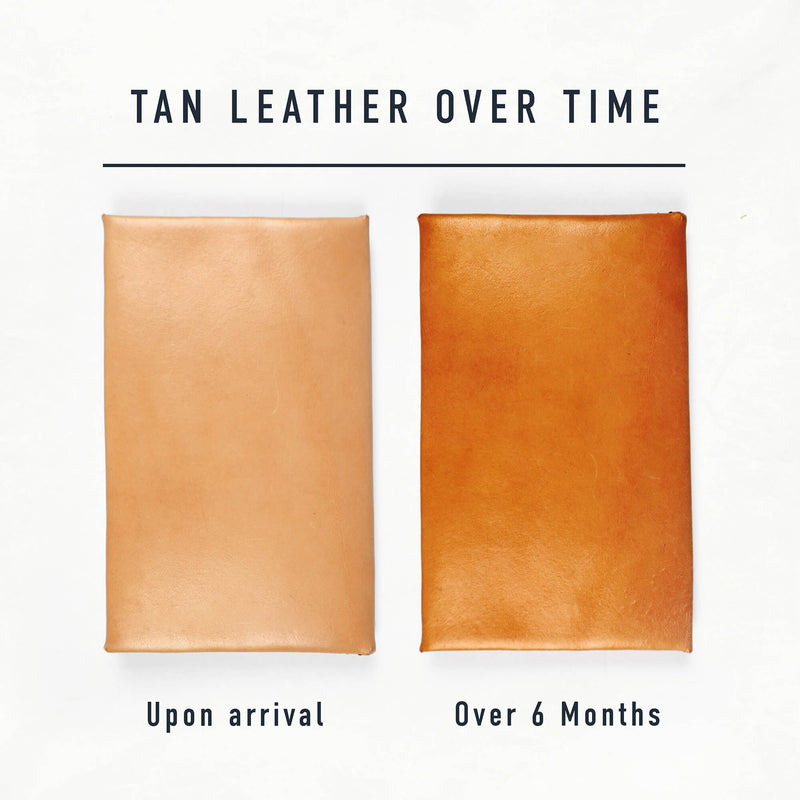
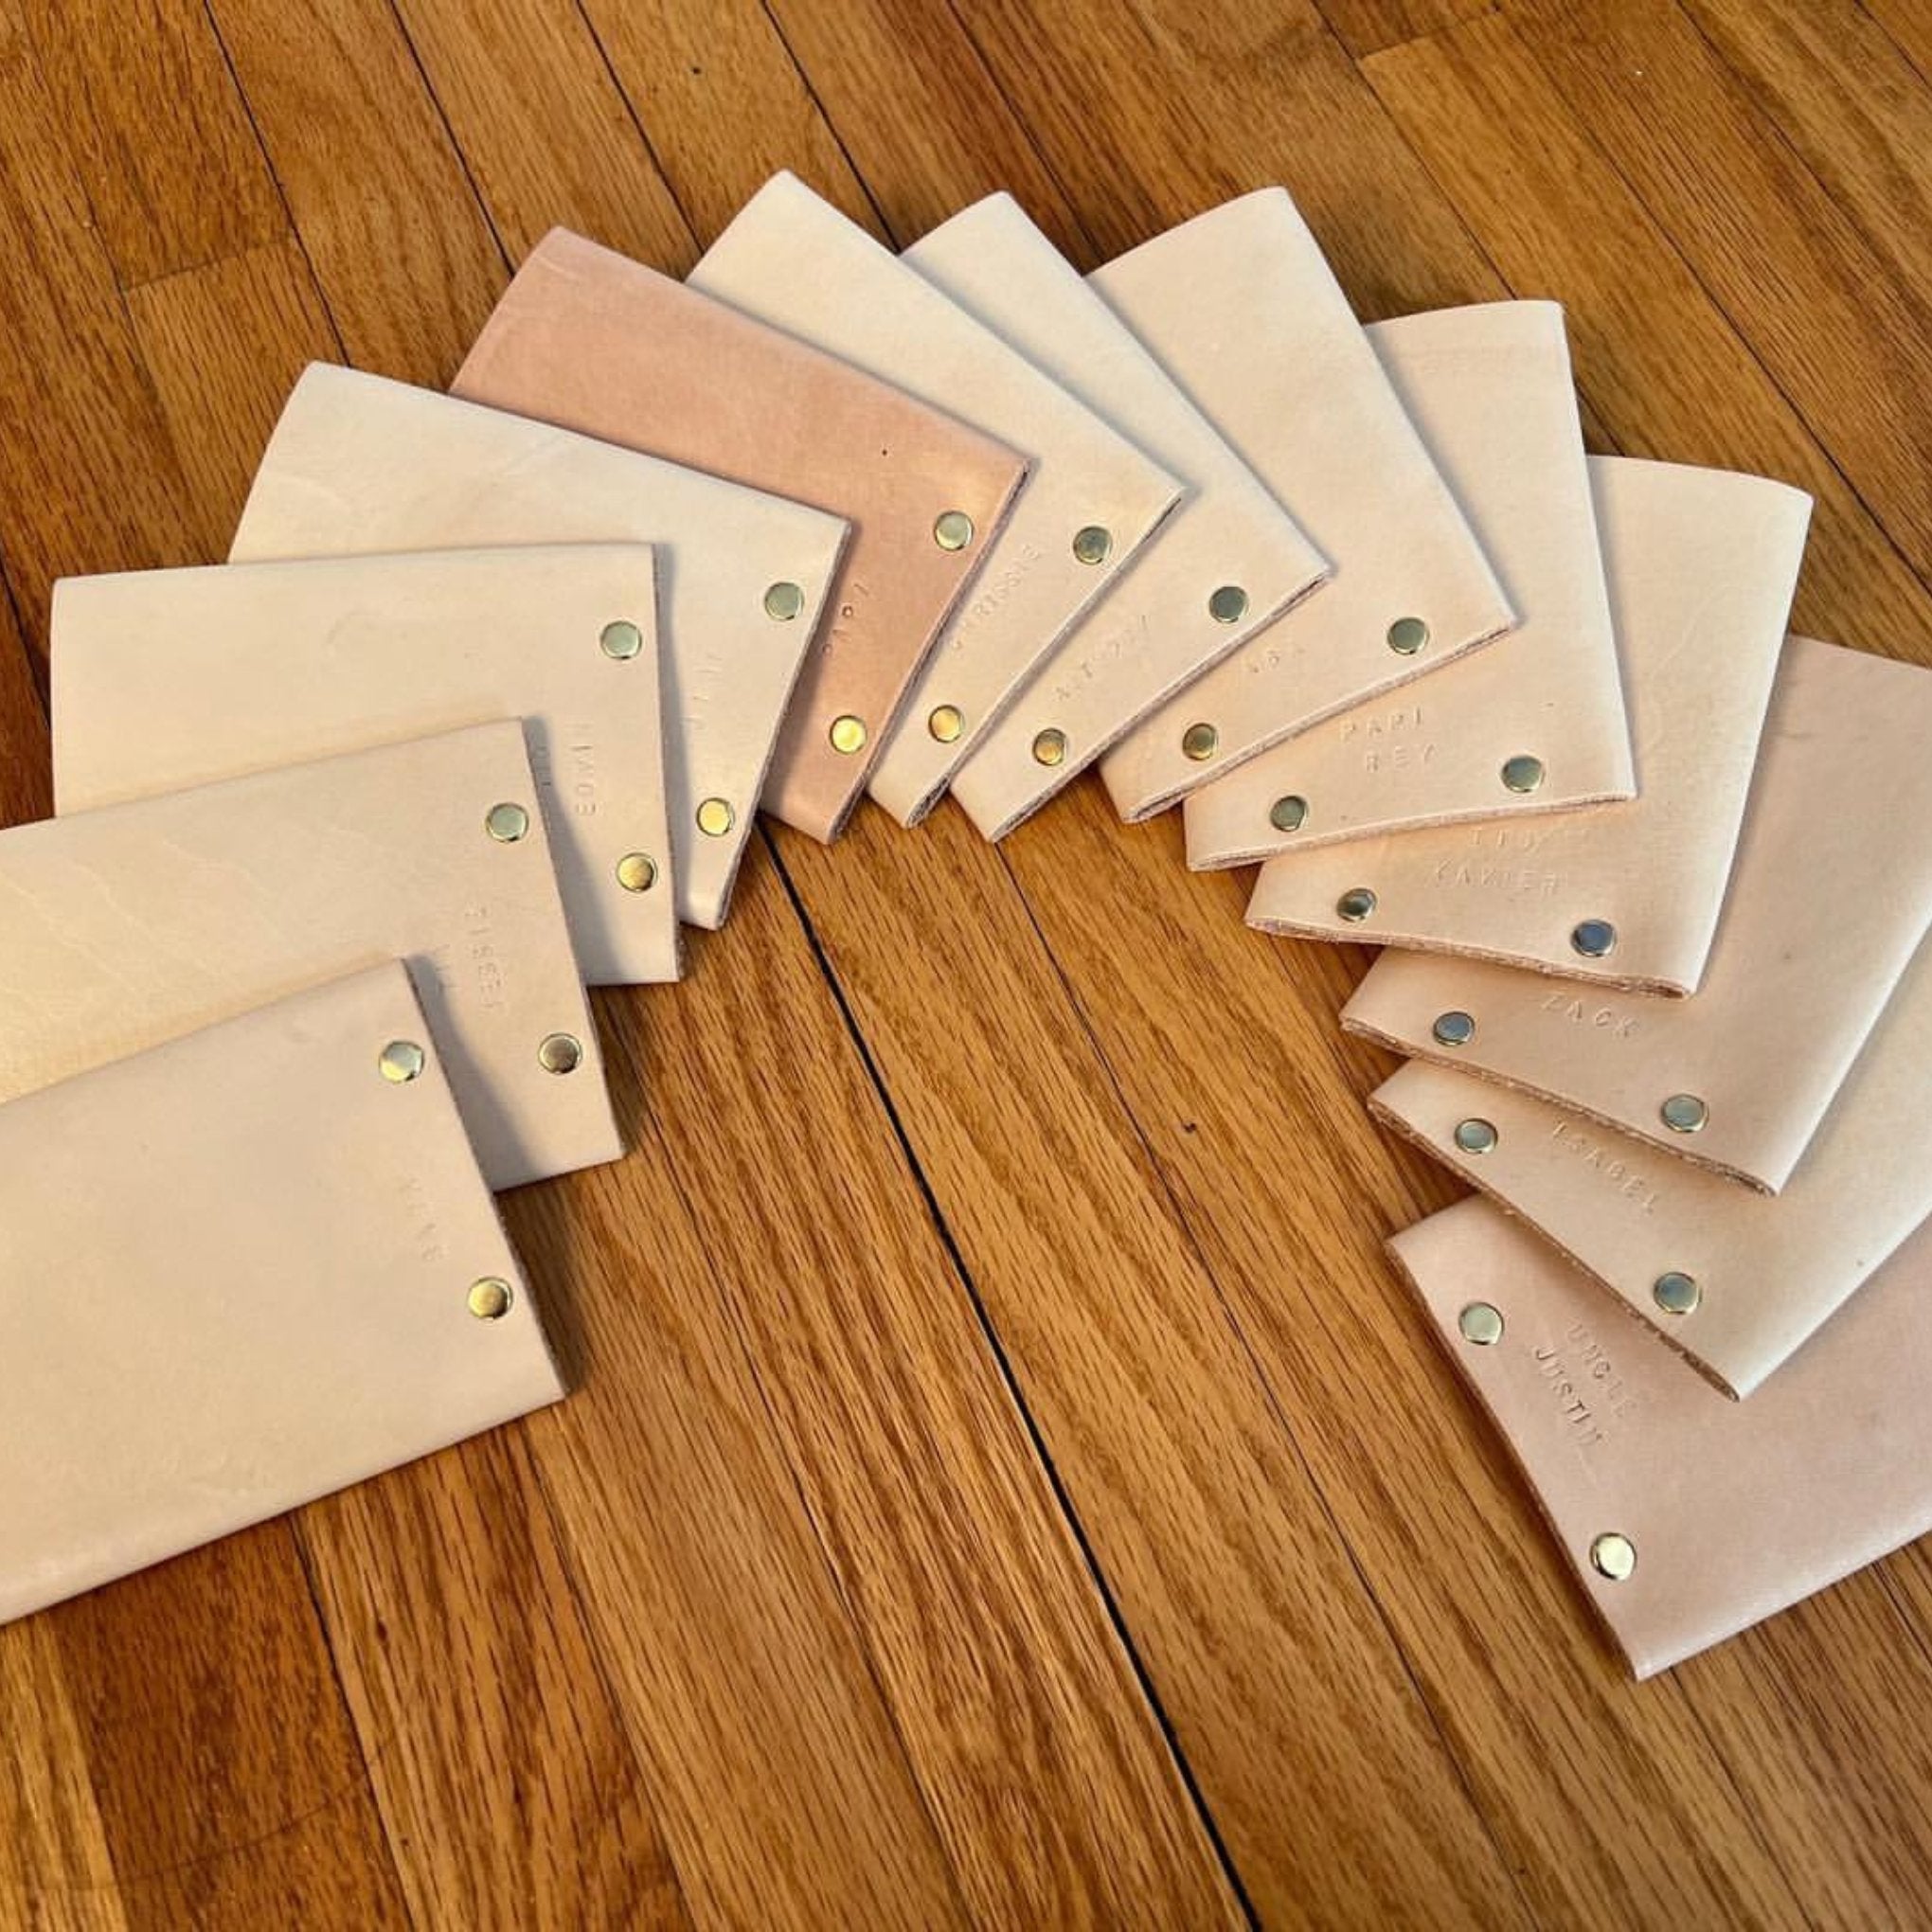
The leather in these B-Grade has minor imperfections, such as stretch marks, bug bites, or other textural blemishes. Over time, the vegetable-tanned leather will darken, taking on a weathered patina, and these imperfections will become less noticeable. We recommend protecting your leather with leather salve, available below. NOTE: FINAL SALE!
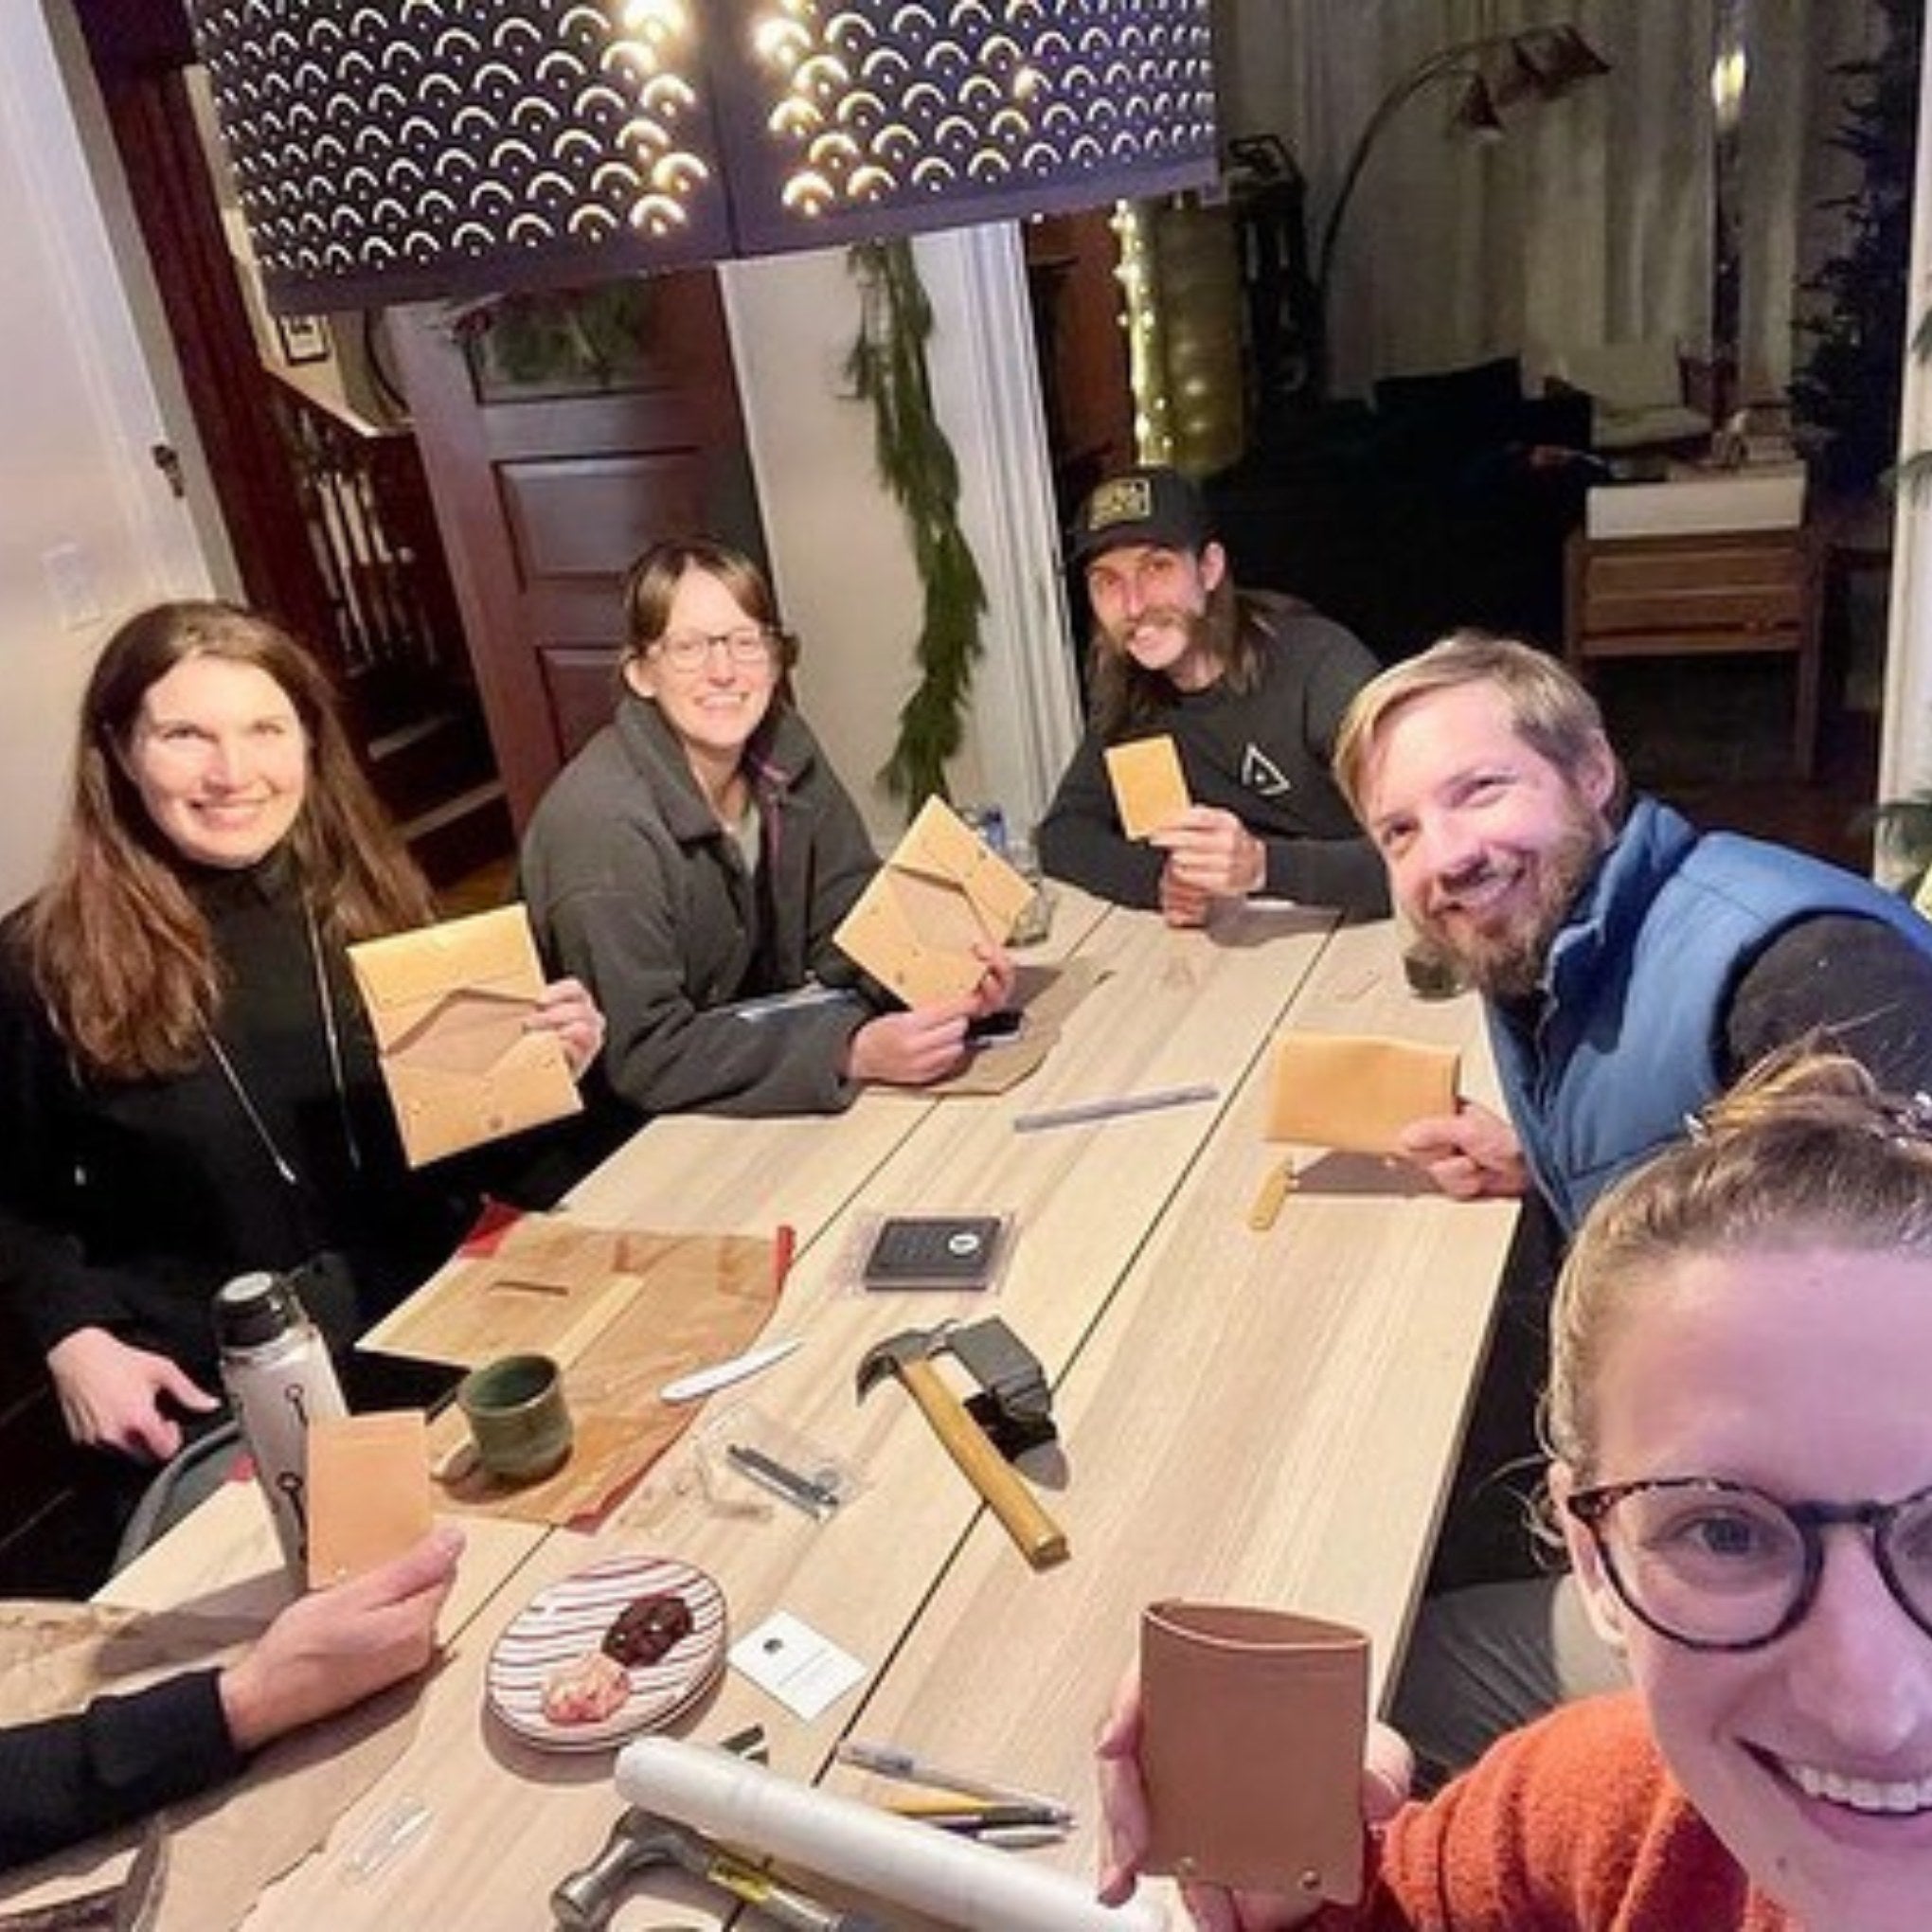
Making multiples? Buy a 3-pack and save $20! (Does not include individual packaging + comes with only one set of printed instructions. If you plan on gifting kits, we recommend purchasing individually.)
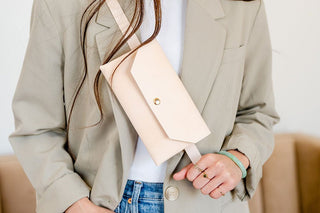
Dimensions (when closed): 6 1/2” W x 4” H
34% off
Leather Wallet Kit (Seconds)
31% off
34% off
31% off
34% off
31% off
31% off
Skill Levels
 BEGINNER |
 CONFIDENT BEGINNER |
|
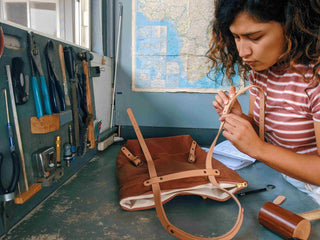
Beginner projects will introduce you to the basics of bag making. You'll learn to sew heavy-duty fabric, punch holes in fabric and leather, set metal rivets, and sew your first zipper! |
Confident Beginner projects involve managing more pieces of fabric and leather. They'll teach you to add interior and exterior pockets and install new types of hardware, like snaps. |
 INTERMEDIATE |
 ADVANCED |
|
Intermediate projects involve a more in-depth making process. They'll teach you to work with a wider variety of tools and hardware techniques, like setting extra-strength tubular rivets. |
Advanced projects are for experienced stitchers ready to invest a significant amount of time and energy into becoming a bag maker. Complex construction and seriously professional results. |
Our Materials


Our Materials
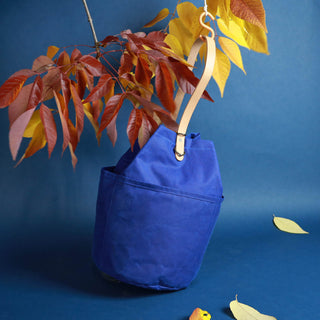
Waxed Canvas
A densely-woven cotton fabric that's saturated with wax, giving it protection against the elements. It shows scuffs and creases that blend into a weathered patina. *fabric colors vary in weight from 10-12oz
Leather
Sourced from USA tanneries, and hand-selected for quality. Our hides are cut into straps with a hydraulic press to ensure precision and consistency.
Hardware
Hardware takes a bag from looking homemade to professional—and it's not hard to do! Using basic tools, you can set rivets & more. All our hardware is real metal and built to last.
Availability
Shipping calculated at checkout.
A fun, beginner-friendly project! This classic leather wallet features metal rivets, four card slots, two cash pockets, and a magnetic snap closure. All you need is a metal dot anvil, a hammer, and a hard surface to set the hardware.
The leather in these B-Grade has minor imperfections, such as stretch marks, bug bites, or other textural blemishes. Over time, the vegetable-tanned leather will darken, taking on a weathered patina, and these imperfections will become less noticeable. We recommend protecting your leather with leather salve, available below. NOTE: FINAL SALE!
Making multiples? Buy a 3-pack and save $20! (Does not include individual packaging + comes with only one set of printed instructions. If you plan on gifting kits, we recommend purchasing individually.)
Dimensions (when closed): 6 1/2” W x 4” H
😍 Maker Stories


FAQS
Questions about making leather goods? We've got you covered.
OUR PROMISE
You've got this.
Making things takes courage! For every little victory and moment of triumph, there are frustrating seam rips and cooked rivets, but there is magic to be found in showing up and trusting the process. Sometimes you have to take the leap to discover how much you're truly capable of!
OUR PROMISE
We've got you.
From sourcing the very best tools and materials to crafting crystal-clear instructions, we're committed to setting you up for success (and enjoyment!) at every step of your bag making journey. No matter your skill level, we'll meet you where you are and help you reach your bag making goals.
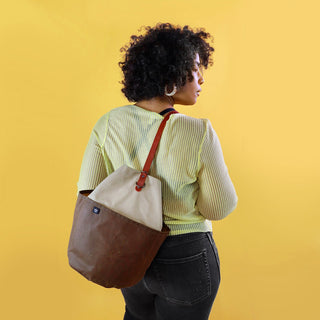
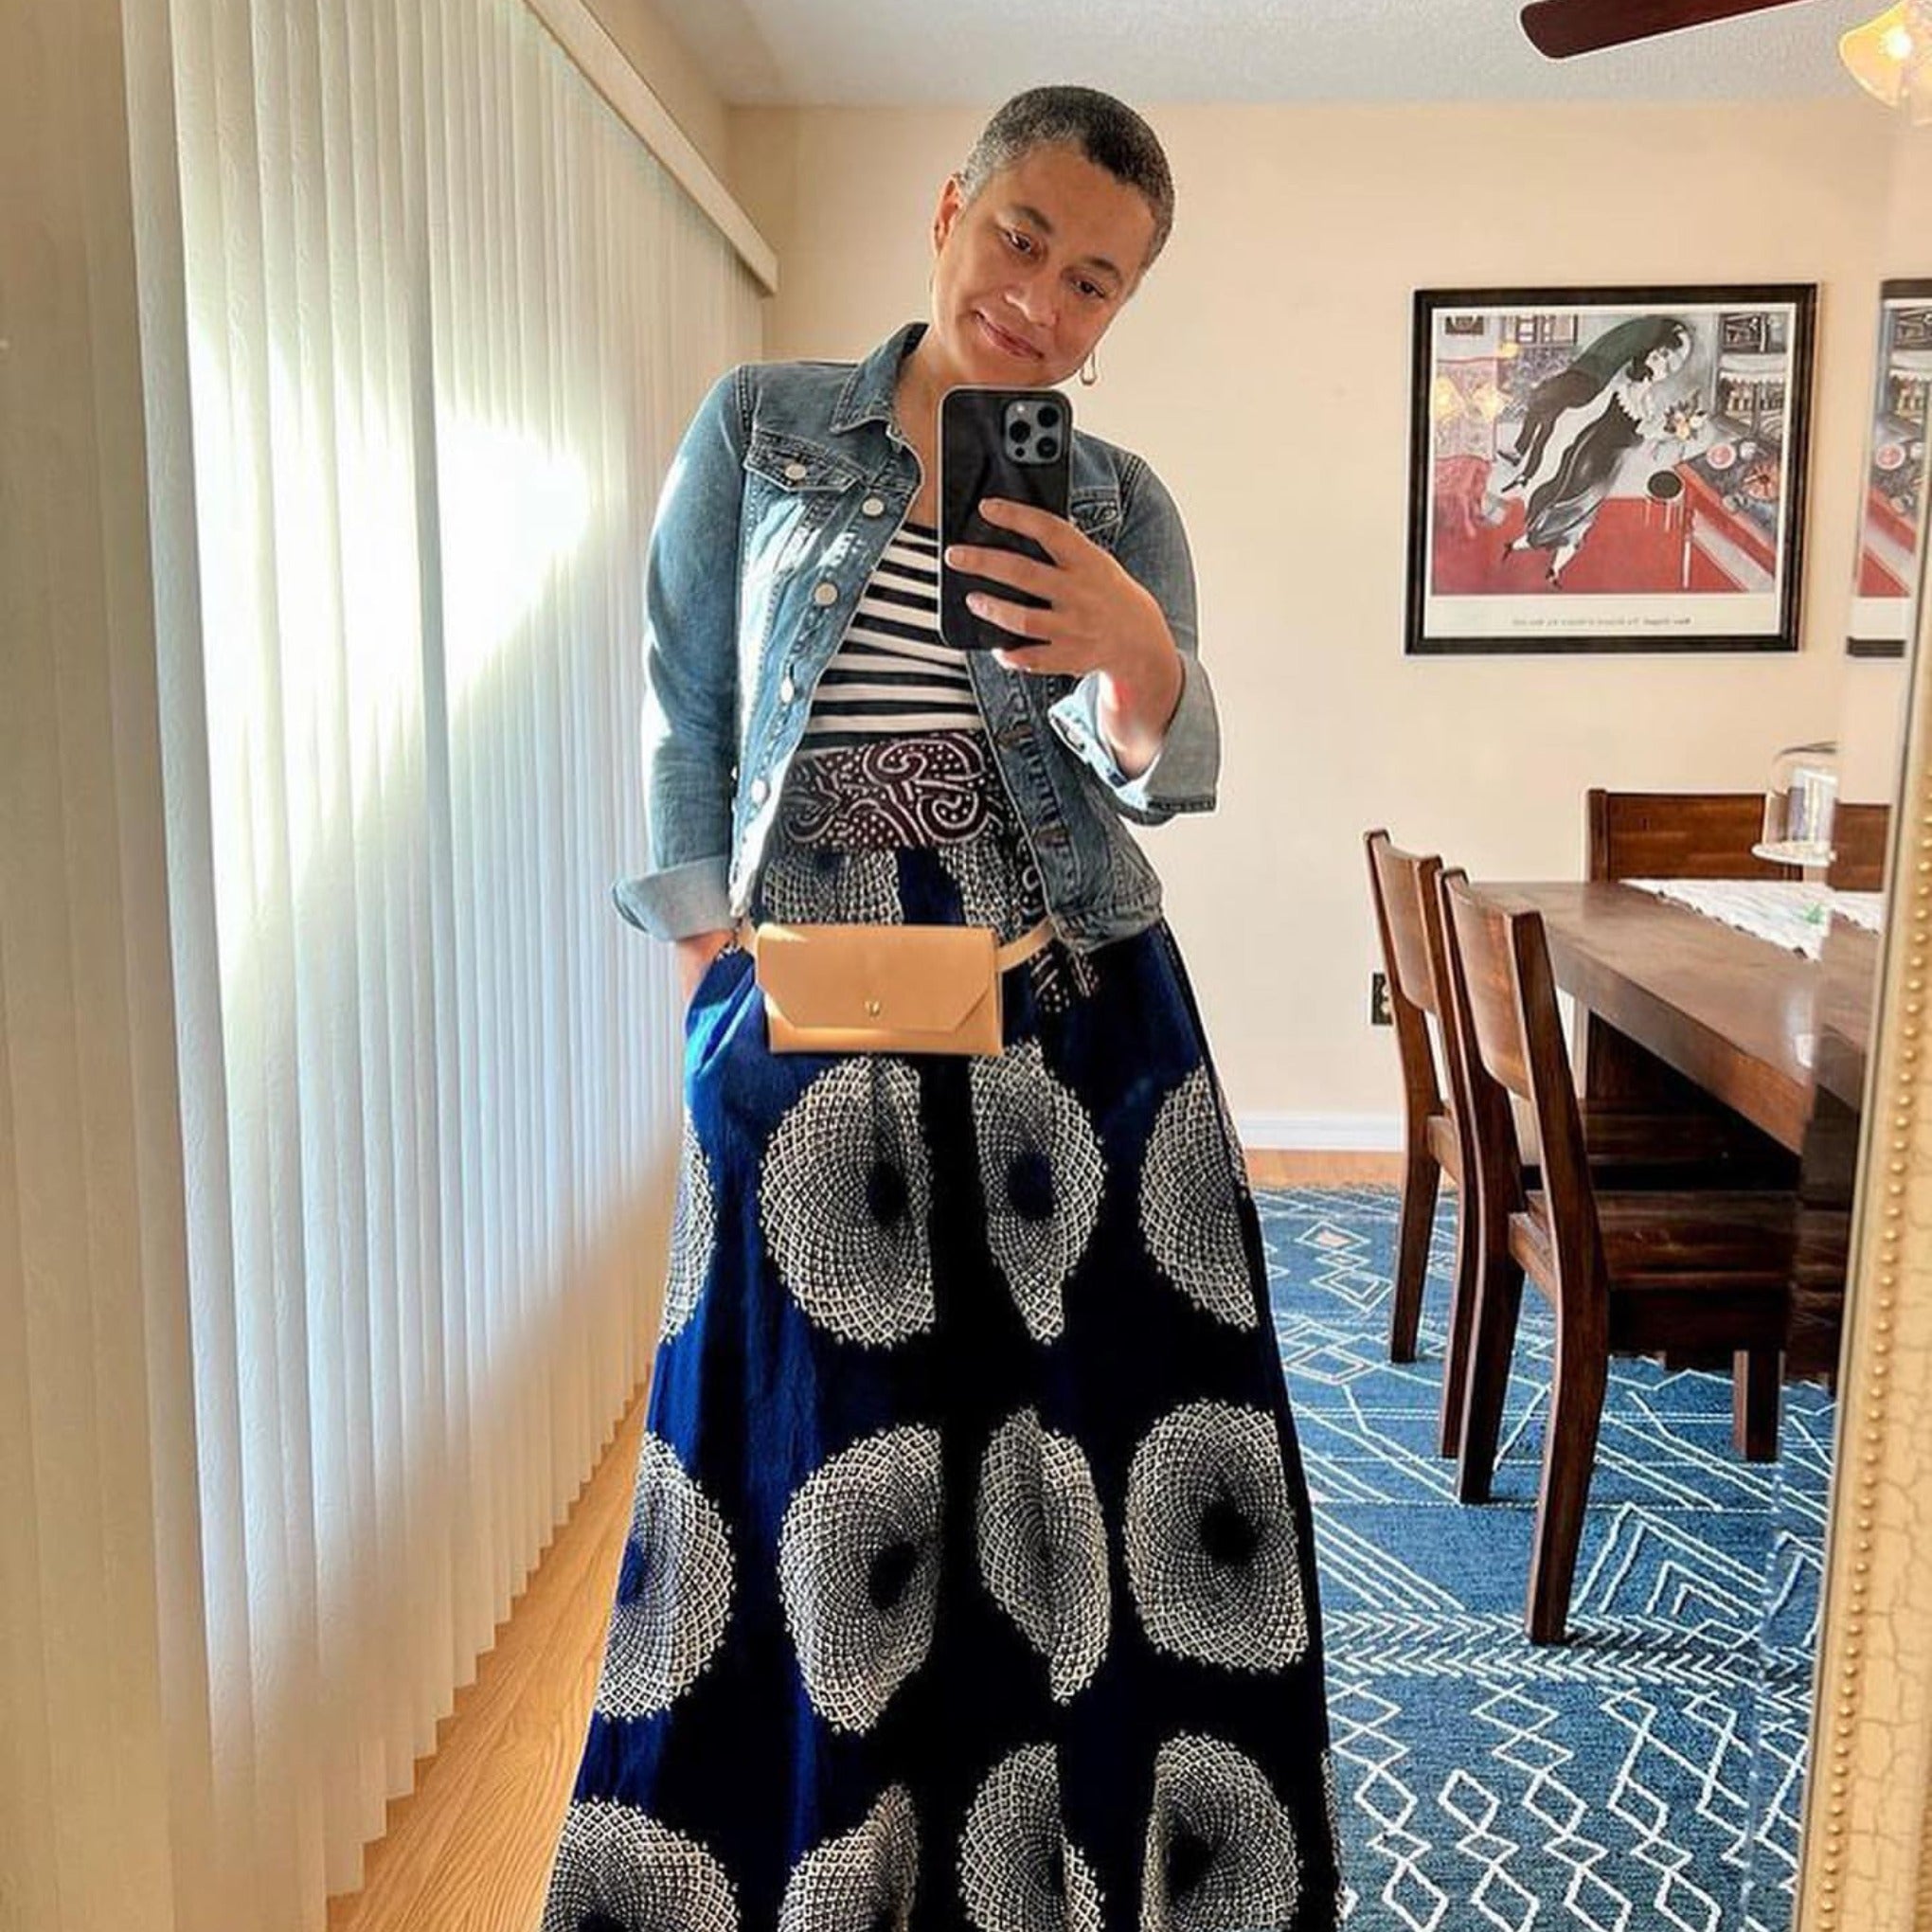
#KLUMHOUSE
📸 @nataliestopka
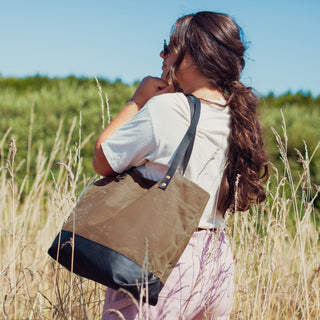
#KLUMHOUSE
📸 @ellenjuliabrown
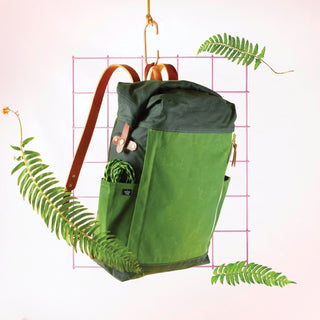
#KLUMHOUSE
📸 @Sadie_serendipity
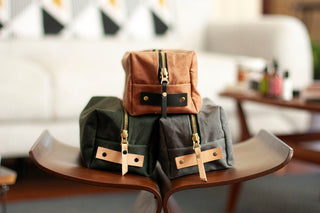
#KLUMHOUSE
📸 @jennyftb1
#KLUMHOUSE
📸 @ellenjuliabrown
#KLUMHOUSE
📸 @kscmade
#KLUMHOUSE
📸 @notaprimarycolor
#KLUMHOUSE
📸 @thestoryclubpdx
#KLUMHOUSE
📸 @thestoryclubpdx