Leather Stamps
Leather Card Holder Kit (Seconds)
- Unit price
- / per
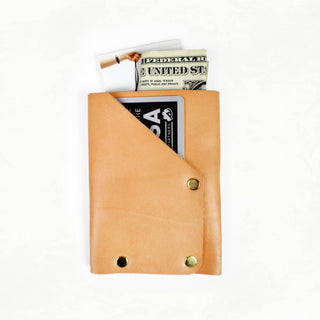
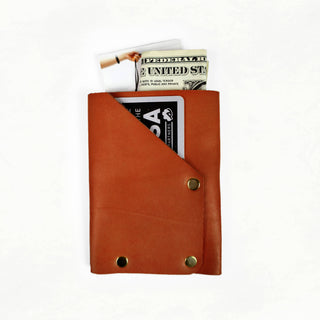
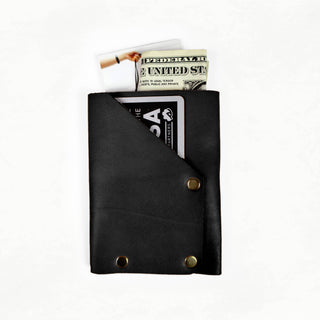
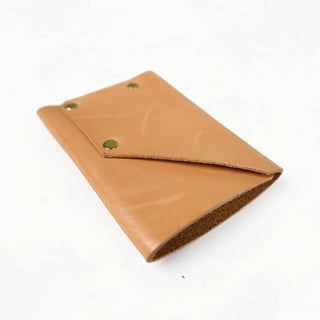
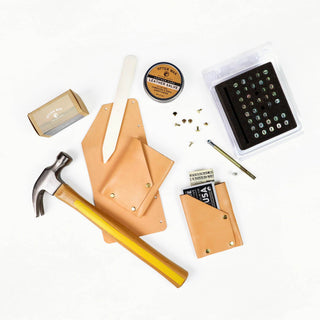
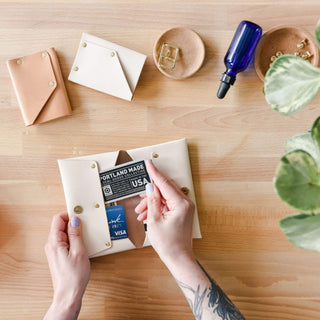
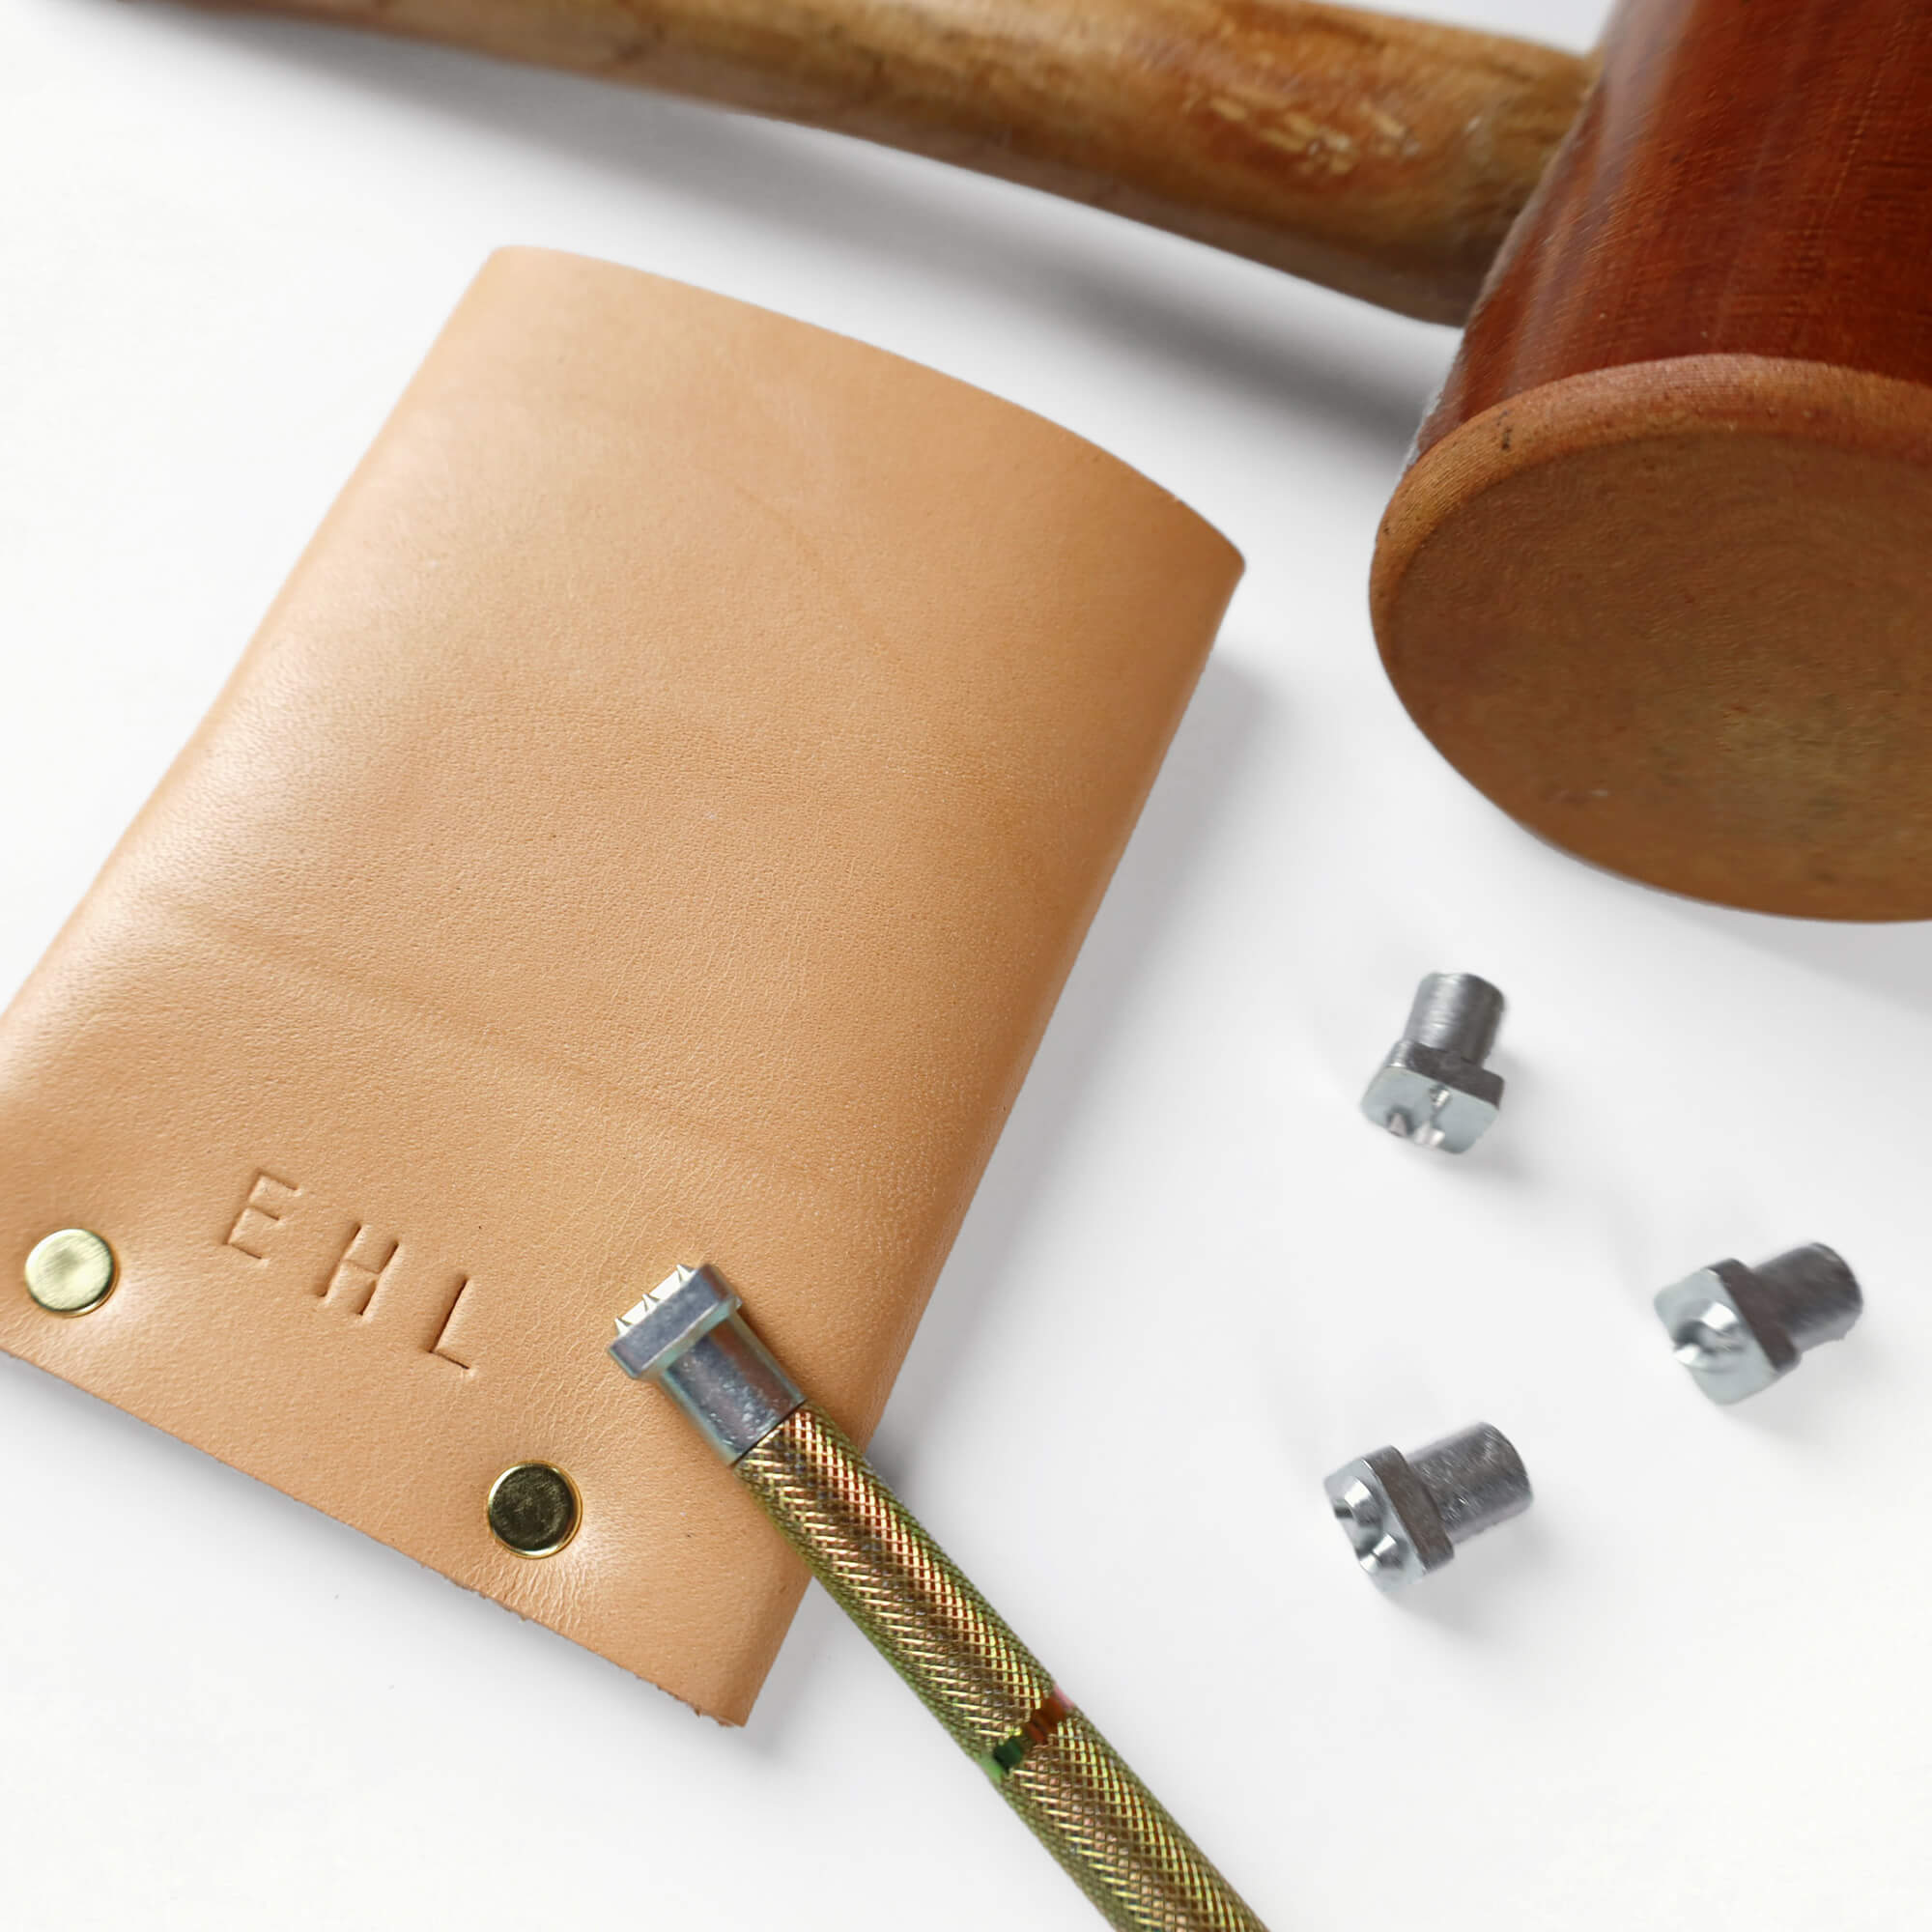
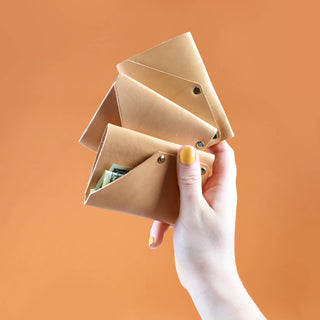
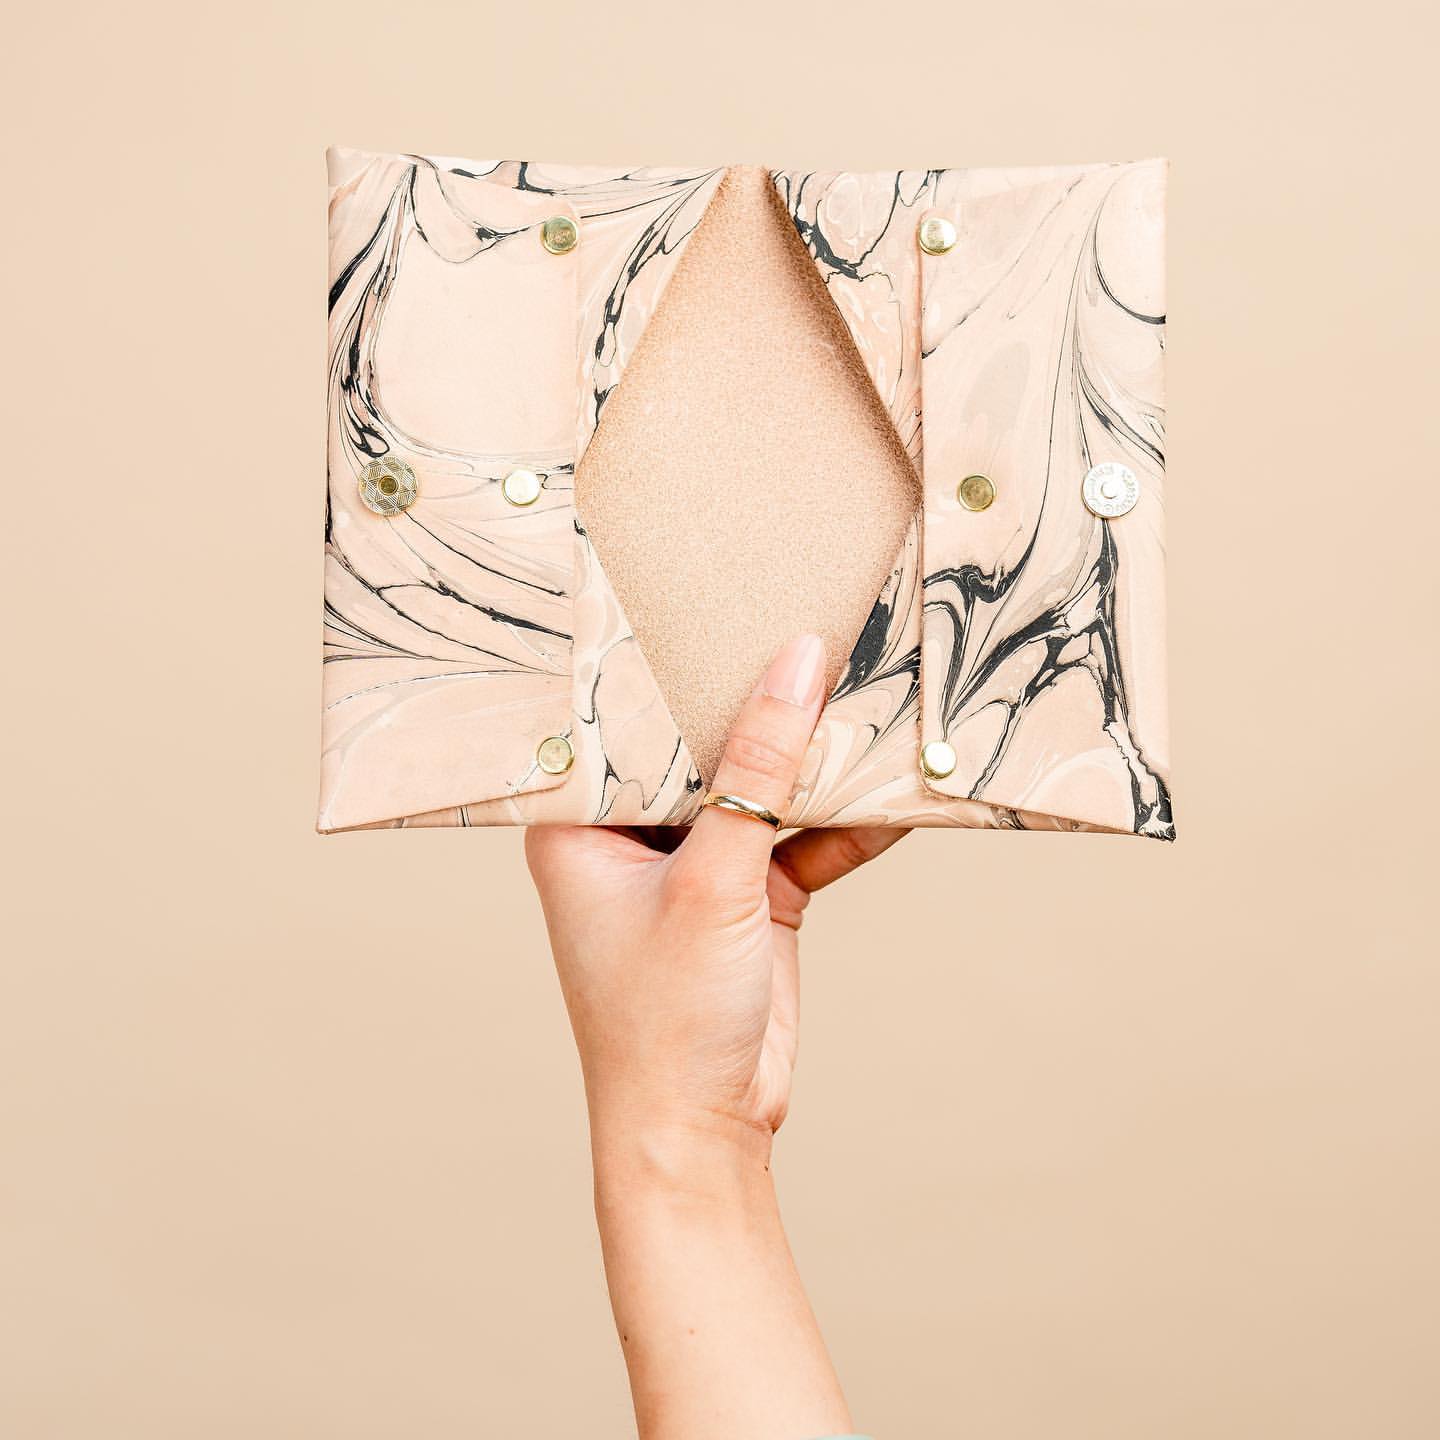
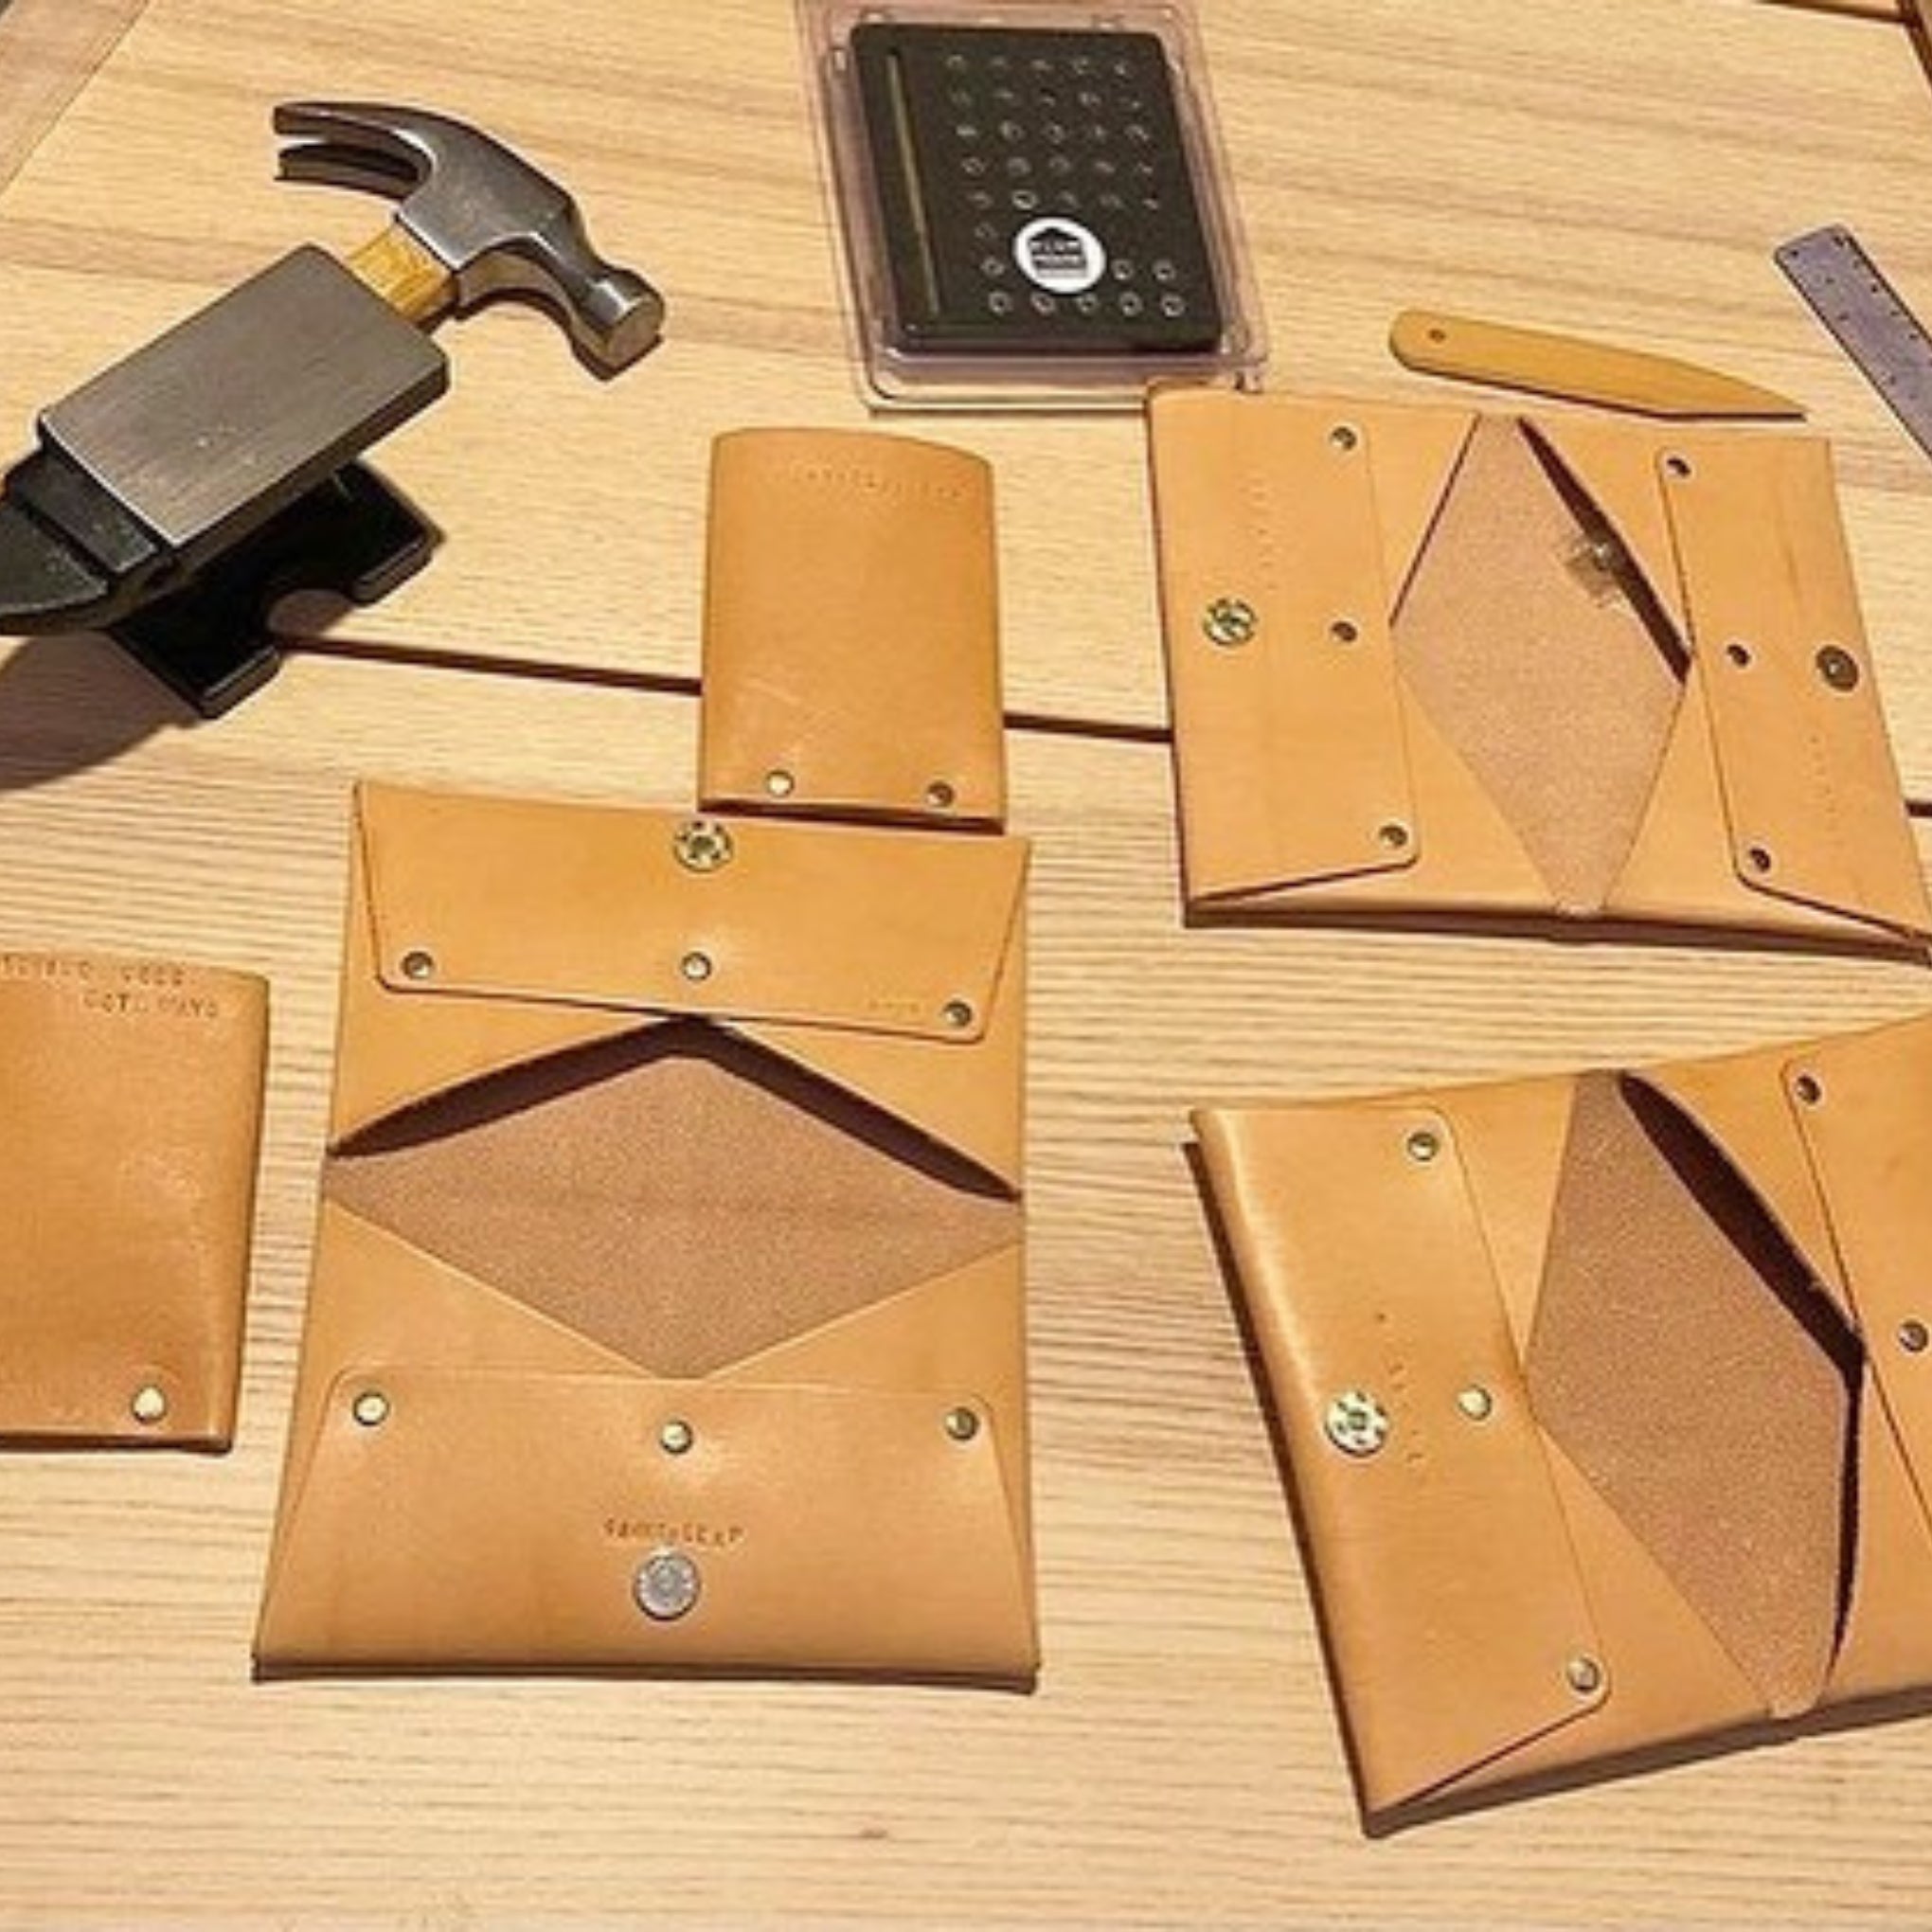
Make your own leather card holder! This minimalist design is low on fuss and high on function. It features vegetable-tanned leather, brass rivets, and two slots for stashing cards and cash. All you need is a metal dot anvil, a hammer, and a hard surface to set the hardware.
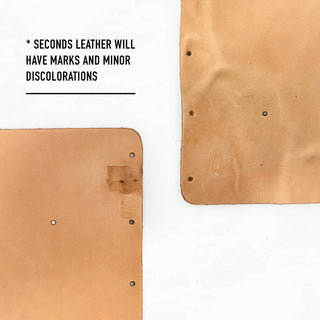
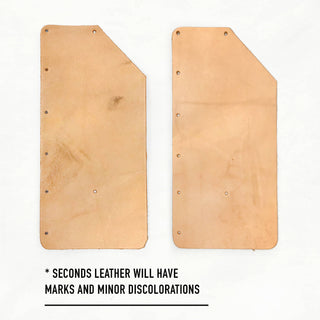
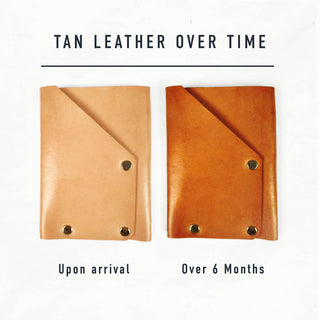
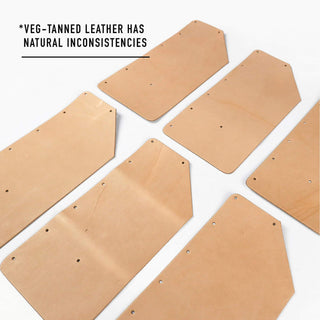
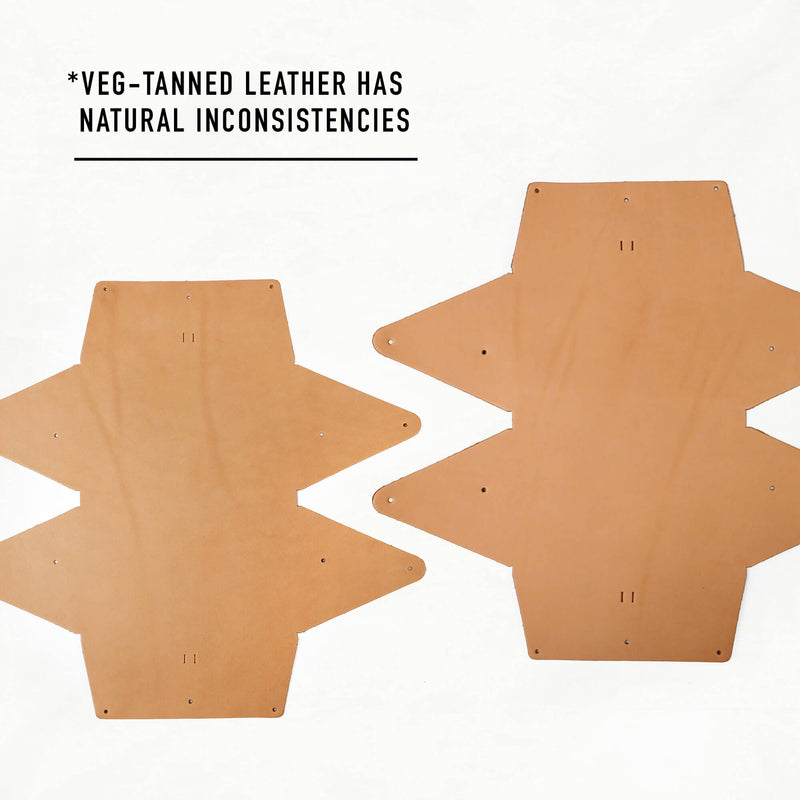
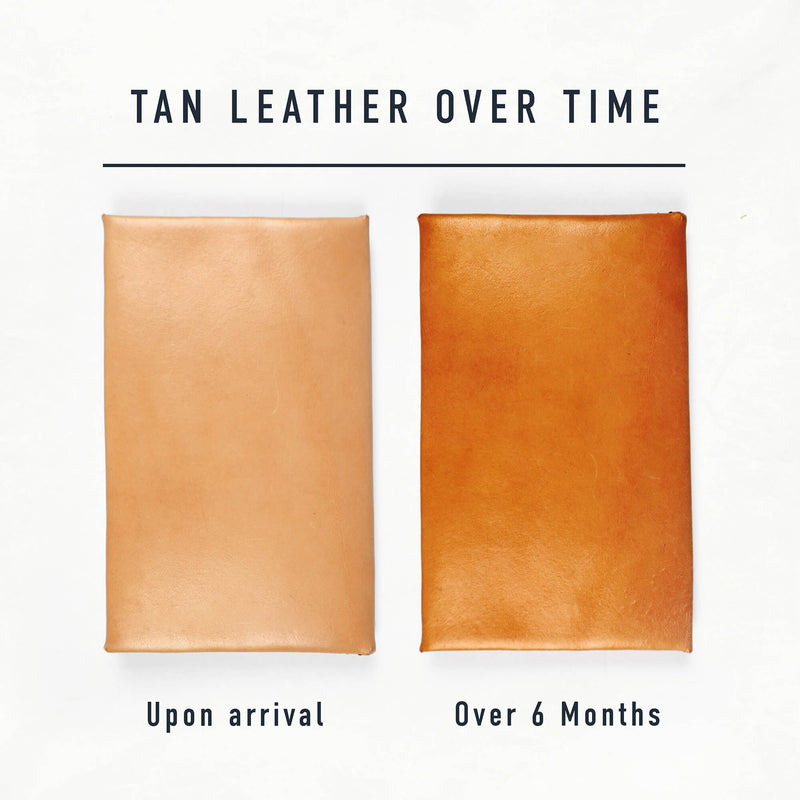
The leather in these B-Grade has minor imperfections, such as stretch marks, bug bites, or other textural blemishes. Over time, the vegetable-tanned leather will darken, taking on a weathered patina, and these imperfections will become less noticeable. We recommend protecting your leather with leather salve, available below. NOTE: FINAL SALE!
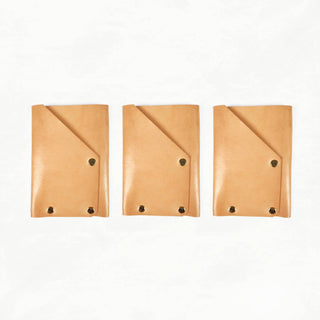
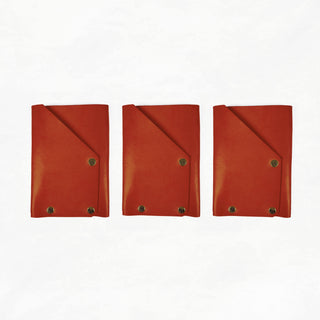
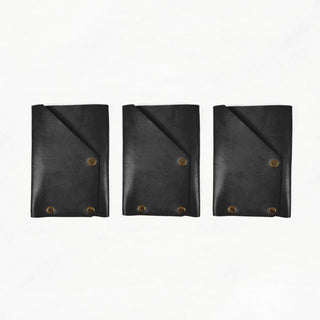
Making multiples? Buy a 3-pack and save $10! (Does not include individual packaging + comes with only one set of printed instructions. If you plan on gifting kits, we recommend purchasing individually.)
Dimensions: 3” W x 4 ¹⁄₈” H
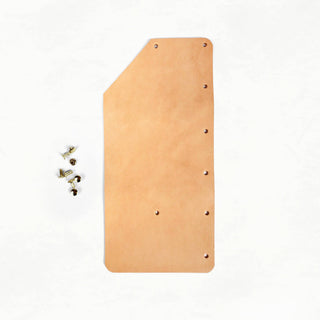
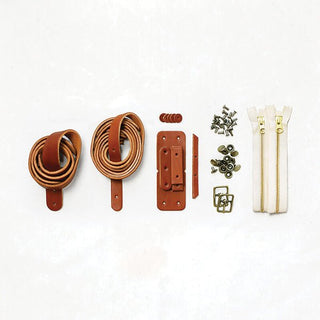
This kit includes all of the leather and hardware needed to make your wallet.
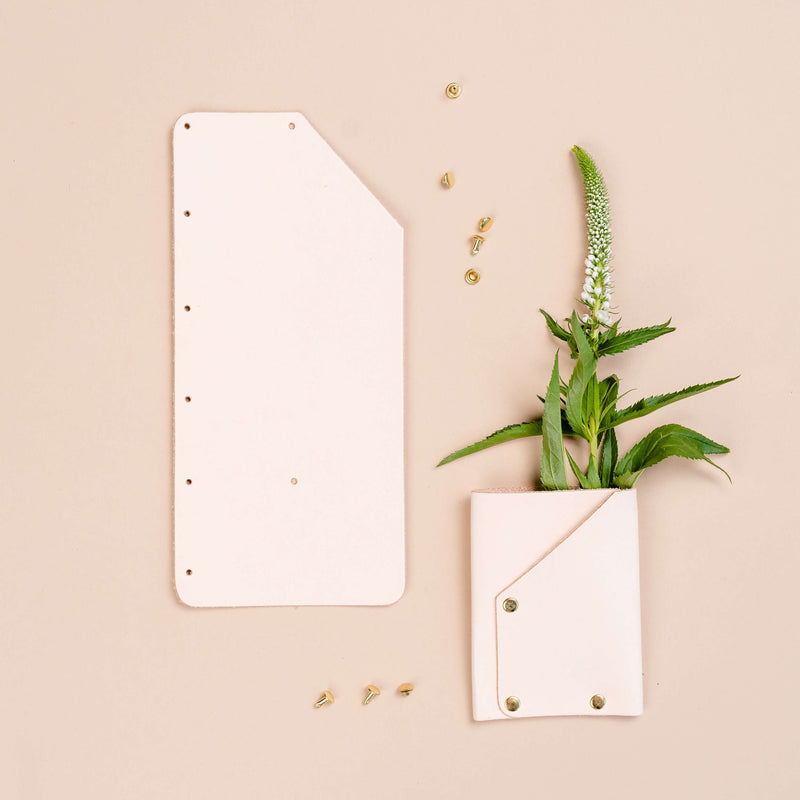
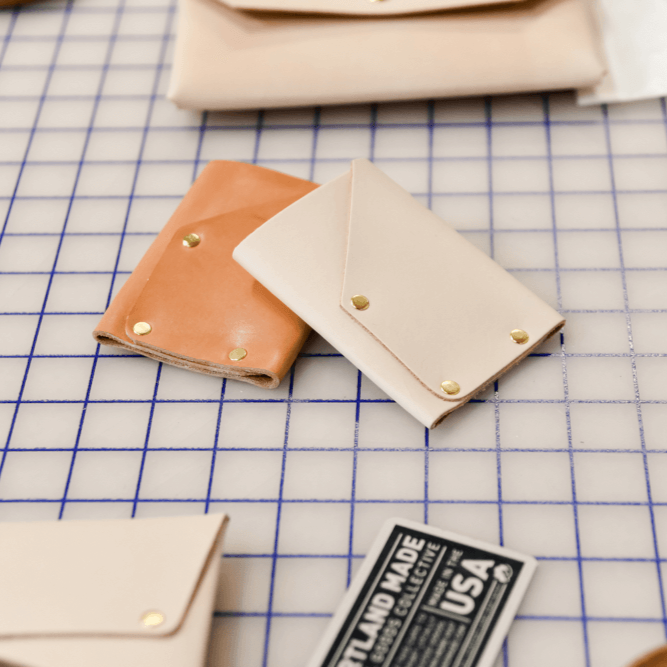
- (1) Pre-cut, hole-punched leather piece
- (4) Metal double-cap rivets
- On-demand instructional video
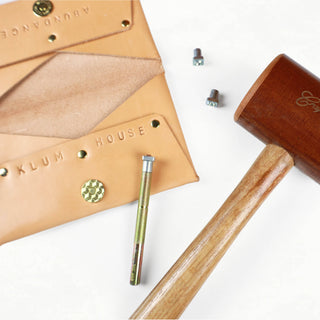
NOTE: In order to complete this project, you will also need a metal dot anvil (which can be added to your kit above), a hammer, and a hard surface. Optionally, we recommend using a bone folder to crease your leather and conditioning with leather salve for water-resistance.
To protect your wallet, we recommend conditioning it before you make with leather salve.
Because veg-tanned leather is not water-resistant, we highly recommend conditioning and protecting your wallet with leather salve, which can be applied with a horsehair brush and buffed with a flannel cloth. (Option to add to your kit above.) To learn more about leather care, visit our blog.
Leather Card Holder Kit (Seconds)
- Unit price
- / per
Skill Levels
 BEGINNER |
 CONFIDENT BEGINNER |
|
Beginner projects will introduce you to the basics of bag making. You'll learn to sew heavy-duty fabric, punch holes in fabric and leather, set metal rivets, and sew your first zipper! |
Confident Beginner projects involve managing more pieces of fabric and leather. They'll teach you to add interior and exterior pockets and install new types of hardware, like snaps. |
 INTERMEDIATE |
 ADVANCED |
|
Intermediate projects involve a more in-depth making process. They'll teach you to work with a wider variety of tools and hardware techniques, like setting extra-strength tubular rivets. |
Advanced projects are for experienced stitchers ready to invest a significant amount of time and energy into becoming a bag maker. Complex construction and seriously professional results. |
Our Materials

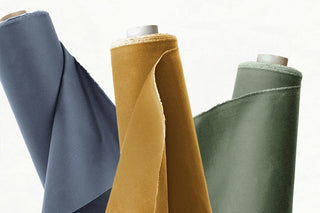
Waxed Canvas
A densely-woven cotton fabric that's saturated with wax, giving it protection against the elements. It shows scuffs and creases that blend into a weathered patina. *fabric colors vary in weight from 10-12oz

Leather
Sourced from Oregon and a Pennsylvania tannery, and hand-selected for quality. Our hides are cut into straps with a hydraulic press to ensure precision and consistency.

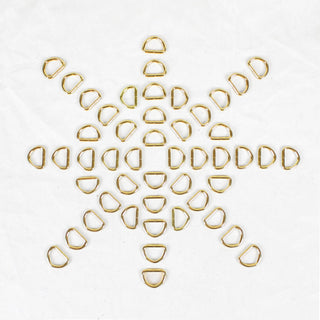
Hardware
Hardware takes a bag from looking homemade to professional—and it's not hard to do! Using basic tools, you can set rivets & more. All our hardware is real metal and built to last.
FREQUENTLY PAIRED WITH
Adding product to your cart
You may also like
Make your own leather card holder! This minimalist design is low on fuss and high on function. It features vegetable-tanned leather, brass rivets, and two slots for stashing cards and cash. All you need is a metal dot anvil, a hammer, and a hard surface to set the hardware.
The leather in these B-Grade has minor imperfections, such as stretch marks, bug bites, or other textural blemishes. Over time, the vegetable-tanned leather will darken, taking on a weathered patina, and these imperfections will become less noticeable. We recommend protecting your leather with leather salve, available below. NOTE: FINAL SALE!
Making multiples? Buy a 3-pack and save $10! (Does not include individual packaging + comes with only one set of printed instructions. If you plan on gifting kits, we recommend purchasing individually.)
Dimensions: 3” W x 4 ¹⁄₈” H
This kit includes all of the leather and hardware needed to make your wallet.


- (1) Pre-cut, hole-punched leather piece
- (4) Metal double-cap rivets
- On-demand instructional video
NOTE: In order to complete this project, you will also need a metal dot anvil (which can be added to your kit above), a hammer, and a hard surface. Optionally, we recommend using a bone folder to crease your leather and conditioning with leather salve for water-resistance.


To protect your wallet, we recommend conditioning it before you make with leather salve.
Because veg-tanned leather is not water-resistant, we highly recommend conditioning and protecting your wallet with leather salve, which can be applied with a horsehair brush and buffed with a flannel cloth. (Option to add to your kit above.) To learn more about leather care, visit our blog.

Leather Stamps
Make It Yours!
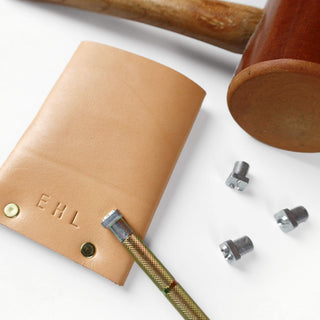
Personalize your leather goods with leather stamps. Great for gifting!
You may also like
You may also like
Anita T.
"This is the perfect way to carry a little cash & a few cards. I love the leather feel & how the leather is already deveolping a rich patina. It is simple to make - maybe 5 minutes! It is a perfect unisex gift! I stamped a perfectly imperfect name on mine. Love this so much"
😍 Maker Stories

"I love working with leather. The finished product is always beautiful. I can’t wait to make more of these out of different types of leathers!"

"Making the belt bag was extremely easy. I've taken several classes with Ellie & that gave me the confidence to tackle projects I deemed more challenging, like sewing zippers and dealing with hardware."

"Quick early morning crafting. Was only planning to get this project ready to work on later. But after watching Ellie show how it’s done on video, I went ahead and finished it real quick. Sorry neighbors for the early morning hammering!"

"I made a thing! Quick and easy leather belt bag & wallet. Very cathartic to hammer in all the holes & rivets. 🔨 I always love Klum House kits 🧡"
QUICK MAKES
How to Make a Leather Card Holder
This kit includes a step-by-step video workshop with Ellie Lum, guiding you through assembling the card holder and setting rivets. After purchase, you’ll get instant access via email, and it will always be available in your Class Library.
FAQS
Questions about making leather goods? We've got you covered.
Because veg-tanned leather is not water-resistant, we highly recommend conditioning and protecting your leather goods with leather salve, which can be applied with a horsehair brush and buffed with a flannel cloth. To learn more about leather care, visit our blog.
Protect it with leather salve for water resistance, condition it with leather oil to prevent cracking, and clean it with saddle soap when needed. Avoid prolonged exposure to direct sunlight and water. Untreated vegetable-tanned leather can easily stain when exposed to water. To protect it, either keep it dry or treat it with a water-resistant leather salve.
Our leather goods kits are made of vegetable-tanned leather and are very durable. Some natural variation of color and texture is expected. The leather is a light tan color when new and will darken in color over time. The texture will also soften with use, developing a beautiful, worn-in patina.
A Dot Anvil is required to set the double-cap rivets in these projects:
A way to punch holes is required to make the Balboa Leather Belt Bag. We suggest using a 3/32" Drive Punch with a Poly Punching Board or an Awl.
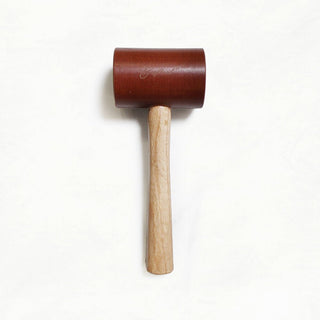
To set rivets we suggest using a regular household hammer. Or you can use a Rivet Setter with a non-rubber mallet, such as a Bakelite Mallet on top of a hard. surface, such as a Granite Stone Slab.
Yes, natural imperfections like bug bites or stretch marks are common in vegetable-tanned leather. These don't affect quality or durability and often blend into the patina over time.
- For most kits, you'll receive an email with a link to access online video instructions.
- Some kits include a physical card in the package with a URL to view the illustrated instructions.
- If you have any questions or can't find your instructions, please reach out to us at support@klumhouse.com
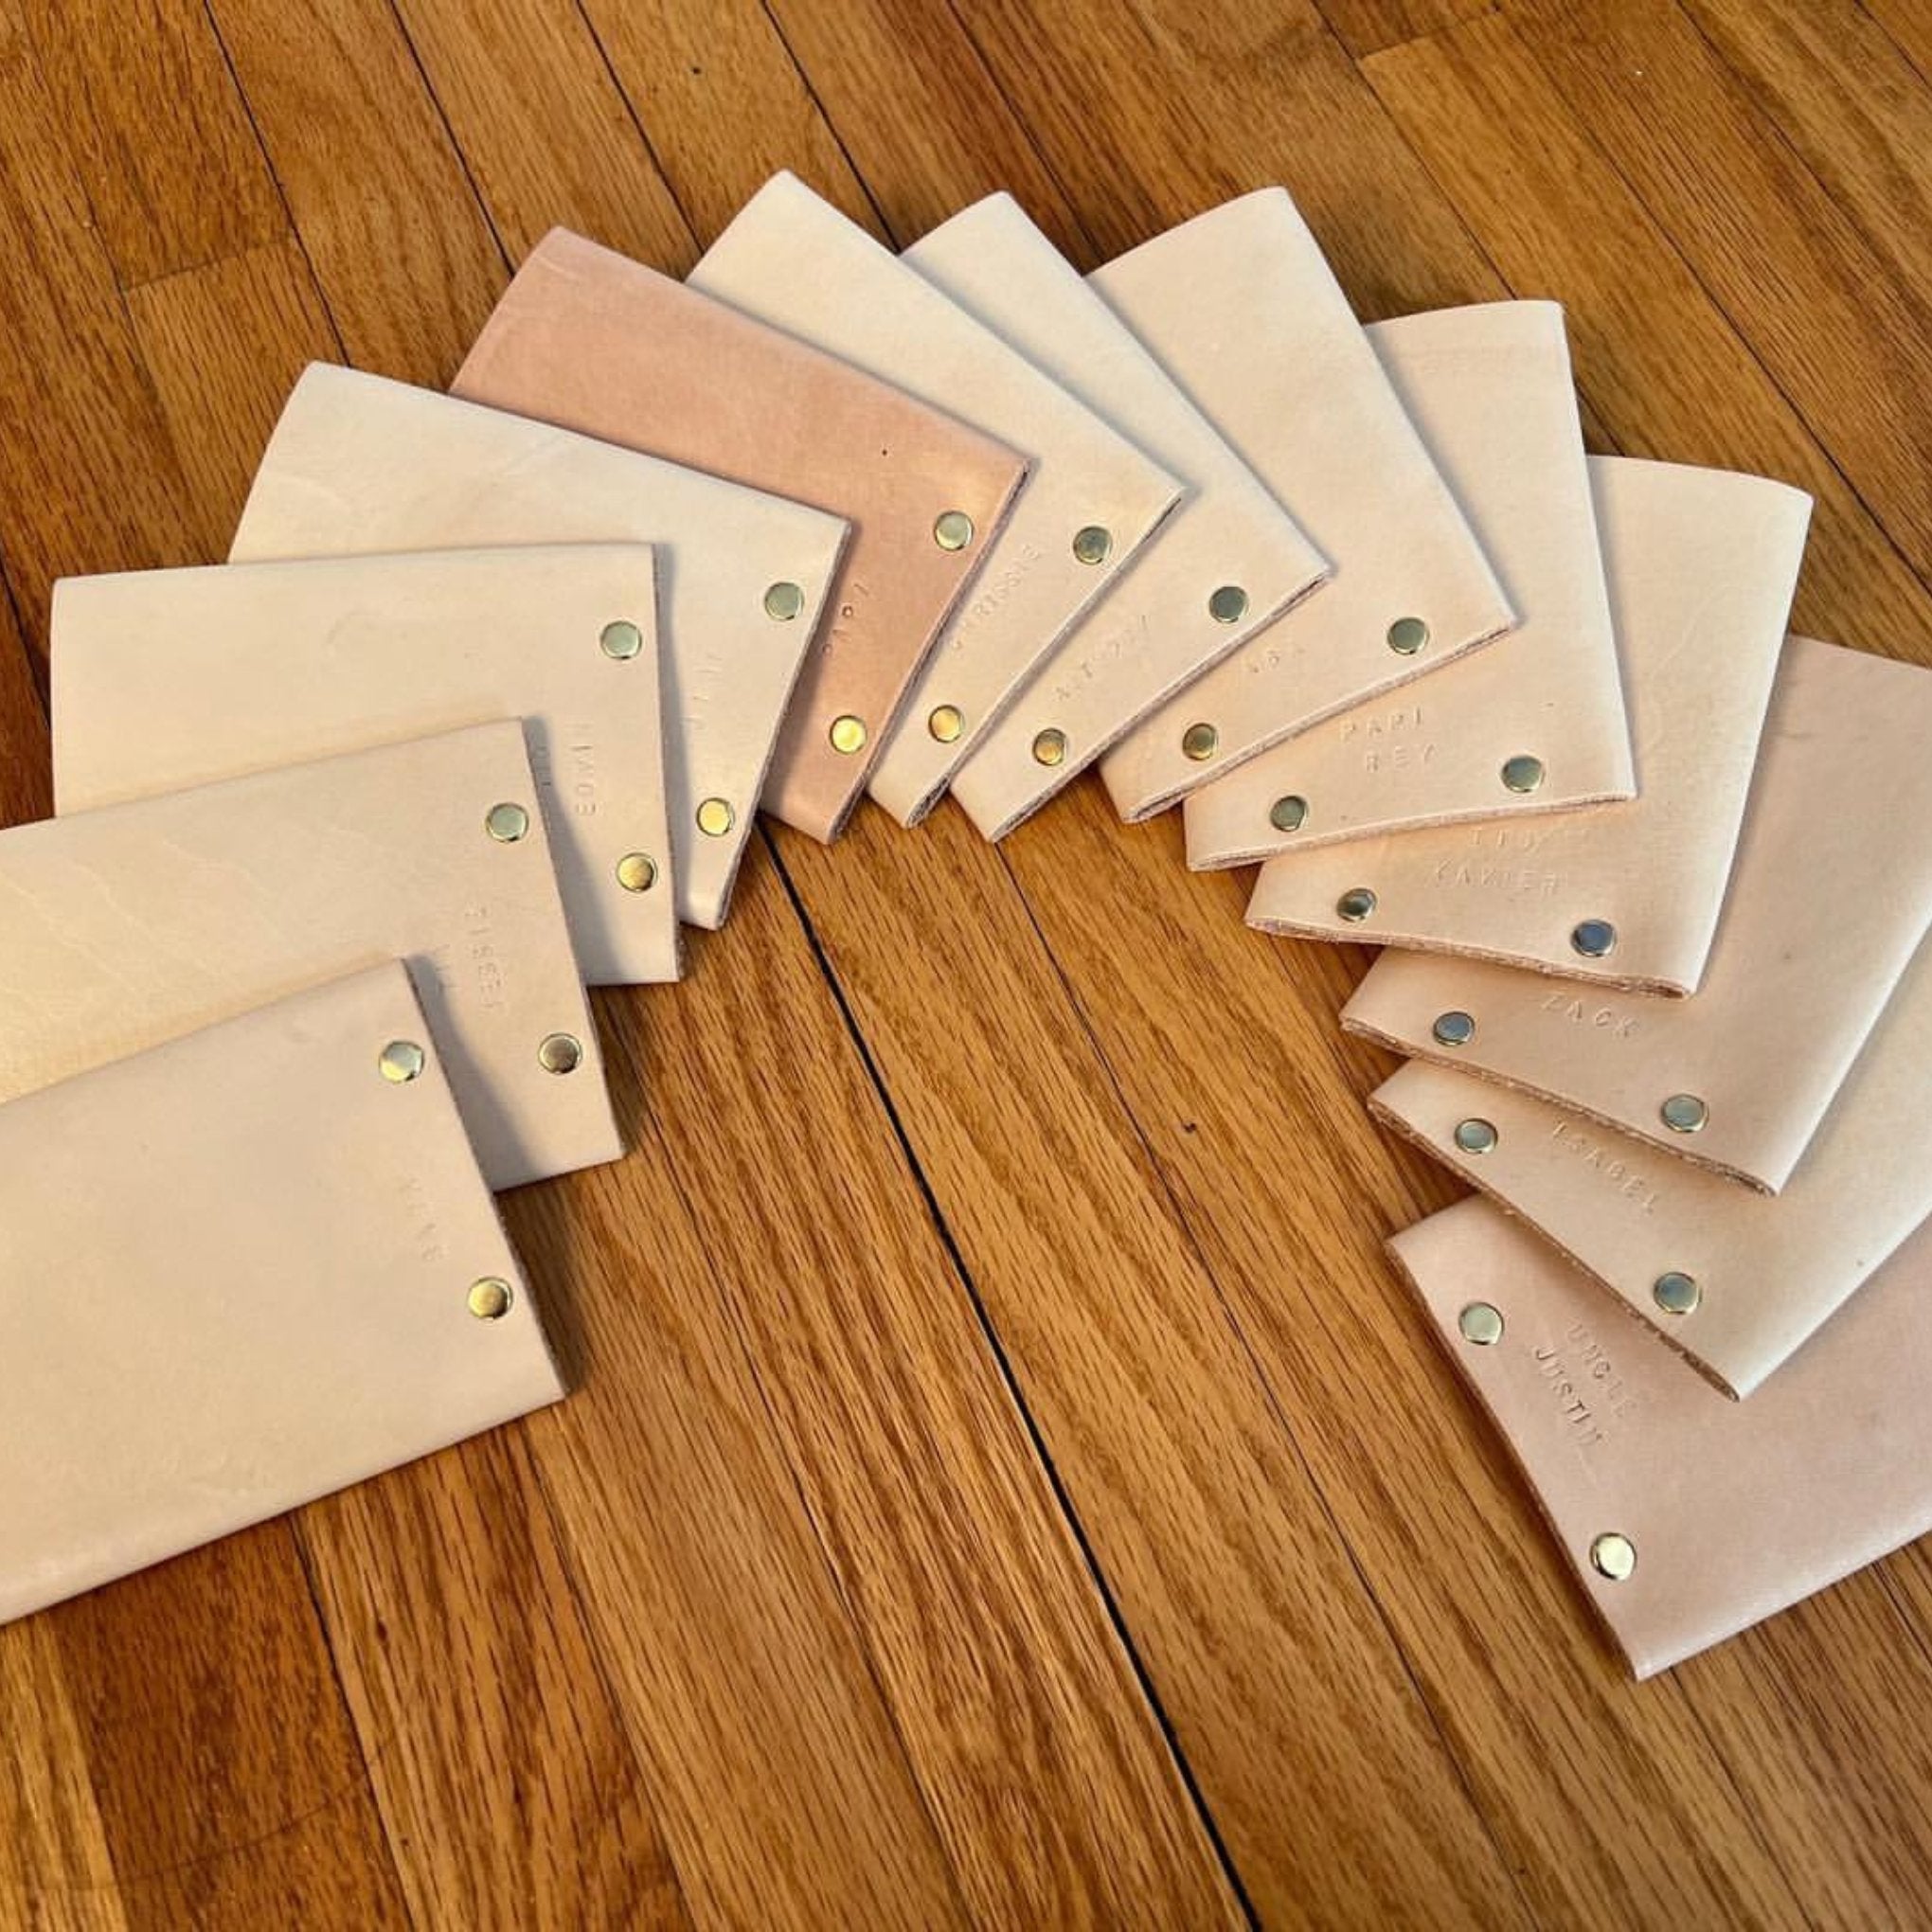
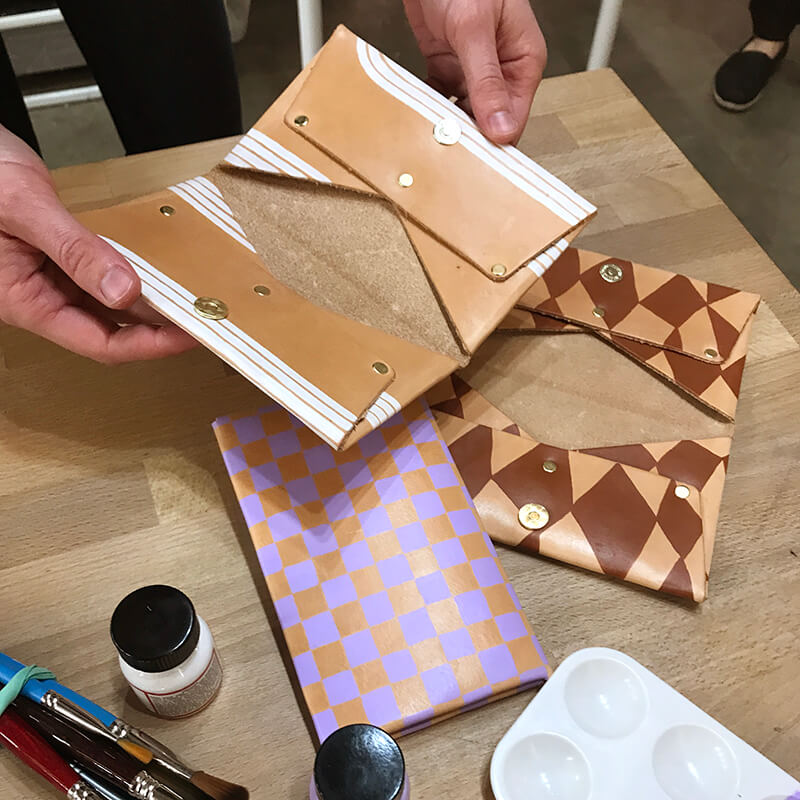
There are several methods to personalize your leather items:
- Stamping with initials or designs
- Painting with leather paints
- Marbling for unique patterns
- Edge painting
- Dyeing
- Burning designs (pyrography)
- Adding decorative hardware or stitching
OUR PROMISE
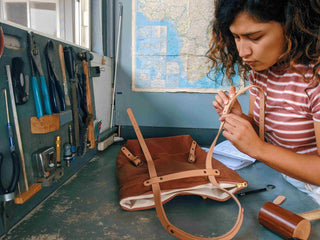
You've got this.
Making things takes courage! For every little victory and moment of triumph, there are frustrating seam rips and cooked rivets, but there is magic to be found in showing up and trusting the process. Sometimes you have to take the leap to discover how much you're truly capable of!
OUR PROMISE
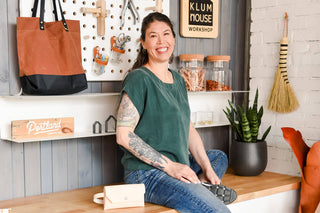
We've got you.
From sourcing the very best tools and materials to crafting crystal-clear instructions, we're committed to setting you up for success (and enjoyment!) at every step of your bag making journey. No matter your skill level, we'll meet you where you are and help you reach your bag making goals.
Handpicked for you
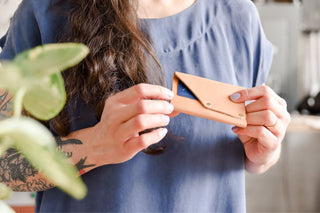



Join us on Instagram @klumhouse for quick makes inspiration ✨

@klumhouse
#KLUMHOUSE
@klumhouse
📸 @nataliestopka

@klumhouse
#KLUMHOUSE
@klumhouse
📸 @ellenjuliabrown

@klumhouse
#KLUMHOUSE
@klumhouse
📸 @Sadie_serendipity

@klumhouse
#KLUMHOUSE
@klumhouse
📸 @jennyftb1

@klumhouse
#KLUMHOUSE
@klumhouse
📸 @ellenjuliabrown

@klumhouse
#KLUMHOUSE
@klumhouse
📸 @kscmade

@klumhouse
#KLUMHOUSE
@klumhouse
📸 @notaprimarycolor

@klumhouse
#KLUMHOUSE
@klumhouse
📸 @thestoryclubpdx

@klumhouse
#KLUMHOUSE
@klumhouse
📸 @thestoryclubpdx
Our waxed canvas is Better Cotton Initiative.
Crystal-clear illustrated teaching patterns designed to upskill your bag making.
Durable, premium materials sourced with the highest quality in mind.
Made with care in small batches, by a woman-powered team in Portland.


