CUSTOMIZE IT
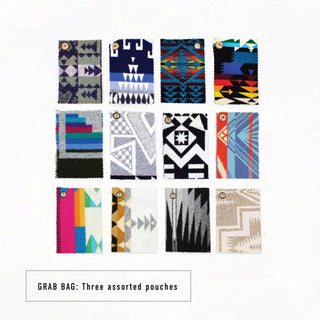
Zipper Pouch Kits with Pendleton® Wool - Grab Bag!
- Unit price
- / per
This kit is coming back in stock October 20th. Sign up to be notified when it launches!
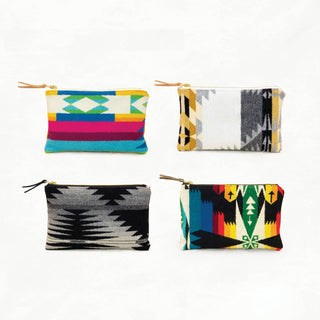
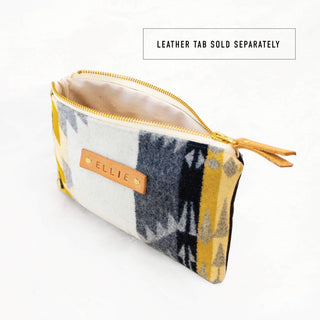
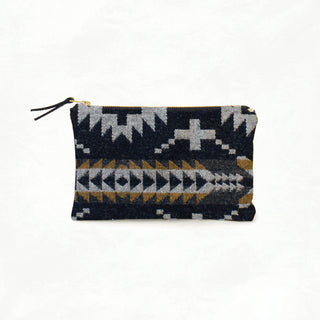
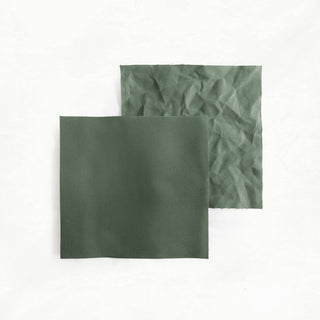
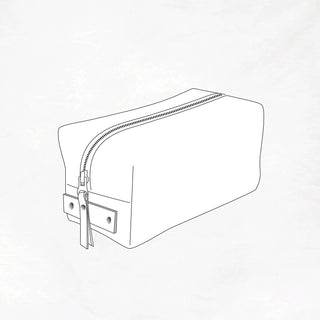
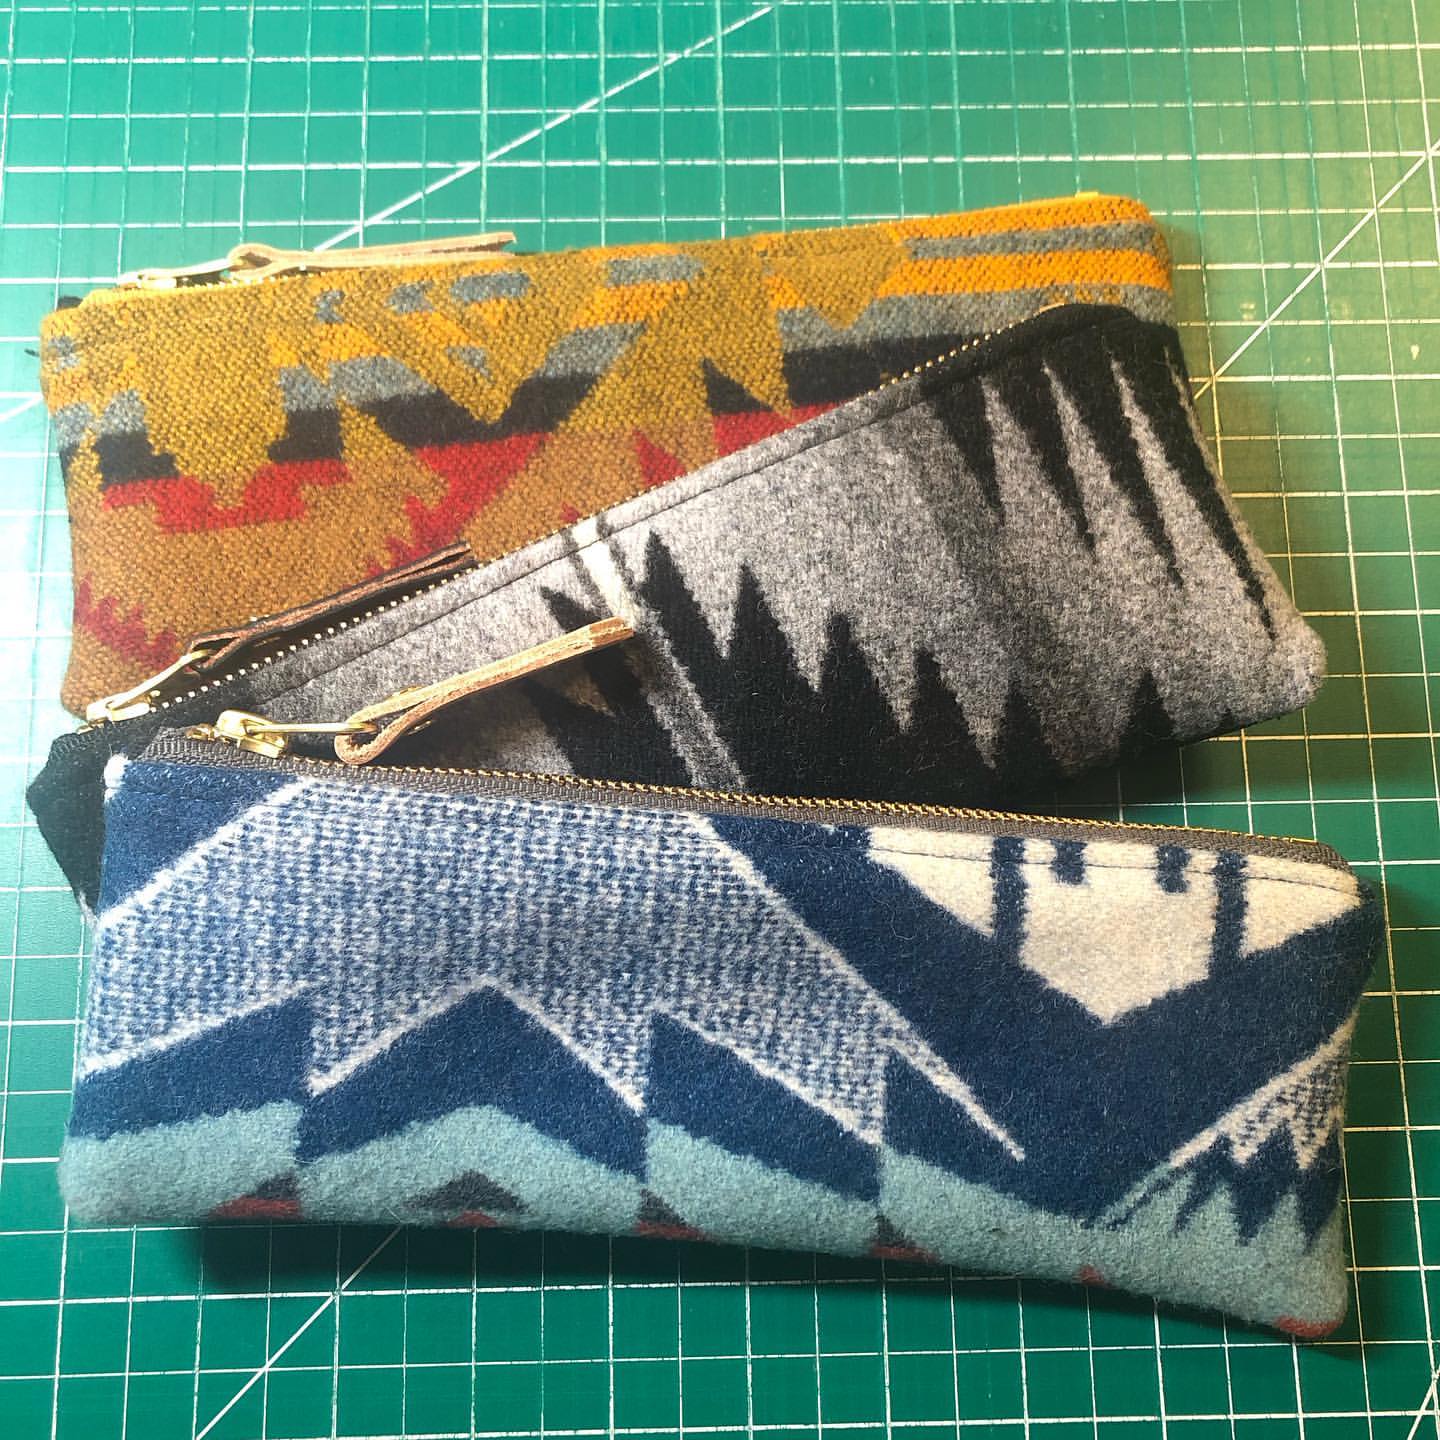
A grab bag of 3 assorted (surprise) zipper pouch kits! Make a trio of luxe pencil pouches featuring a blanket-weight Pendleton® wool front, waxed canvas reverse, cotton lining, a brass zipper, and a leather zipper pull. This beginner-friendly project sews up in just a couple of hours and is perfect for gifting. After you've made your pouches, there are lots of fun ways to customize them! Learn more here.
NOTE: Includes one set of printed instructions.
Finished Dimensions: 9" x 6"
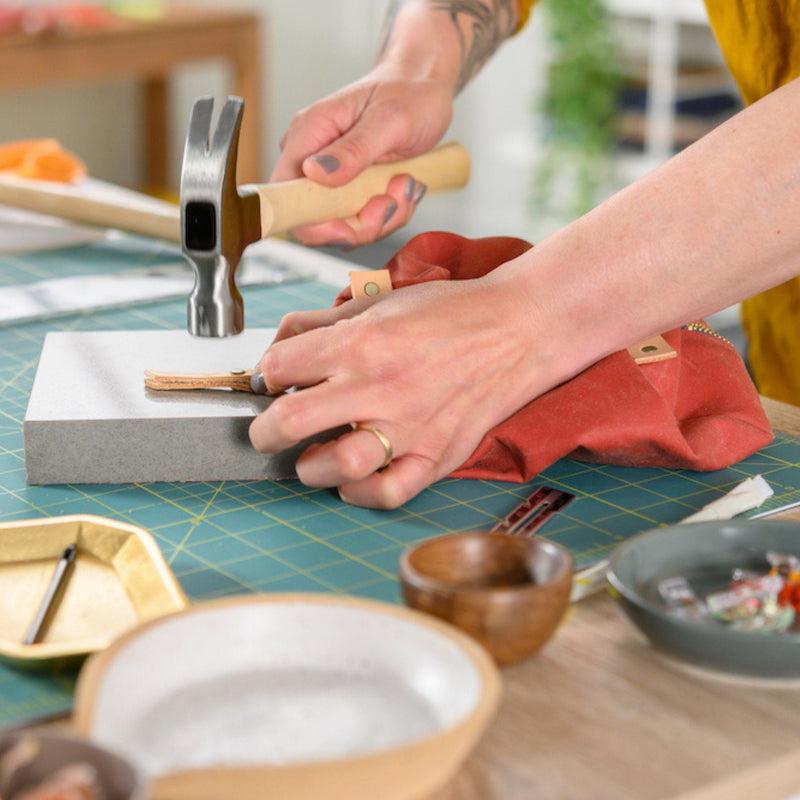
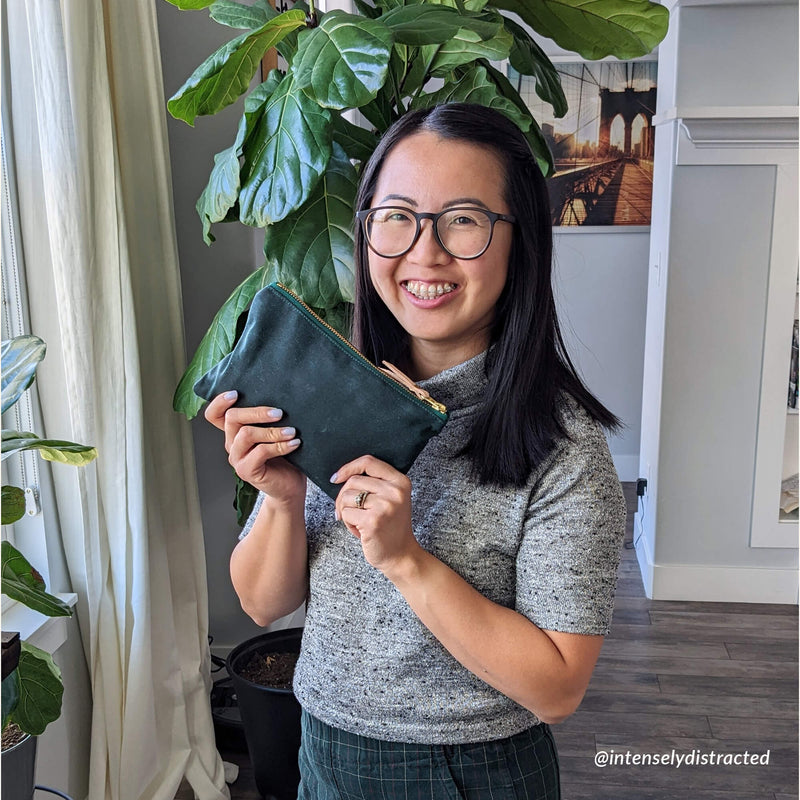
The Zipper Pouch is a Beginner-level project that takes about 1–2 hours to complete. This project is great for beginner stitchers. The finished product will be super professional—and comes complete with “I made this!” bragging rights.
You will learn how to:
- Sew a zipper with lining fabric
- Sew a cleanly finished zipper end
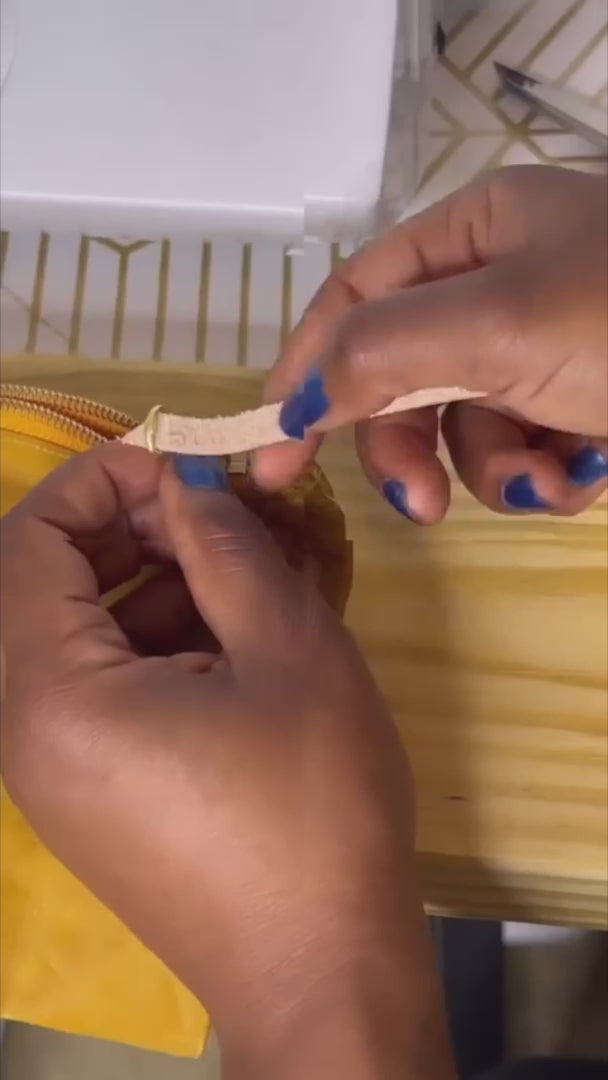
- Attach a leather zipper pull using a rivet
- Set metal double-cap rivets
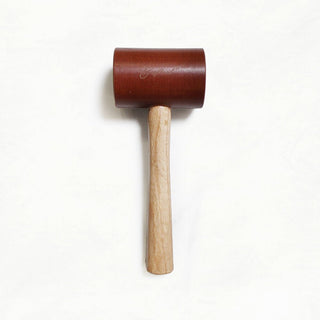
In addition to a sewing machine and some basic supplies, the only thing you really need to set the rivet is a hammer. There are a few other "nice to have" tools that we recommend for working with rivets + leather. It’s easy to add tools onto your kit.
Zipper Pouch Kits with Pendleton® Wool - Grab Bag!
- Unit price
- / per
Skill Levels
 BEGINNER |
 CONFIDENT BEGINNER |
|
Beginner projects will introduce you to the basics of bag making. You'll learn to sew heavy-duty fabric, punch holes in fabric and leather, set metal rivets, and sew your first zipper! |
Confident Beginner projects involve managing more pieces of fabric and leather. They'll teach you to add interior and exterior pockets and install new types of hardware, like snaps. |
 INTERMEDIATE |
 ADVANCED |
|
Intermediate projects involve a more in-depth making process. They'll teach you to work with a wider variety of tools and hardware techniques, like setting extra-strength tubular rivets. |
Advanced projects are for experienced stitchers ready to invest a significant amount of time and energy into becoming a bag maker. Complex construction and seriously professional results. |
Our Materials

Waxed Canvas
A densely-woven cotton fabric that's saturated with wax, giving it protection against the elements. It shows scuffs and creases that blend into a weathered patina. *fabric colors vary in weight from 10-12oz

Leather
Sourced from Oregon and a Pennsylvania tannery, and hand-selected for quality. Our hides are cut into straps with a hydraulic press to ensure precision and consistency.

Hardware
Hardware takes a bag from looking homemade to professional—and it's not hard to do! Using basic tools, you can set rivets & more. All our hardware is real metal and built to last.
✨ CUSTOMIZE IT WITH
Adding product to your cart
Complete Your Kit
This kit is coming back in stock October 20th. Sign up to be notified when it launches!
A grab bag of 3 assorted (surprise) zipper pouch kits! Make a trio of luxe pencil pouches featuring a blanket-weight Pendleton® wool front, waxed canvas reverse, cotton lining, a brass zipper, and a leather zipper pull. This beginner-friendly project sews up in just a couple of hours and is perfect for gifting. After you've made your pouches, there are lots of fun ways to customize them! Learn more here.
NOTE: Includes one set of printed instructions.
Finished Dimensions: 9" x 6"


The Zipper Pouch is a Beginner-level project that takes about 1–2 hours to complete. This project is great for beginner stitchers. The finished product will be super professional—and comes complete with “I made this!” bragging rights.
You will learn how to:
- Sew a zipper with lining fabric
- Sew a cleanly finished zipper end
- Attach a leather zipper pull using a rivet
- Set metal double-cap rivets
In addition to a sewing machine and some basic supplies, the only thing you really need to set the rivet is a hammer. There are a few other "nice to have" tools that we recommend for working with rivets + leather. It’s easy to add tools onto your kit.

CUSTOMIZE IT
One Zipper Pouch, Lots of Possibilities!
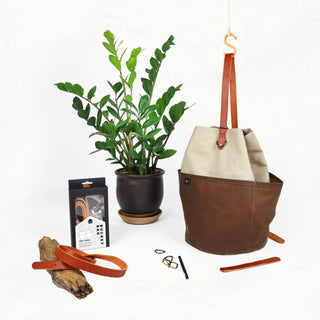
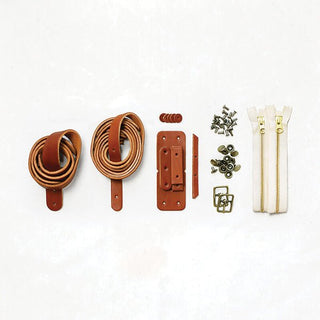
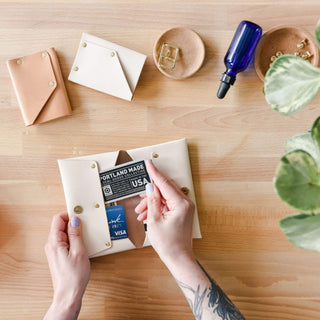
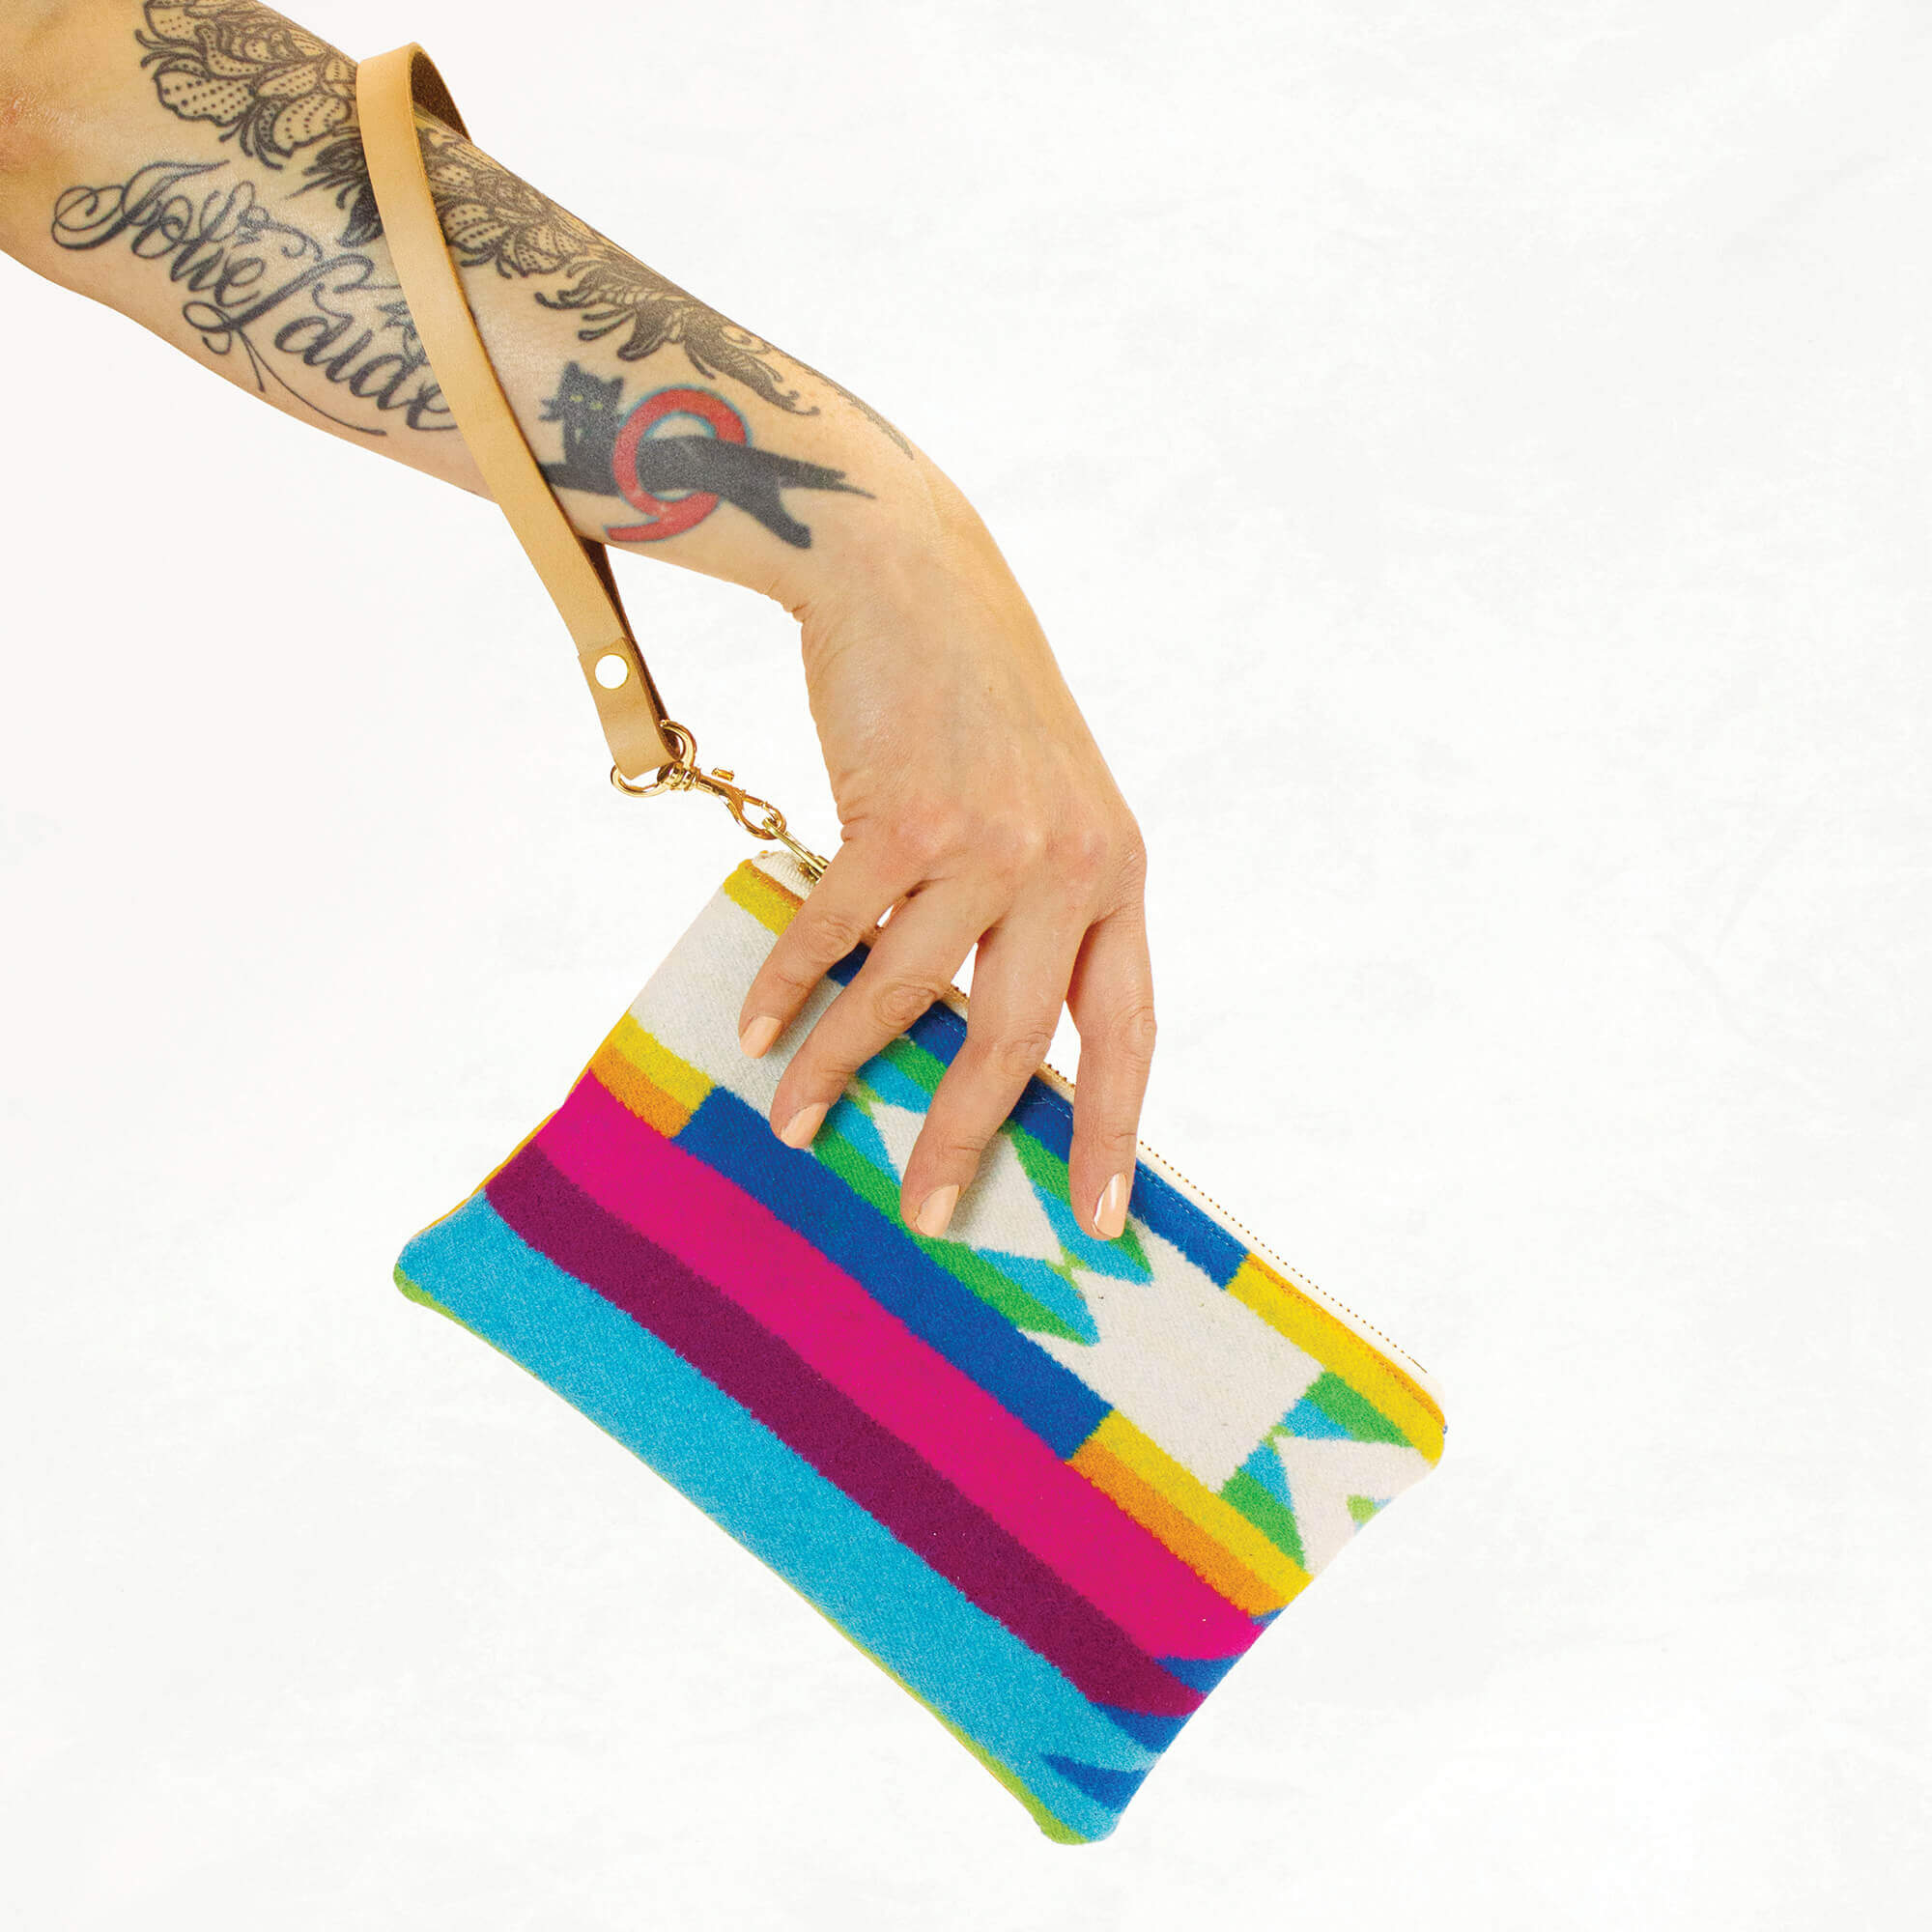
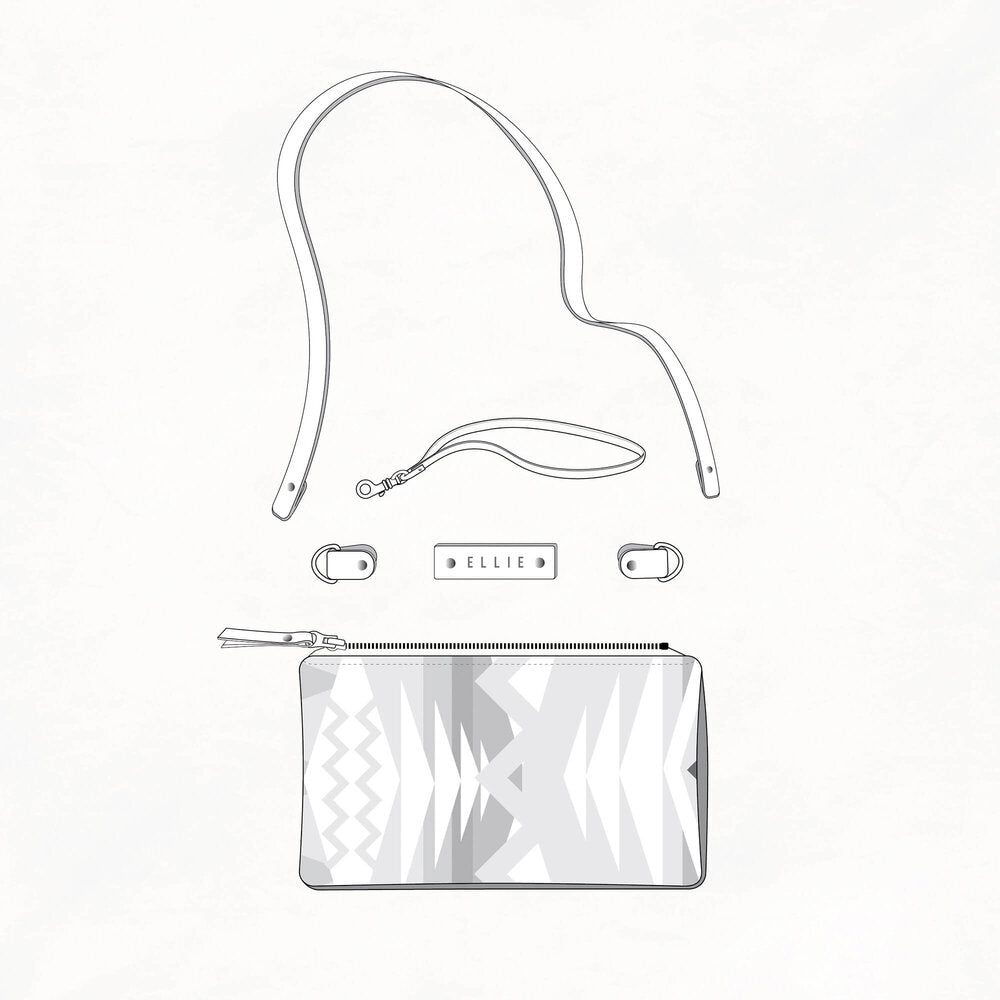
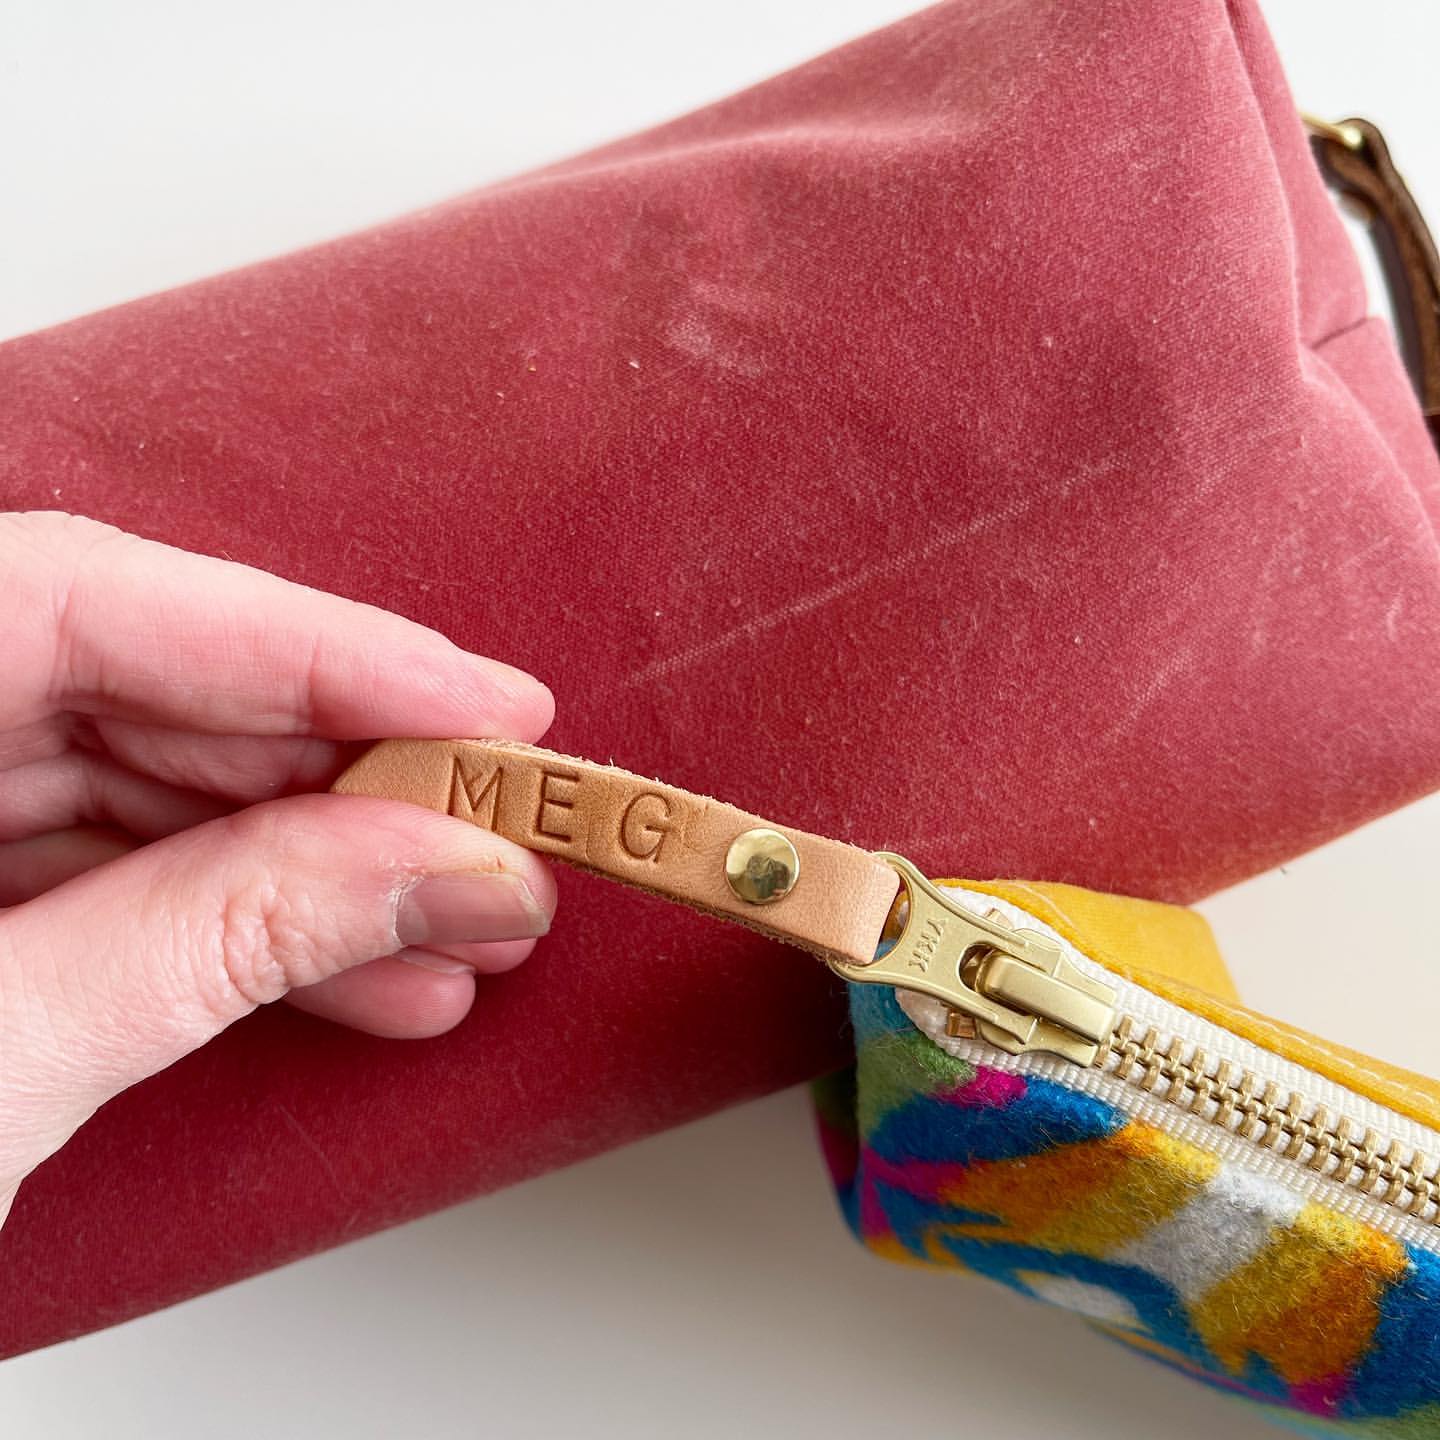
There are lots of fun ways to customize your pouch: Add a stamped leather tab, a detachable leather wristlet or even attach a leather strap using D-rings so you can wear it across your body! (Extra leather pieces sold separately.)
Complete Your Kit
Complete Your Kit
CUSTOMIZE IT
One zipper pouch, five fun variations! Pull it, tab it, clip it, belt it, sling it, wear it
Once you’ve finished your pouch, there are lots of fun ways to customize it. You could add a stamped leather tab, a detachable leather wristlet, even attach a leather strap using D-rings so you can wear it across your body or around your waist! Find details and free video tutorials on our blog.
*Customization supplies sold separately
Add a Stamped Leather Tab
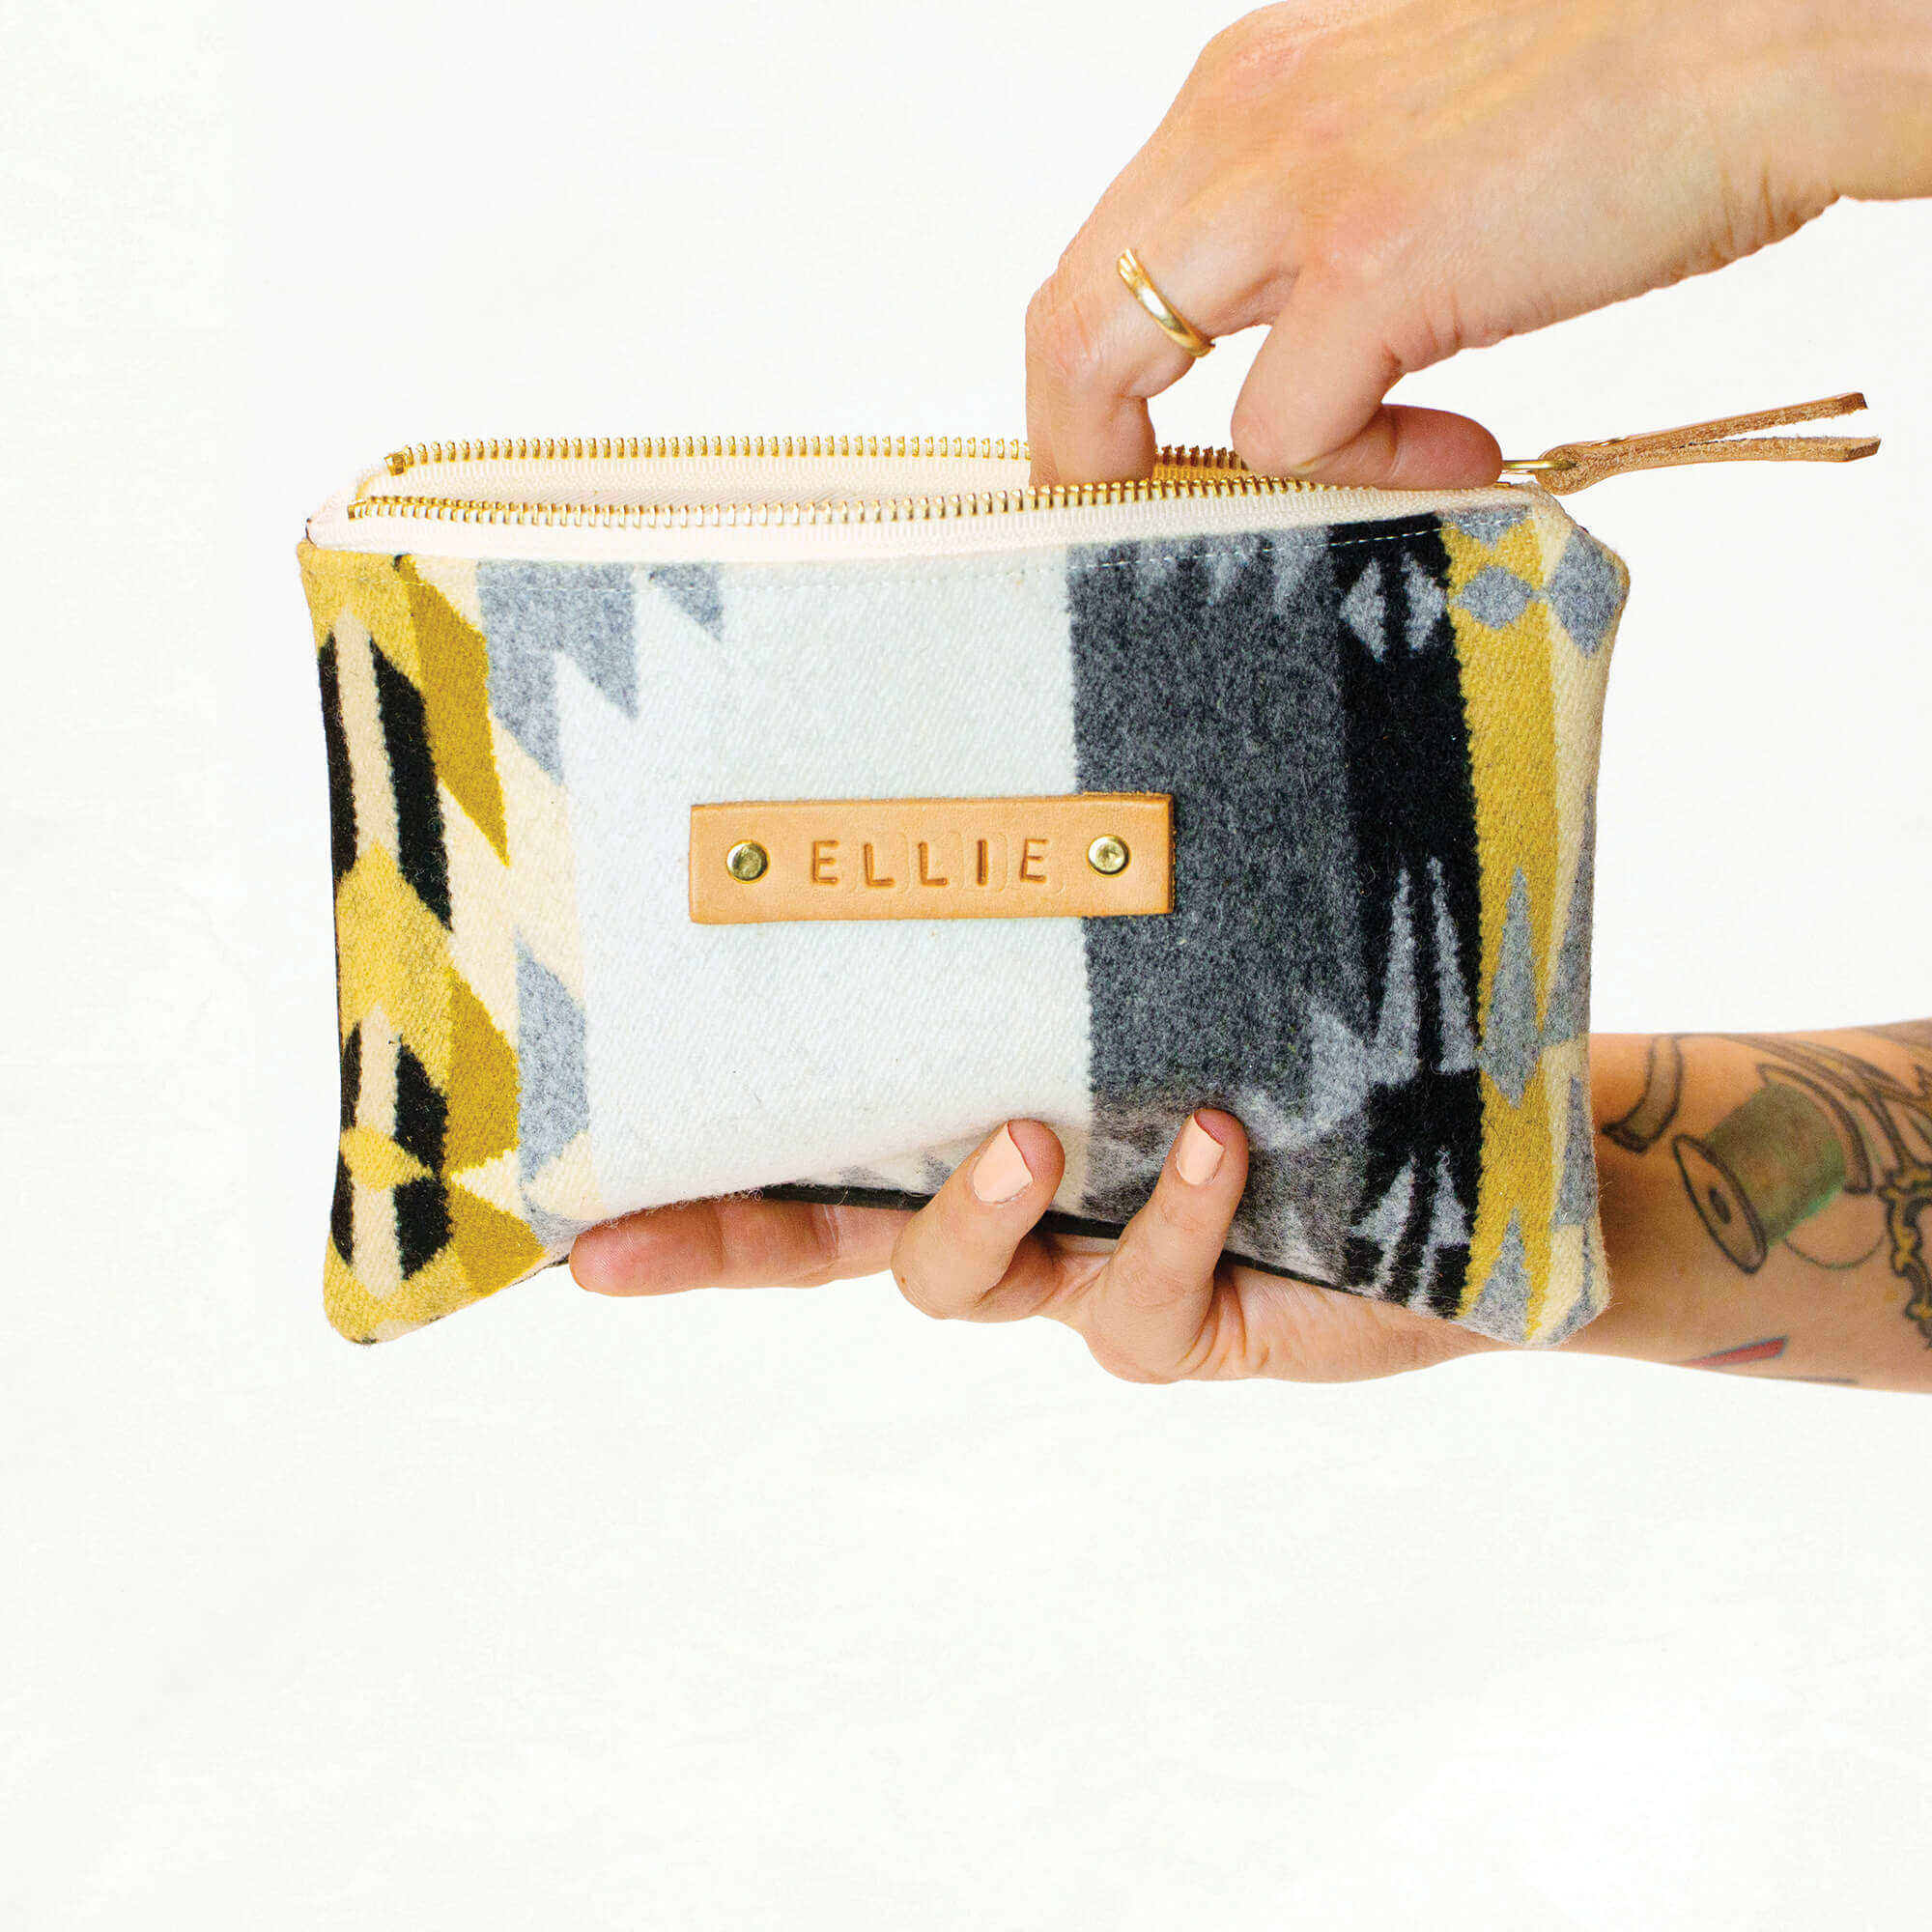
Whether you’re making a holiday gift for a loved one and want to add a personal touch or want to monogram your own pouch (so admirers don’t get any ideas! 😂) adding a stamped leather tab is fun and easy. It’s also a project that’s great for kiddos to help out with!
Add a Detachable Leather Wristlet
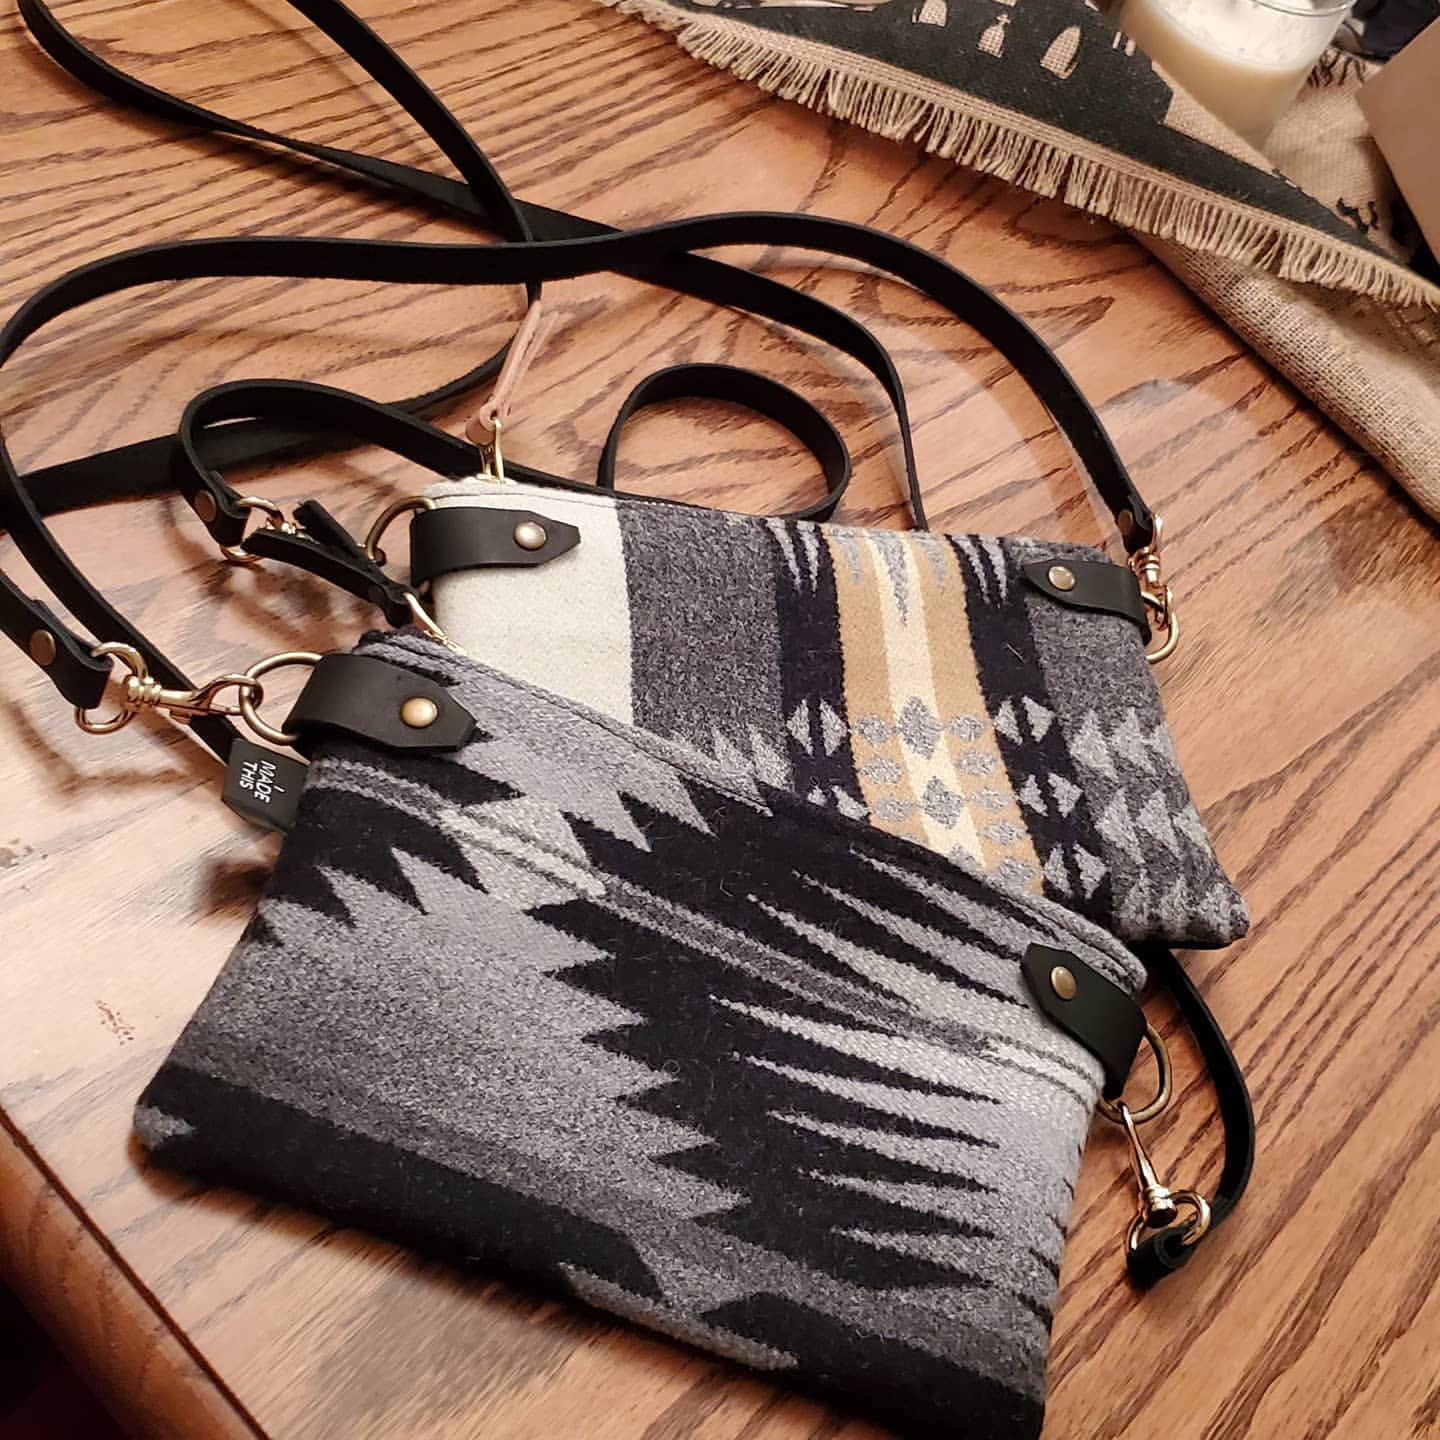
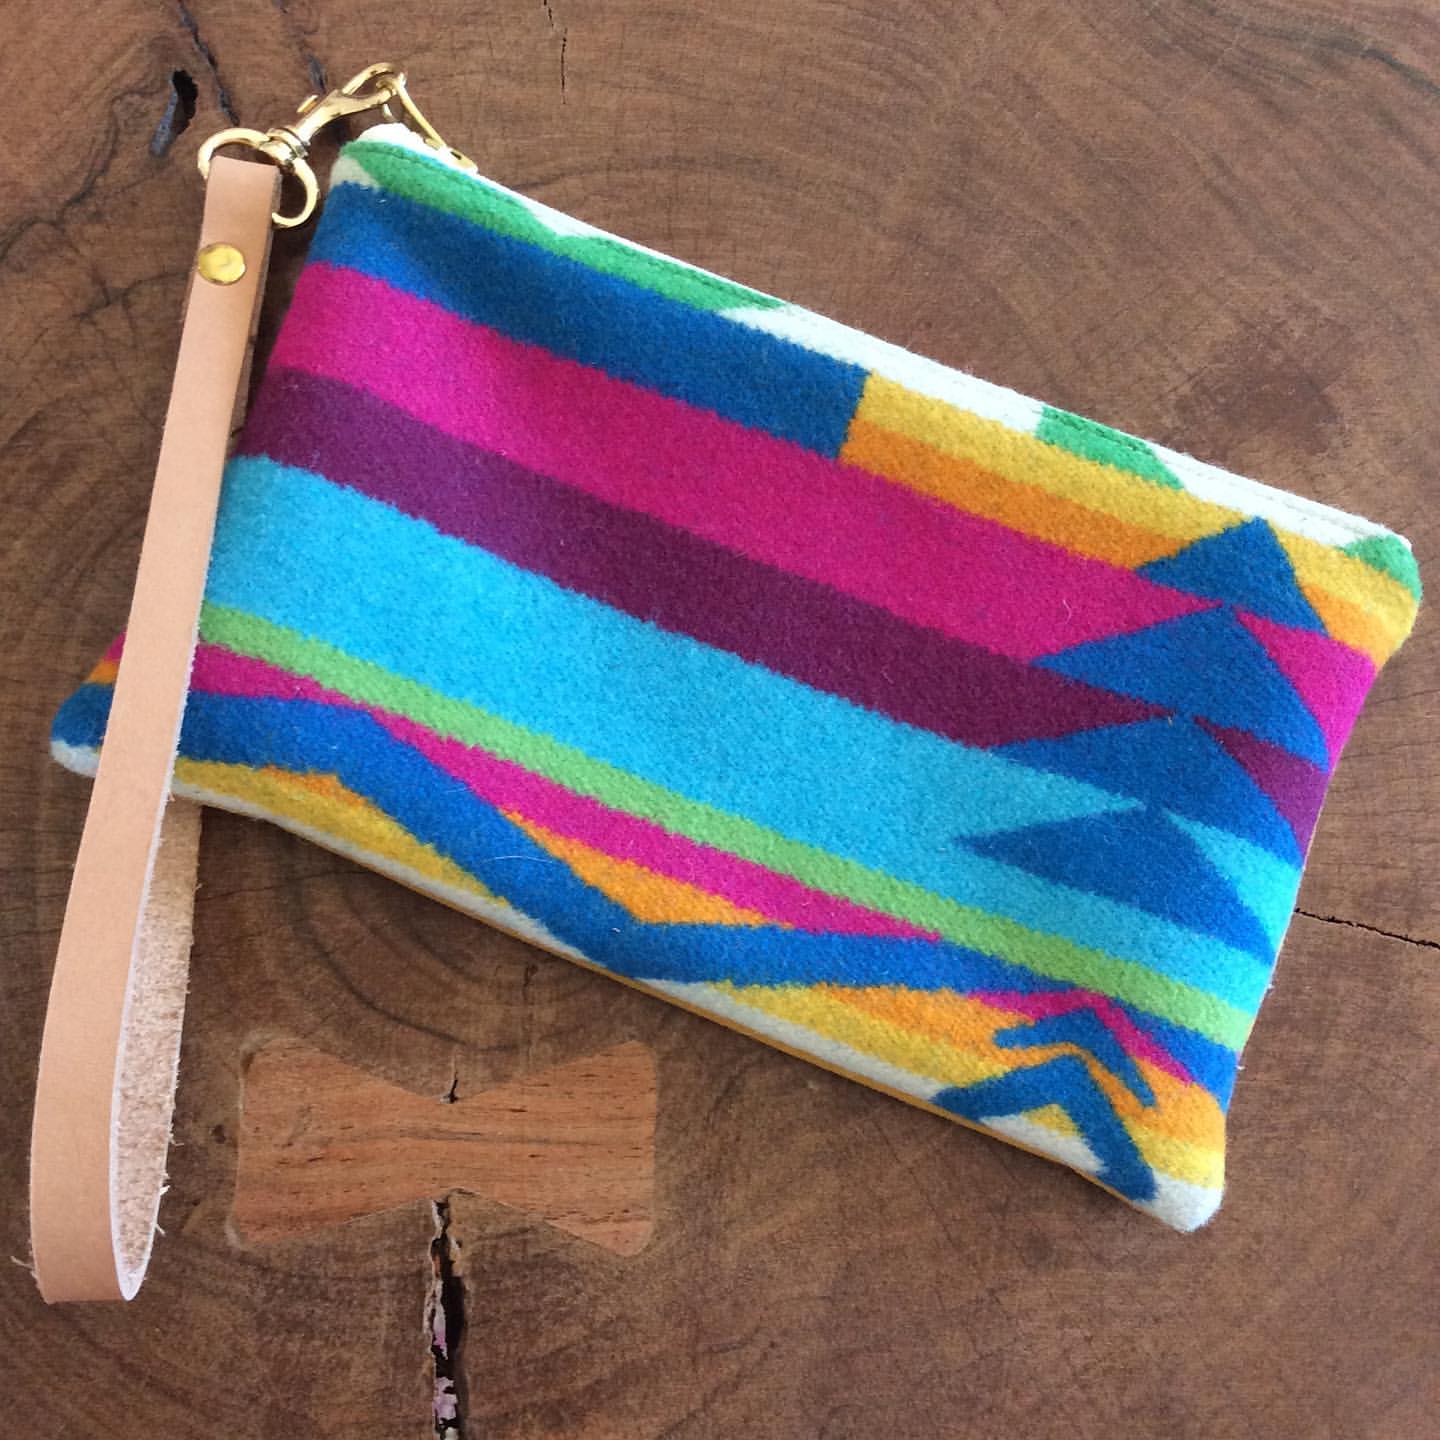
Turn your zipper pouch into a clutch with a detachable leather wristlet— Perfect for nights out on the town! The swivel clip makes the wristlet detachable, so you can strap on or strap off as the feeling strikes.
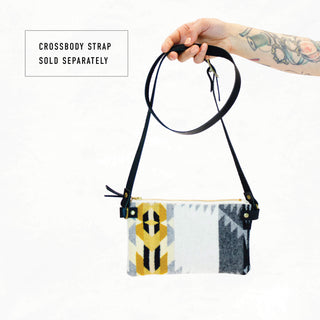
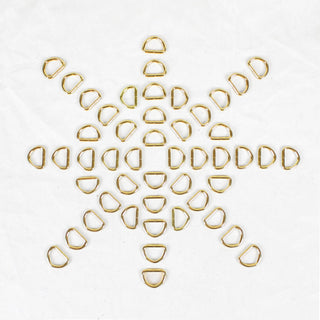
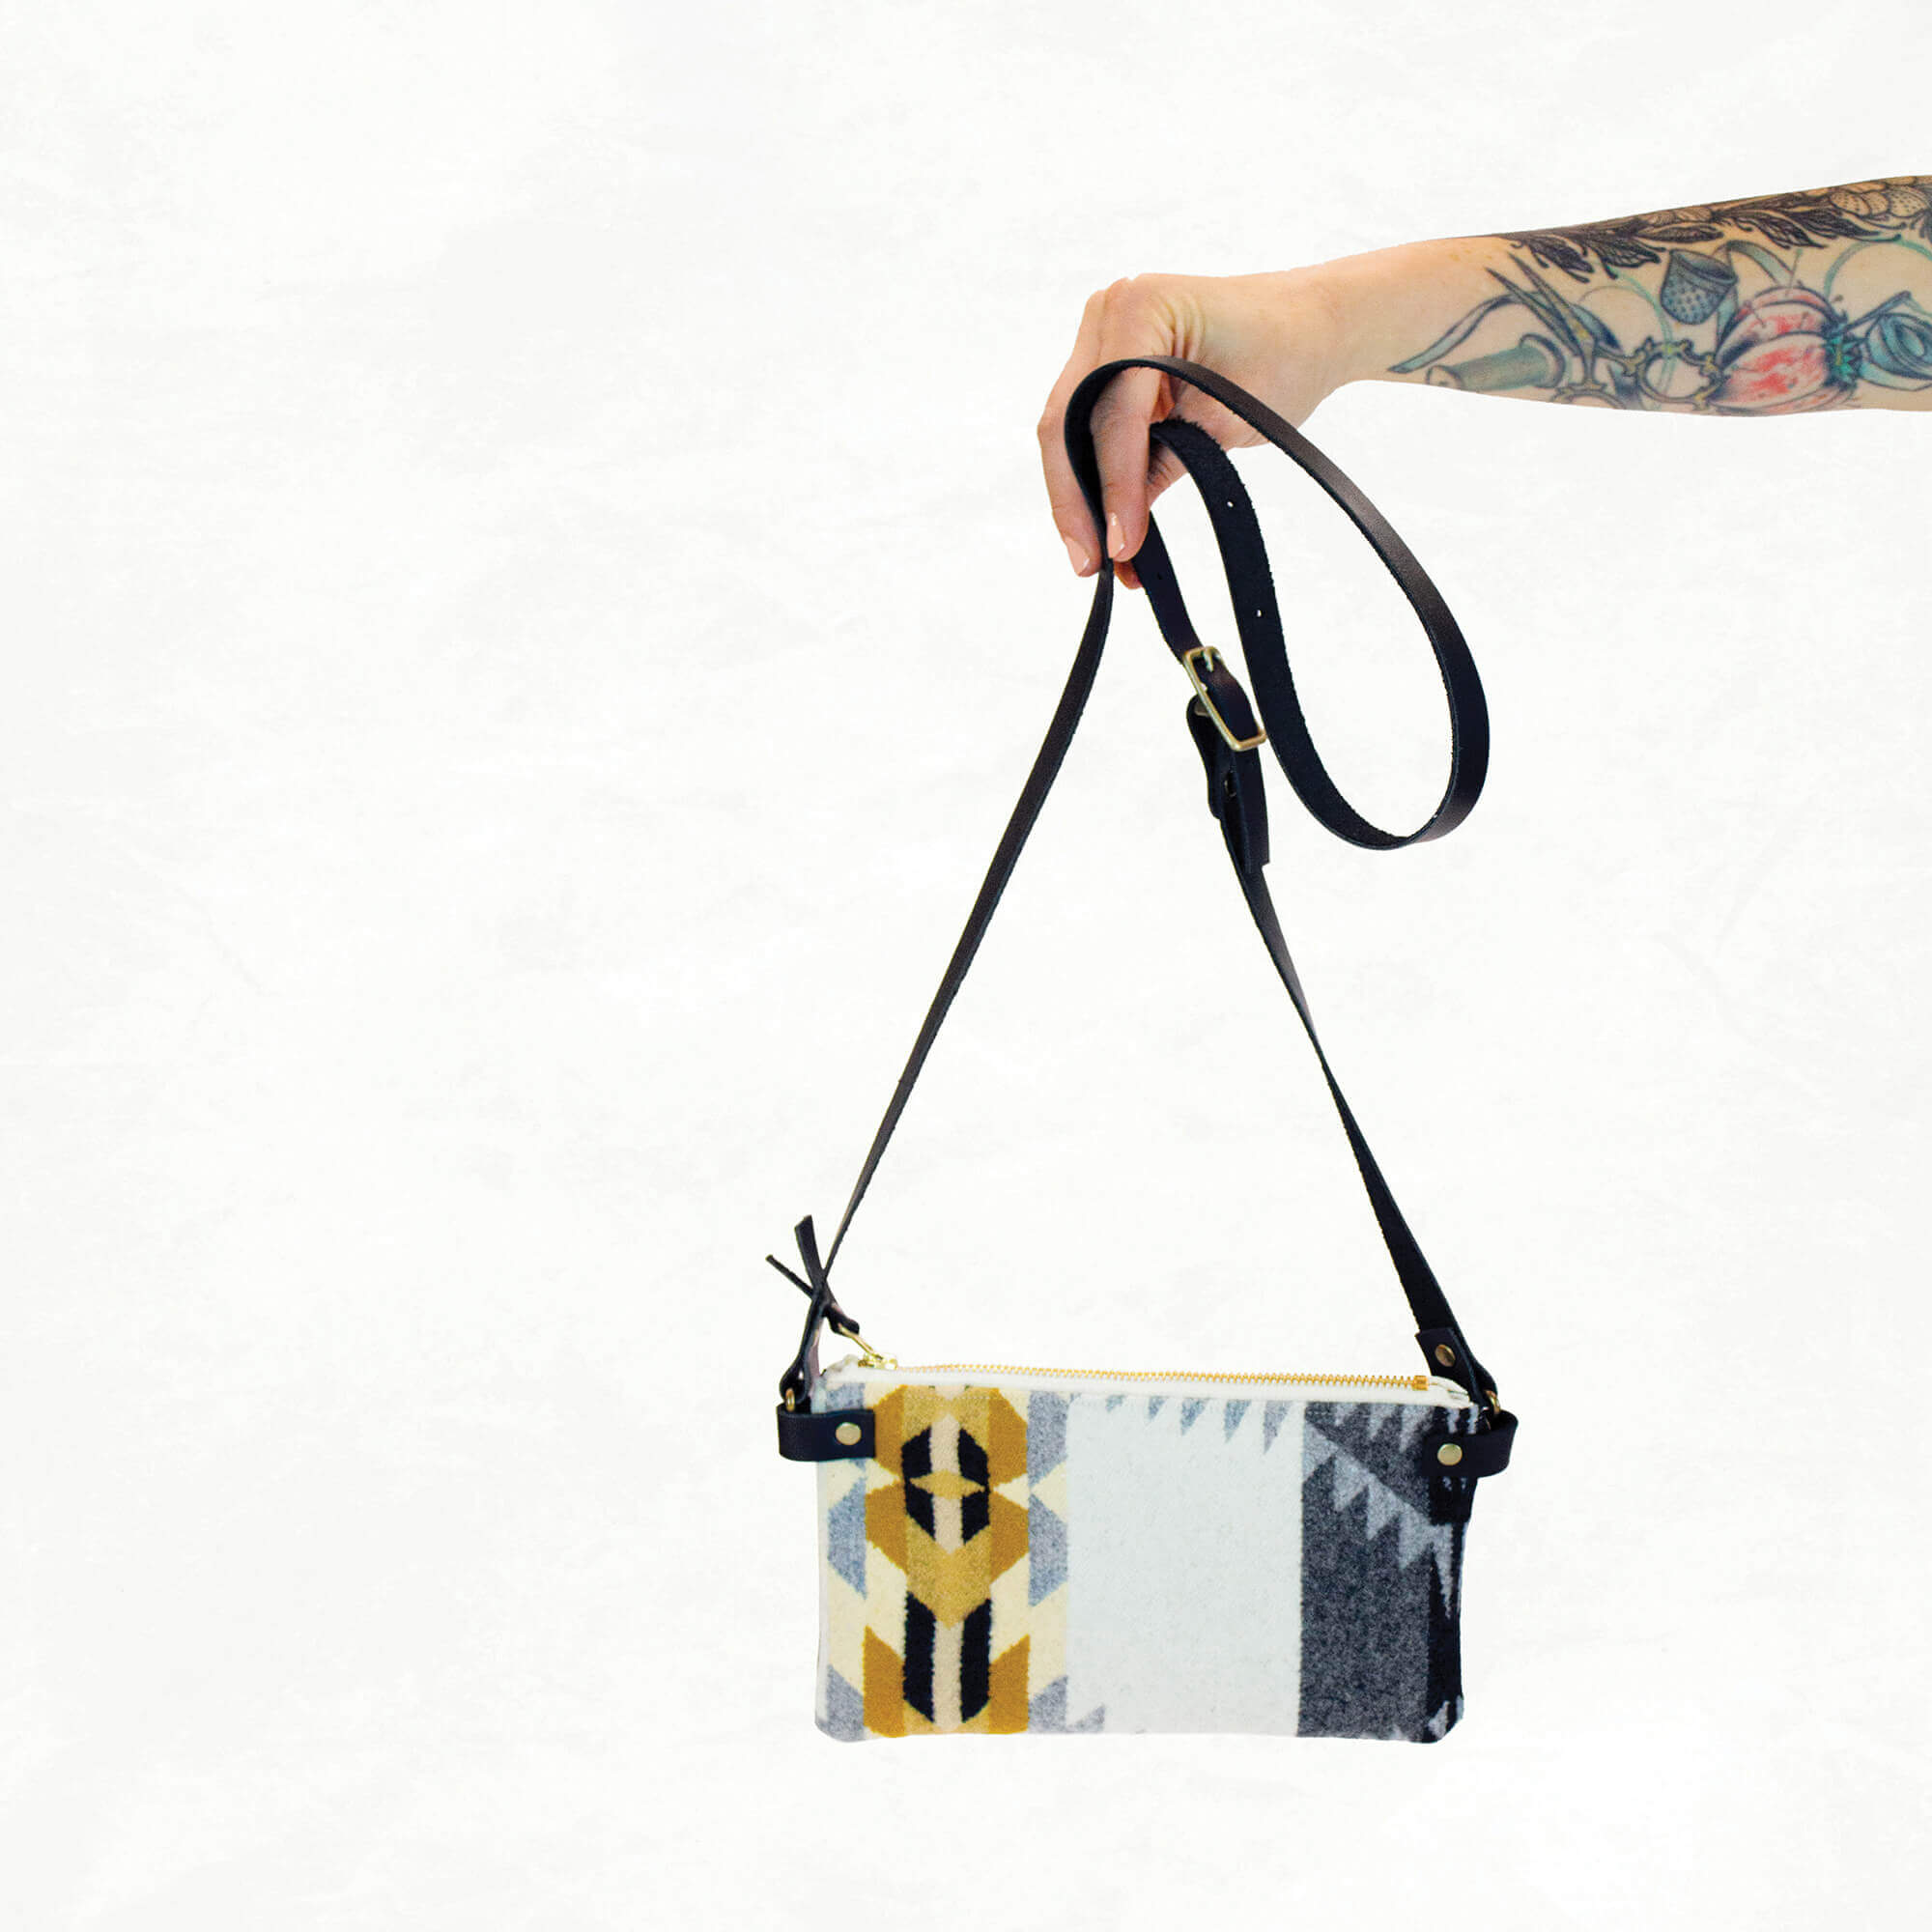
Add an Adjustable Leather Crossbody Strap
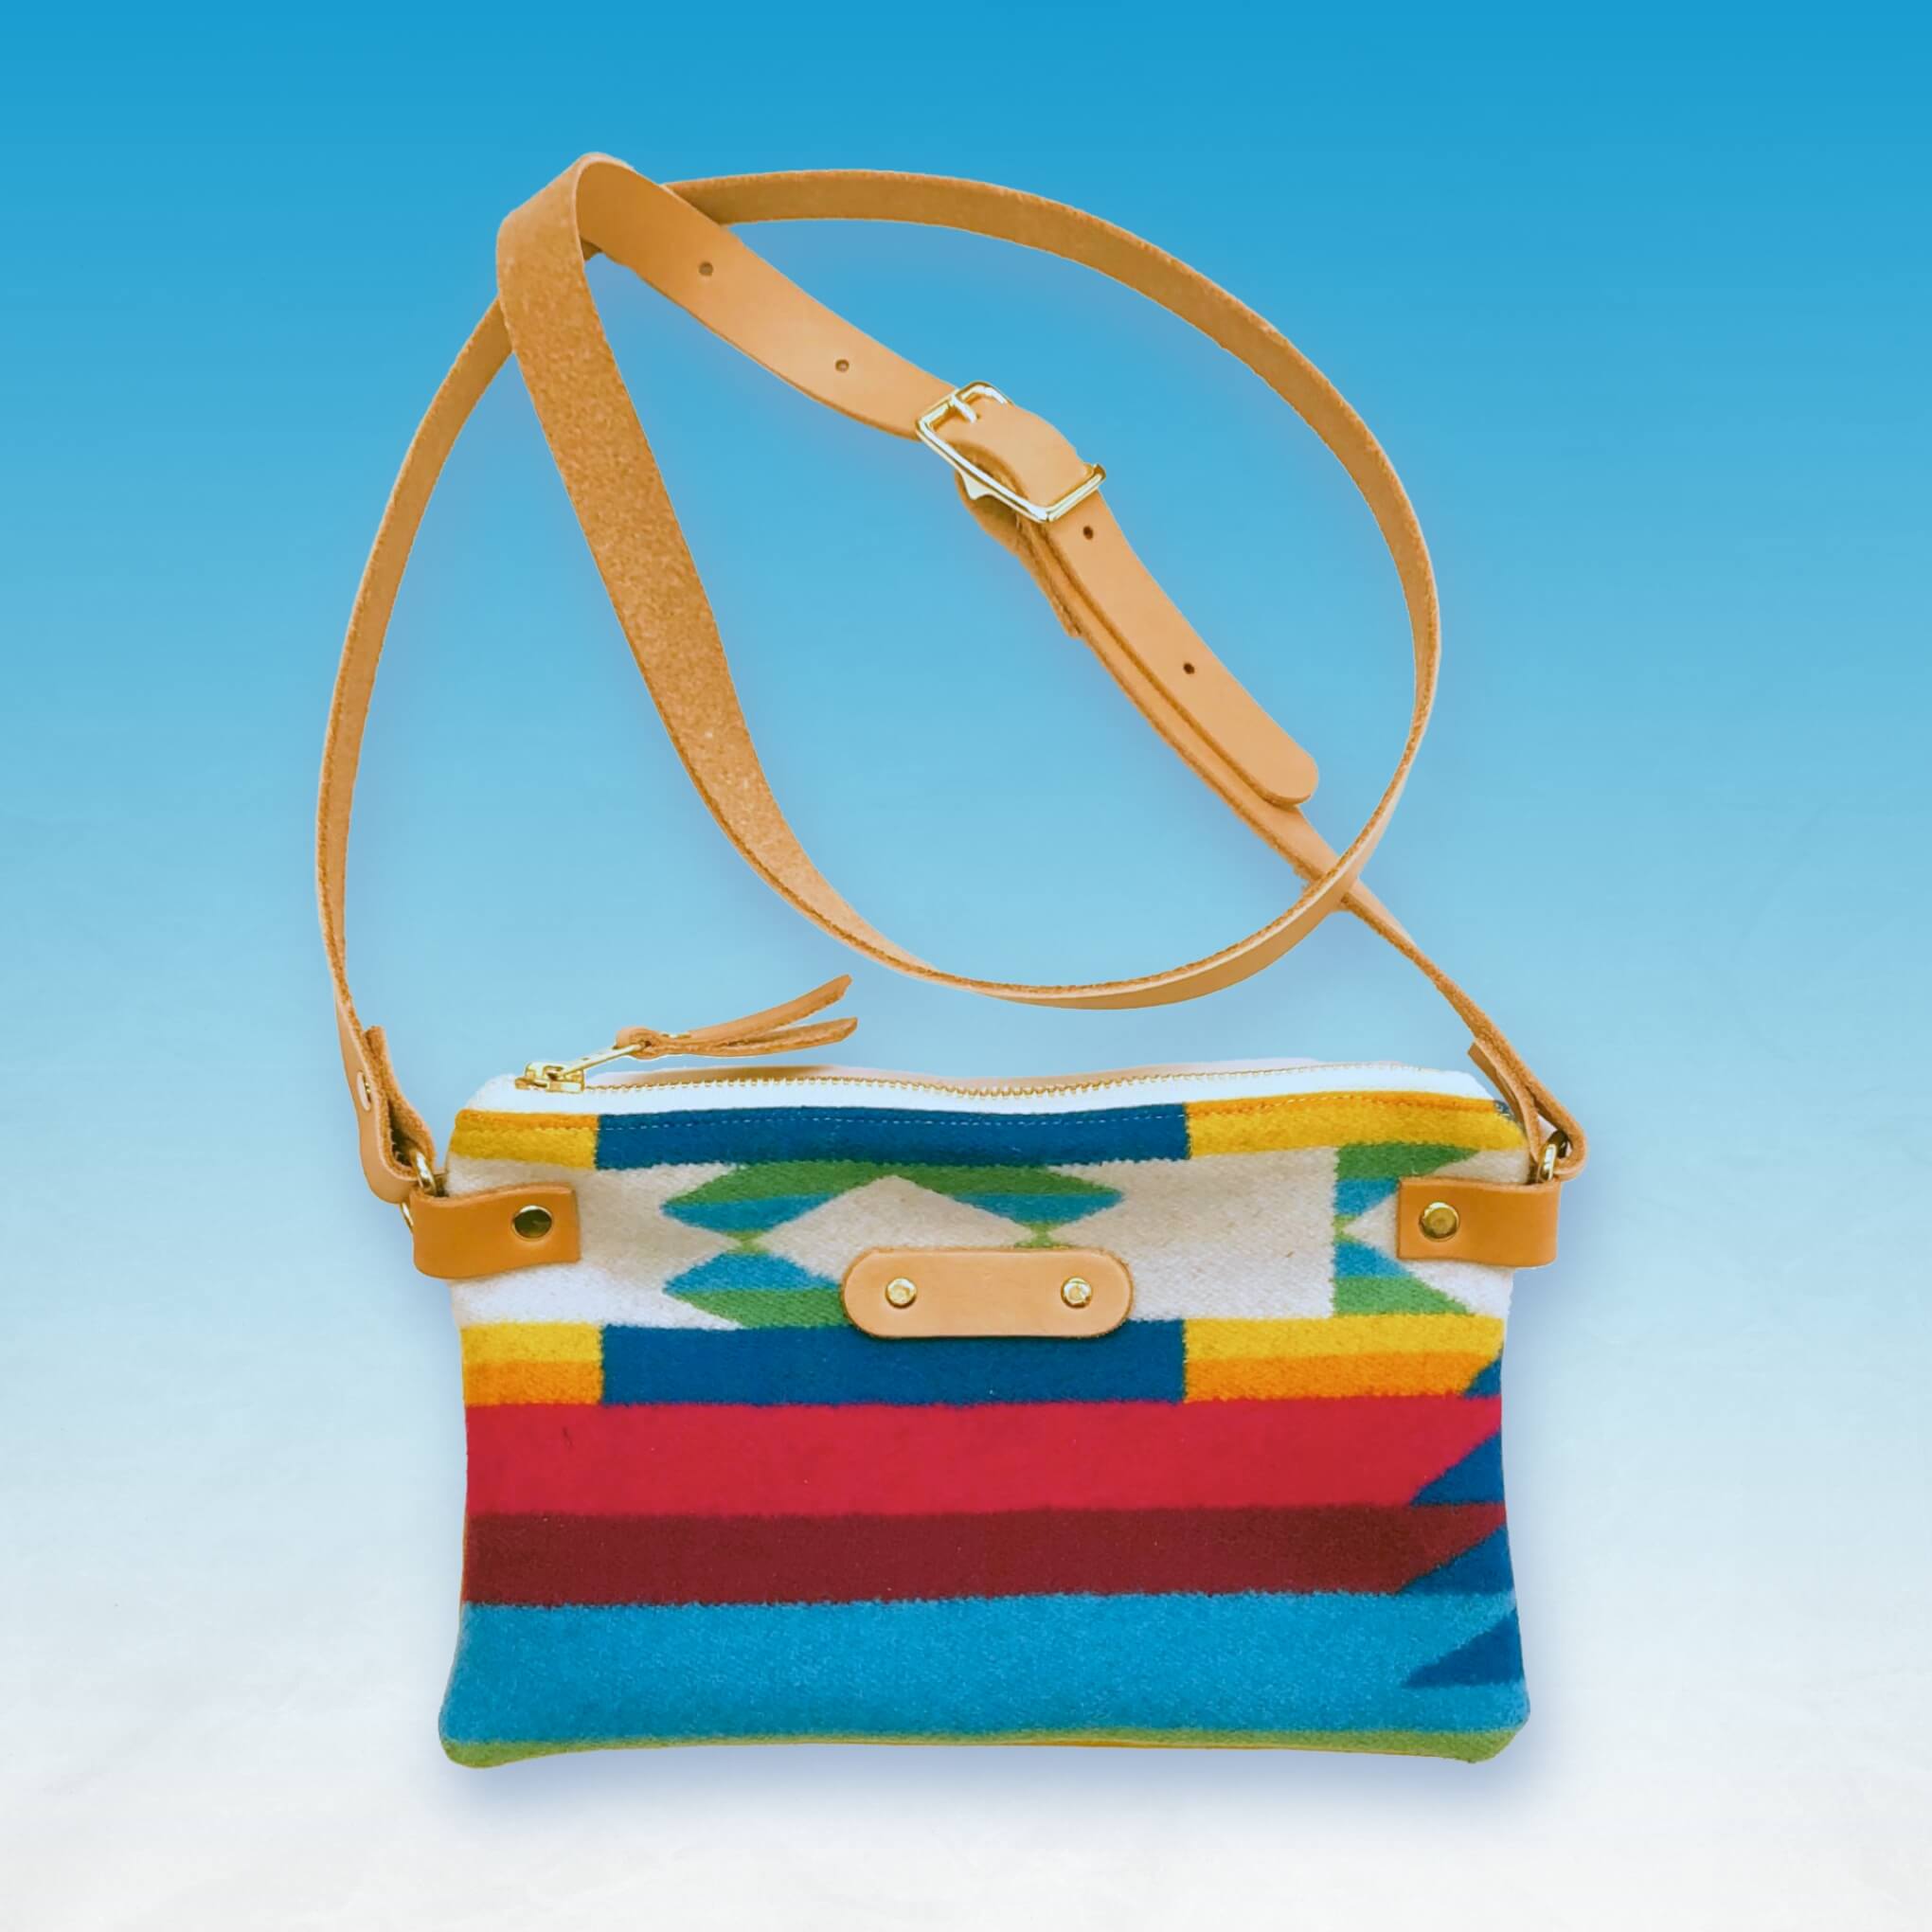
Transform your simple zipper pouch into a beautiful crossbody purse! If you’d like to make a hands-free bag that’s the perfect size for your essentials, this customization is for you. The crossbody strap attaches to metal D-rings on the sides of the pouch and has a buckle that makes it adjustable for your body. You could even punch additional adjustment holes to wear your pouch like a fanny pack or sling bag.
How It Works
- Choose whether you want to make your zipper pouch from a kit (& choose colors) or from scratch.
- Decide which customization(s) you'd like to add.
- Add-on any additional supplies you'll need.
- Make your pouch without the customizations using the Zipper Pouch PDF instructions.
- Head over to our "Customize Your Zipper Pouch" blog post to learn how to add your customizations after you've finished making the base pouch.
@faithstjules
"I'm a novice bag maker, so this beginner friendly project was perfect. I'll def be sewing more of these."
😍 Maker Stories
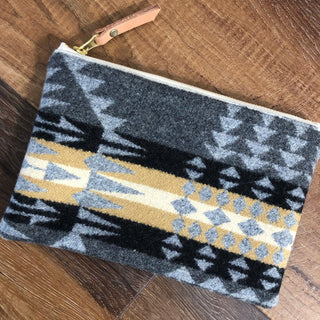
"Did some selfish sewing a few weeks ago. Couldn't resist this Pendleton wool. I ended up with the most luxurious brass zipper pouch with leather pull tab!"

"I needed to conquer my zipper fear so I chose this pattern and as a result have become a fan of 4 things; high quality hardware, wax canvas, Pendleton wool and Klum House. 💗This is the Zipper Pouch with an optional wrist strap & use this all the time. Perfect? No. Did I learn how to insert a zipper? Yes and I’m getting better.

"I had so much freaking fun sewing this! What a total joy 🫶"
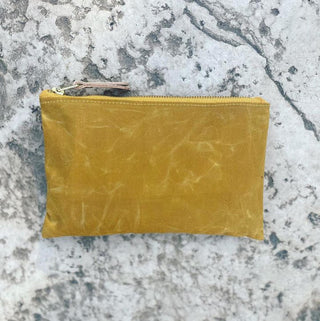
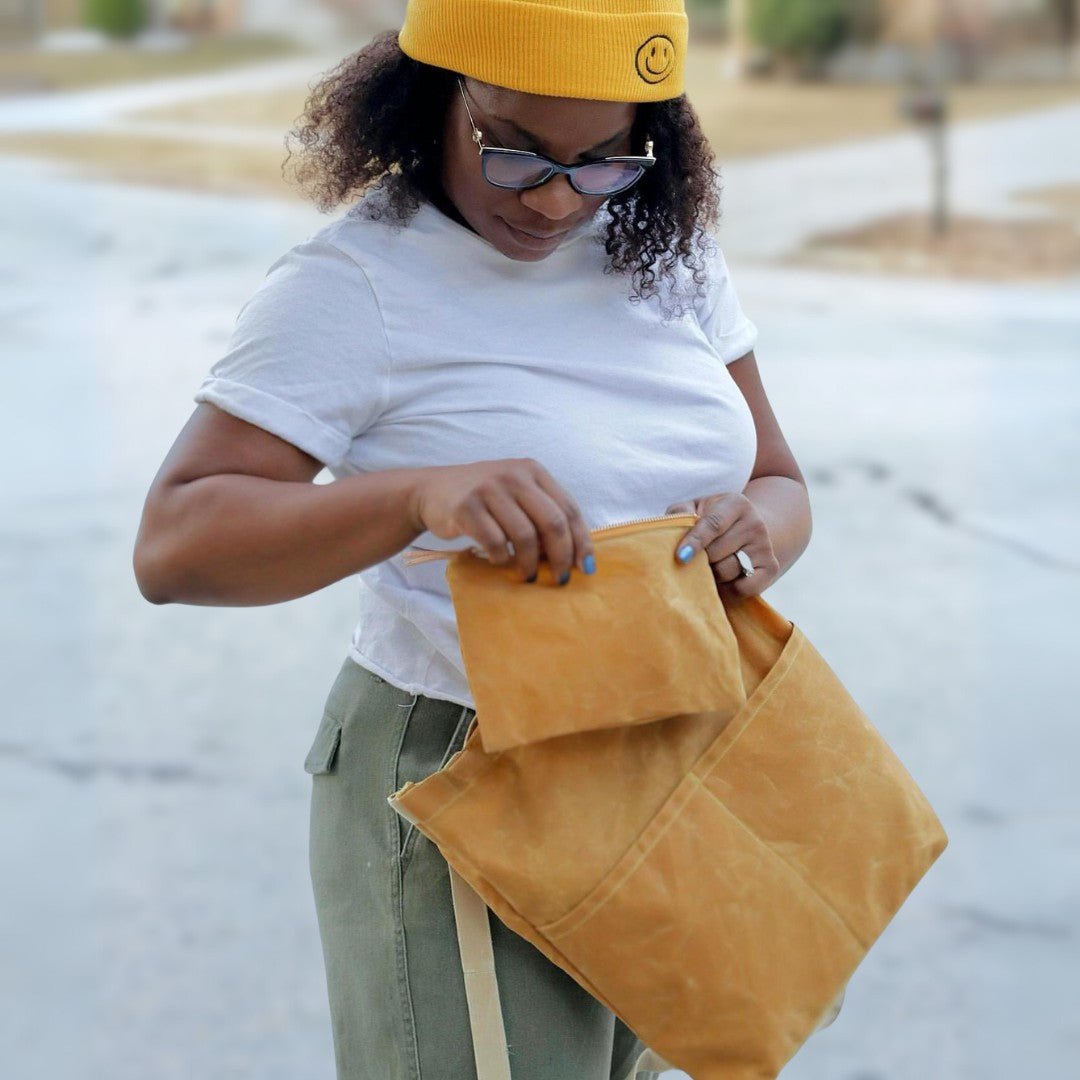
"Love how The Belmont can be used two ways as well as packed into coordinating zipper pouch!"
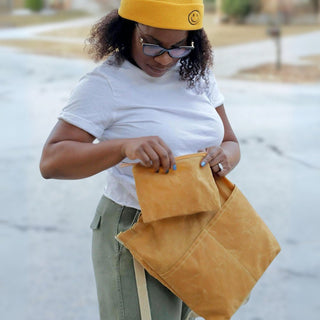
"The pouch is perfect for small things or you can store your Belmont pack inside of it— so practical!"
CUSTOMIZE IT
Add a Leather Wristlet
In our Customize Your Zipper Pouch blog post, you'll find instructions for three different customizations, plus supply lists for easy sourcing. You can add these features even after your pouch is complete.
FAQS
Questions about the Zipper Pouch? We've got you covered.
Yes, you can totally make this bag on a regular home sewing machine! No heavy-duty or industrial machine required. For best results, we highly recommend working on a machine that has been well-maintained and using a new, sharp needle. Denim needles or nonstick needles (if working with waxed canvas) are our favorite!
The Zipper Pouch is a Beginner-level project that is great for learning how to sew zippers. The finished bag may look hella professional, but don't let that intimidate you! Even if you've never sewin before, you'll do great!
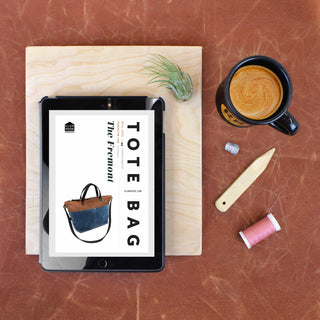
These are the tools and sewing supplies we recommend having on hand for the optimal Zipper Pouch-making experience.
Sewing Supplies:
- Size 100 denim needle or nonstick needle (our favorites for sewing heavy-duty fabric & waxed canvas)
- Flat-Head Pins
- Hammer + hard surface (for setting rivets)
- Edgestitch Presser Foot (or a Zipper Presser Foot)
Tools:
The Zipper Pouch has a leather zipper pull that is attached with a double-cap rivet, which can be set with just a regular hammer. Optionally, you can use a double-cap rivet setter and a (non-rubber!) mallet on a hard surface, such as a slab of stone, metal anvil, or concrete floor.
Some of the customizations require making holes in the fabric. To make holes in fabric you’ll need a 3/32” drive punch, which is used with a mallet on a punching board. Or you can use a tapered tailor's awl to make holes in your fabric.
You can add these tools to your kit, or combined in The Drive Punch Toolkit for a discounted price!
All customizations can be added after your zipper pouch has been made!
- Choose whether you want to make your zipper pouch from a kit (& choose colors) or from scratch.
- Decide which customization(s) you'd like to add.
- Add-on any additional supplies you'll need.
- Make your pouch without the customizations using the Zipper Pouch PDF instructions.
- Head over to our "Customize Your Zipper Pouch" blog post to learn how to add your customizations after you've finished making the base pouch.
In our Customize Your Zipper Pouch blog post, you'll find video instructions for three different customizations, plus supply lists for easy sourcing. You can add these features even after your pouch is complete.
We also have a ton of free videos on our Youtube channel. Here are the specific ones that pertain to the Zipper Pouch Customizations:
The making time for beginner projects is estimated at 1-3 hours. Having said that, each maker has their own pace and process.
We recommend using a 100 denim needle or a non-stick needle, and 1 spool of all-purpose thread to match the lining fabric, since all the stitches on the Woodland show on the interior of the bag.
My nine-year-old and I decided to make these for Christmas presents for several people this year, and I was worried that we were too ambitious. (As with most handmade gifts!) But this kit made it so easy for us to actually finish our handmade gifts this year, and so far, they’ve been a huge hit with the recipients. (We personalized them with leather tabs following the blog tutorial.) Now we are planning to make our own pouches, too!
Excellent kits, carefully cut and prepared.
Fun to put together!
I have made Klum House zipper pouches of various sizes out of waxed canvas. But for the holidays the Pendleton pouches are coveted. It took me maybe 45 minutes to make one, which was immediately gifted for a birthday. So fun
OUR PROMISE
You've got this.
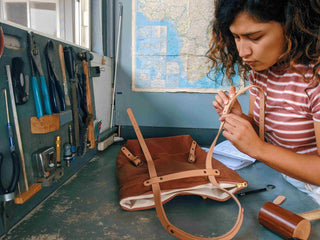
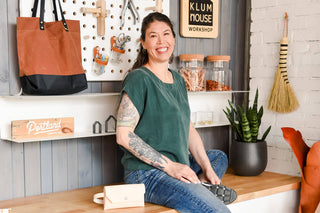
Making things takes courage! For every little victory and moment of triumph, there are frustrating seam rips and cooked rivets, but there is magic to be found in showing up and trusting the process. Sometimes you have to take the leap to discover how much you're truly capable of!
OUR PROMISE
We've got you.
From sourcing the very best tools and materials to crafting crystal-clear instructions, we're committed to setting you up for success (and enjoyment!) at every step of your bag making journey. No matter your skill level, we'll meet you where you are and help you reach your bag making goals.
Handpicked For You
Join Us on Instagram @klumhouse for #KLUMHOUSE Inspiration ✨

@klumhouse
#KLUMHOUSE
@klumhouse
📸 @whatsnewcaseyroo

@klumhouse
#KLUMHOUSE
@klumhouse
📸 @kristimakes

@klumhouse
#KLUMHOUSE
@klumhouse
📸 @faithstjules

@klumhouse
#KLUMHOUSE
@klumhouse
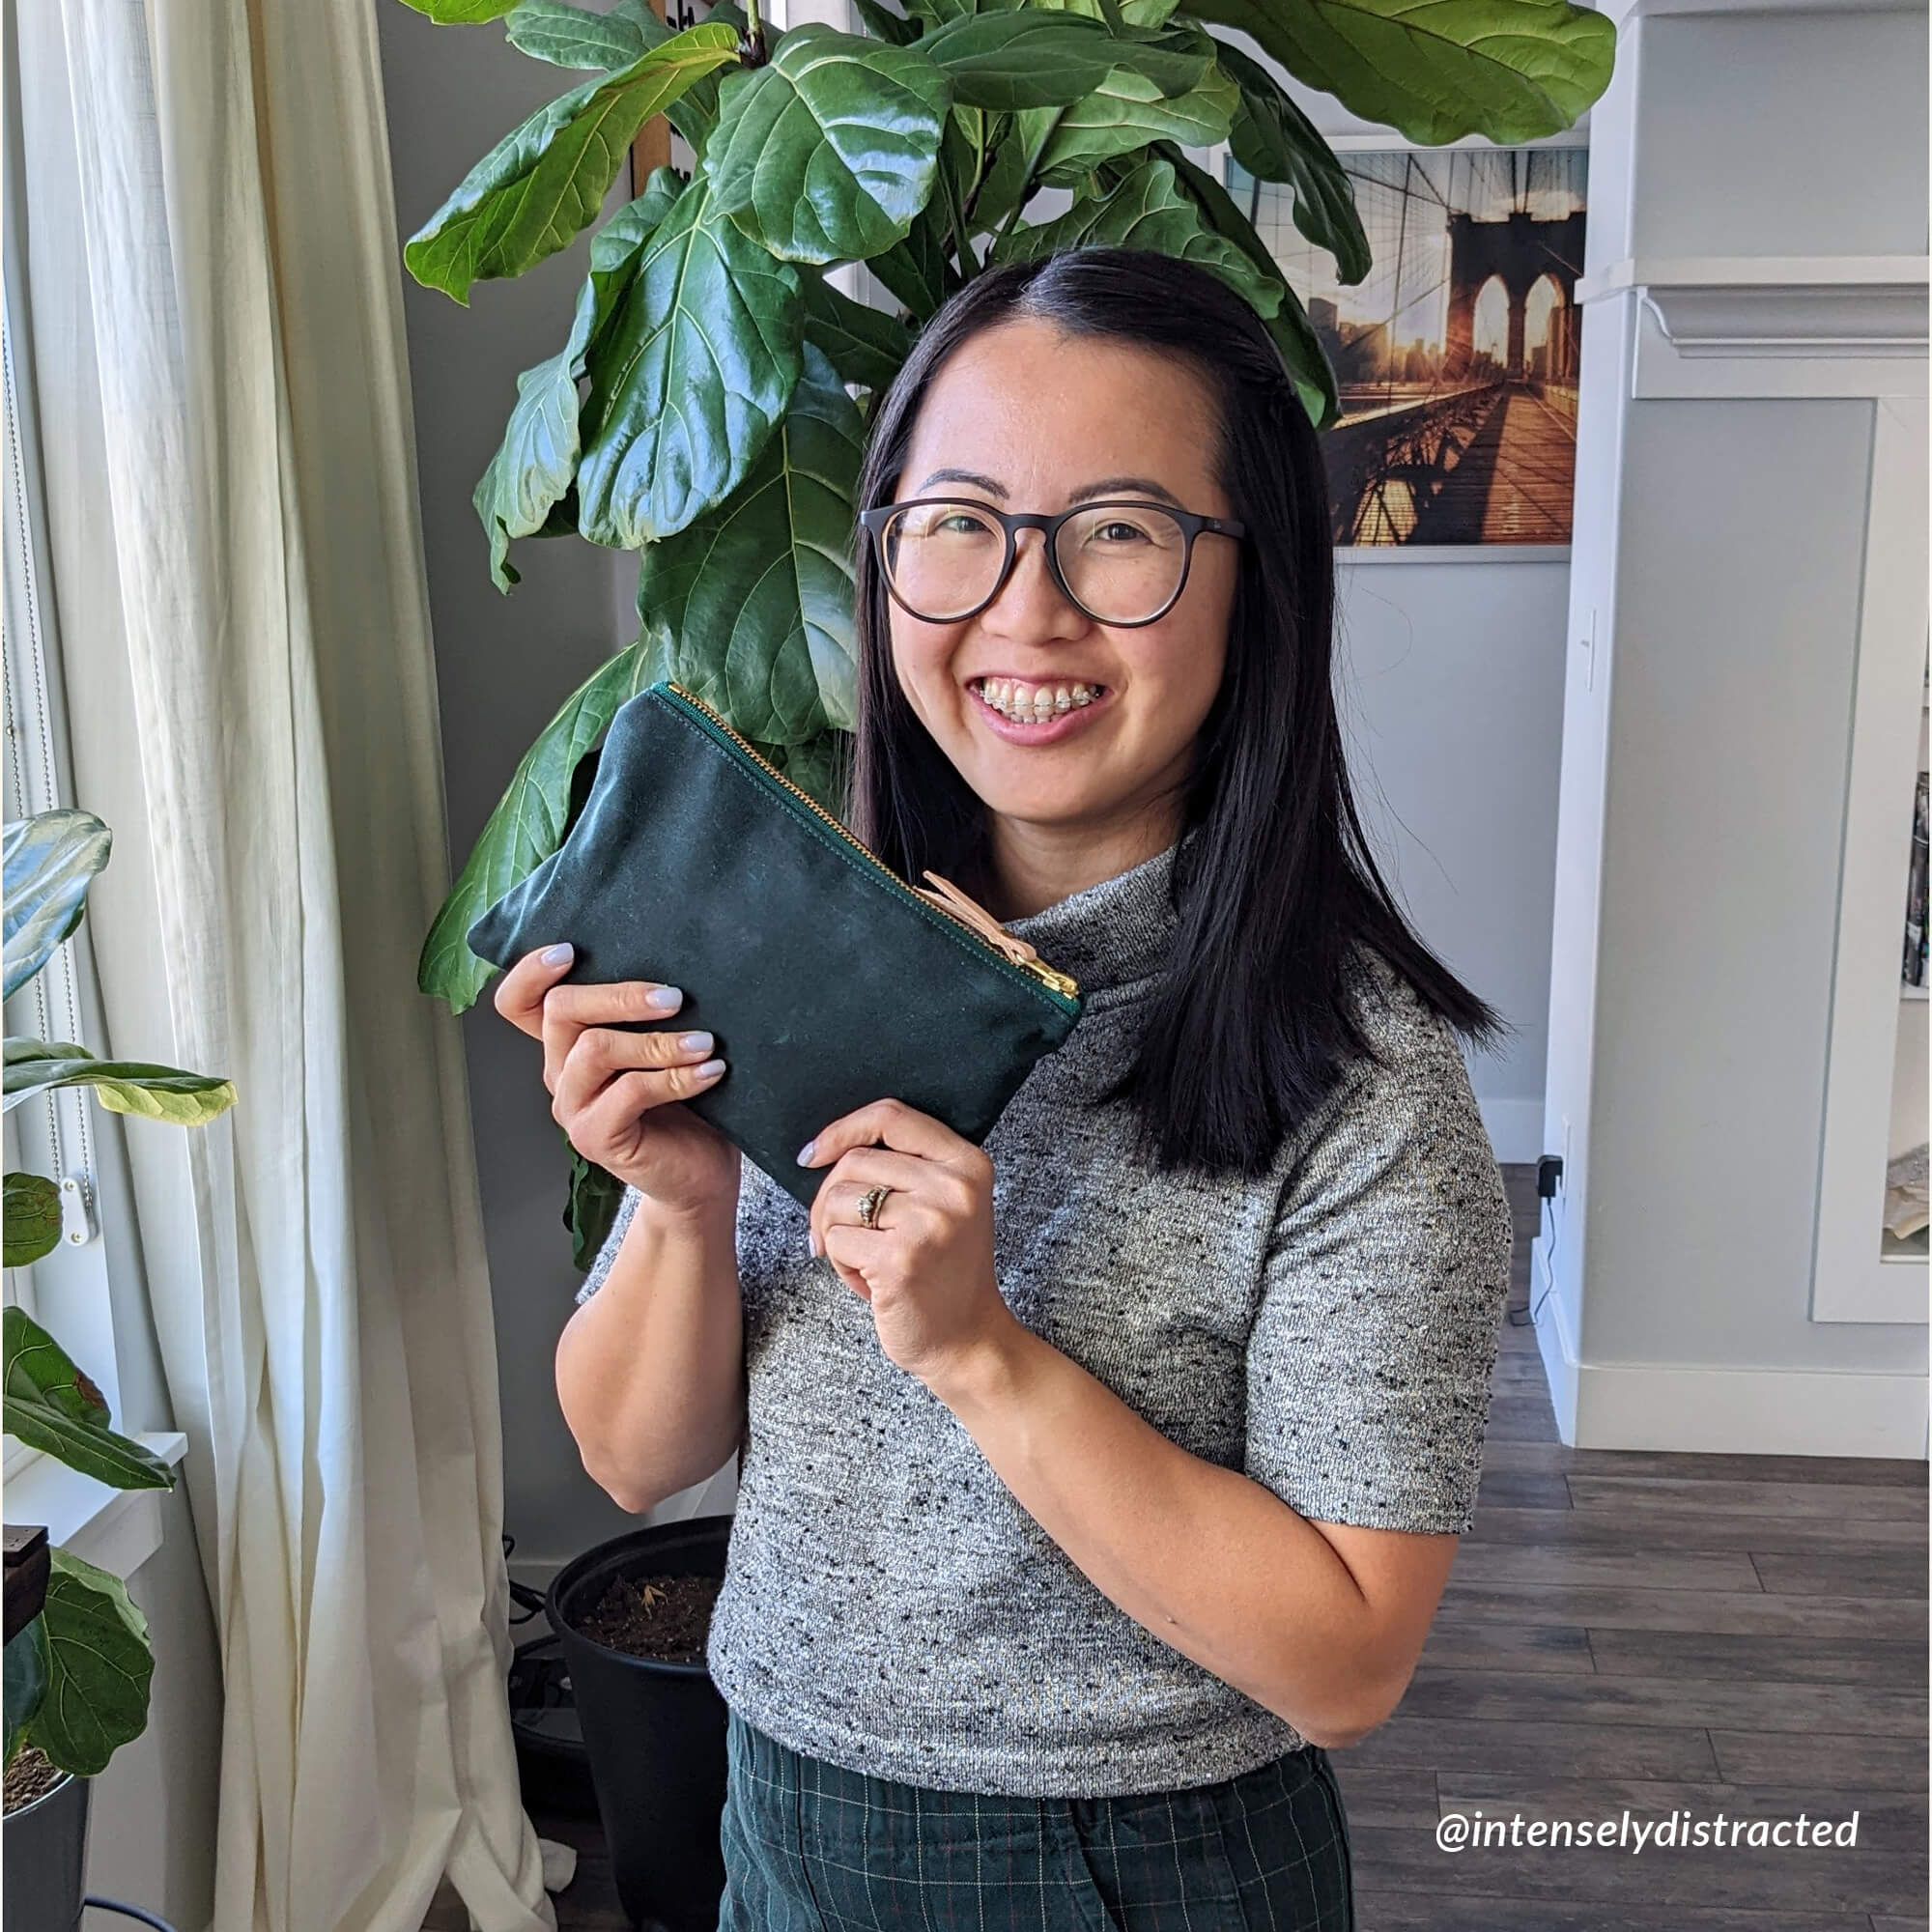
📸 @intenselydistracted

@klumhouse
#KLUMHOUSE
@klumhouse
📸 @threadfox

@klumhouse
#KLUMHOUSE
@klumhouse
📸 @muy_uyeno

@klumhouse
#KLUMHOUSE
@klumhouse
📸 @craftedbyjuju

@klumhouse
#KLUMHOUSE
@klumhouse
📸 @hyattstationstitching
Our waxed canvas is Better Cotton Initiative.
Crystal-clear illustrated teaching patterns designed to upskill your bag making.
Durable, premium materials sourced with the highest quality in mind.
Made with care in small batches, by a woman-powered team in Portland.


