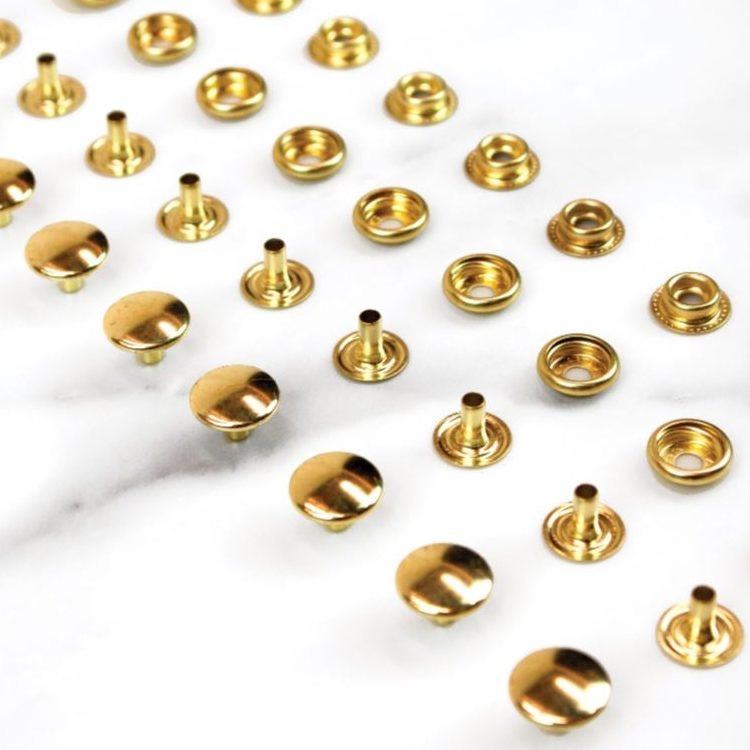
A Line 24 snap is a metal closure that comes in four pieces: the cap and socket, which are set together on one side, and the eyelet and stud, which are set together on the other side. The cap and socket are the receiving end. The eyelet and stud are the part that snaps into it.

What You’ll Need
- Line 24 Snaps. Plated finish over steel base, sold in packs of 10. Post length ⁵⁄₁₆", cap diameter ⁹⁄₁₆".
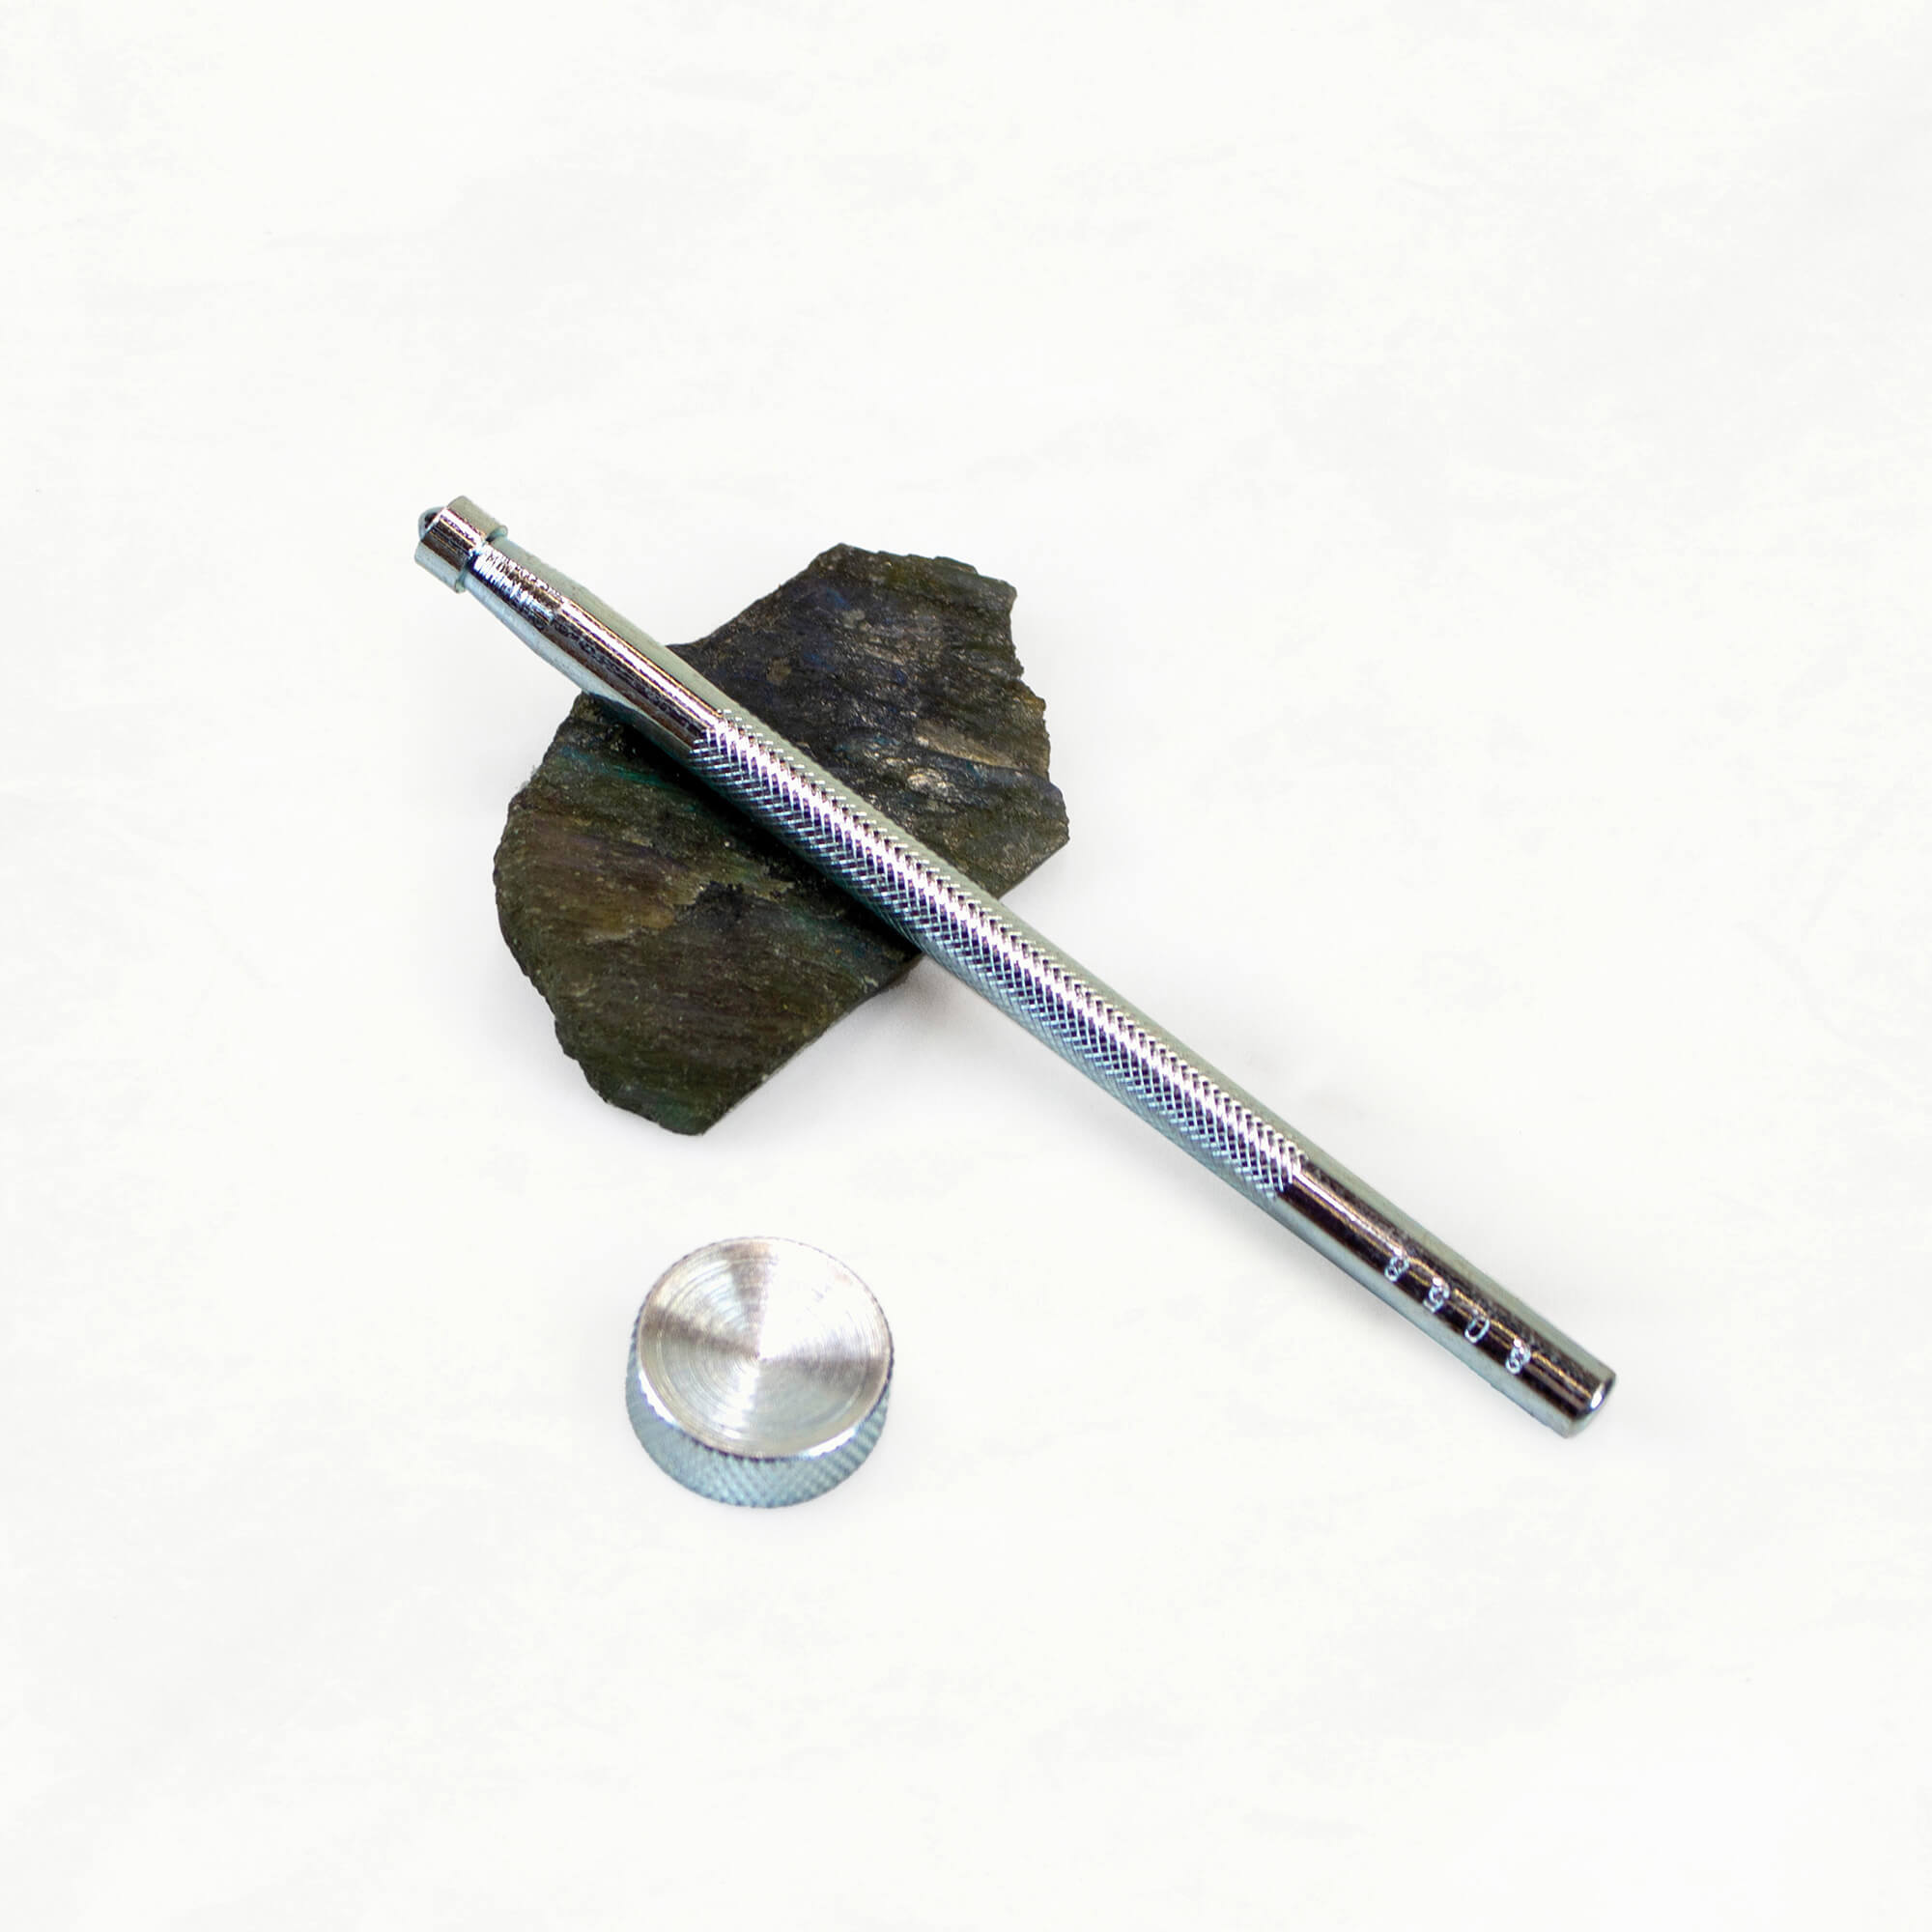
- A Line 24 Snap Setter, used with a concave dot anvil to preserve the roundness of the cap, and a mallet, on a hard surface. The setter is sold with or without the anvil; get the version with it.
- A mallet. A firm, high-quality mallet will be your best friend here, and a non-rubber one will get you a better set.
- A hard surface. Our go-to is a granite slab — very hard and perfectly smooth.
- For removing: a drill, a set of drill bits, and a piece of wood.
Setting a Line 24 Snap
Line 24 snaps are some serious hardware. Once one is set properly, it is not coming apart.
Setting the Stud Side
- Push the eyelet up through the punched hole from the wrong side of the leather, so the post stands above the surface.
- Set the stud over the post, so the post comes up through the center of the stud.
- Seat the setter on top. The face of the setter has a raised nub; it drops into the hollow of the stud, and you will feel it seat.
- Hold the setter vertical over the snap and give it two to four medium strikes with the mallet.
Setting the Cap Side
- Push the cap through its punched hole from the right side of the leather, then turn the work over.
- Set the dot anvil concave side up, so it cradles the domed face of the cap instead of flattening it.
- Rest the cap face down in the anvil and set the socket over it.
- Hold the leather steady. It will feel slippery, like it wants to move around on the anvil.
- Hold the setter vertical and give it two to four medium strikes.
A good set looks the same on both sides: the post mushrooms out over the top piece and locks the two halves together, with the leather sandwiched between them. Push it, tug it, try to rotate it. Nothing should be loose and nothing should move.
Why Your Snap Won’t Set
A stable surface will make or break whether you can set your hardware well. Most of us sew at a table, and a table has more bounce in it than you would think. If you are not getting a clean set, move to the floor.
Keep the setter vertical over the snap. If the set does not look right, strike it again — more hits will not hurt it.
Removing a Line 24 Snap
Set one crooked, or set it before you remembered the washer or the strap, and it will not come back off by hand.
A set snap holds because the post has been struck flat. The top of it rolls outward into a lip wider than the hole it came up through, and that lip is what stops the two halves from separating. Drilling the lip off allows you to remove the Line 24 snap easily.
- Put a piece of wood under the snap, on your hard surface.
- Start with a ⁷⁄₃₂" drill bit. It sits neatly in the center of the post.
- Check the drill is turning clockwise before you start.
- Drill the center out. You’ll see it start to eat away at the metal.
- The lip comes away onto the drill bit. Pick it off and pull the snap apart.
Usually when you remove a Line 24 snap, you are able to reuse the original hole in your work, and often the leather washer and leather strap are reusable too.

Want to learn more about bag hardware? ▶️ Bag Making Hardware covers snaps, rivets, buckles and O-rings, and how to set each one.
About the Author